The making of my first Boffer Sword
August 17, 2017
Introduction
This post shows how I made my first boffer sword. It is actually very simple, the hardest part was to figure out where to get the materials.
This was my original plan, sorry for the really bad drawing: ![]()

So the rough idea is to make a boffer sword 80cm long. Start with the skeleton of the sword and then wrap it up with padding.
Skeleton
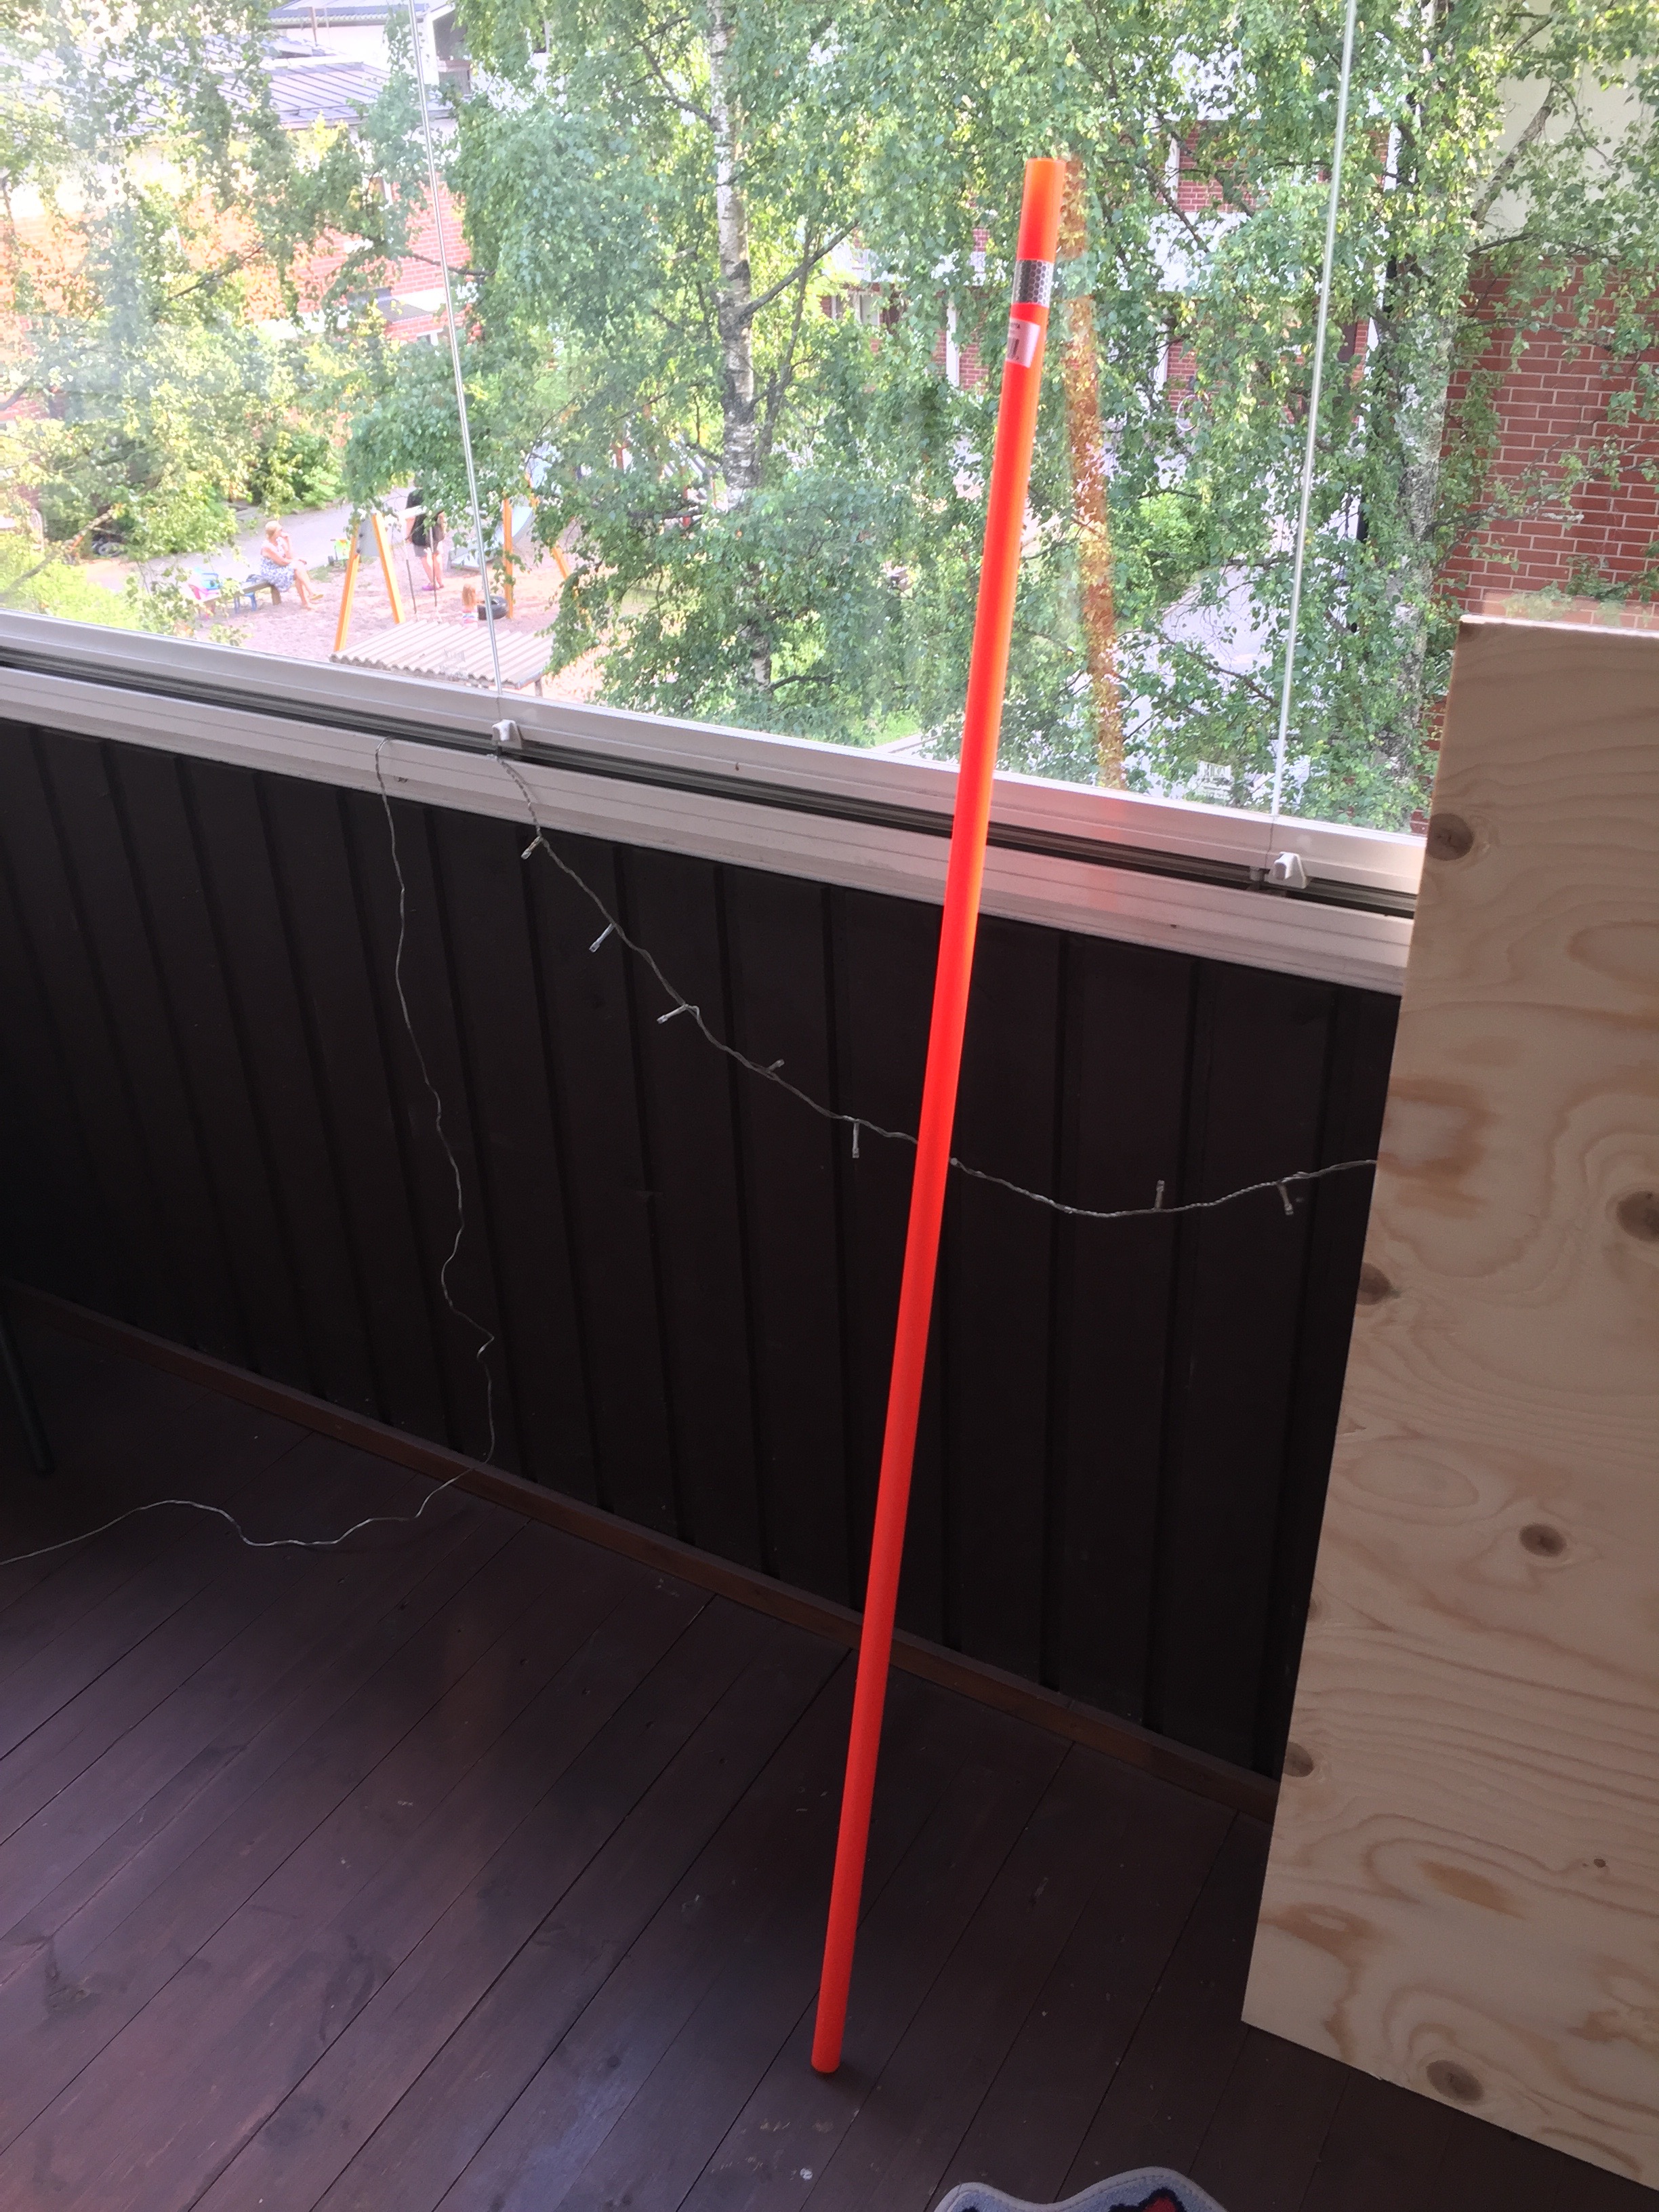
To make the skeleton, I’ve used one of those sticks that shows the road in winter (called Aurausviitta in Finnish ![]() ).
).
You can find it in K-Rauta for 1.99€
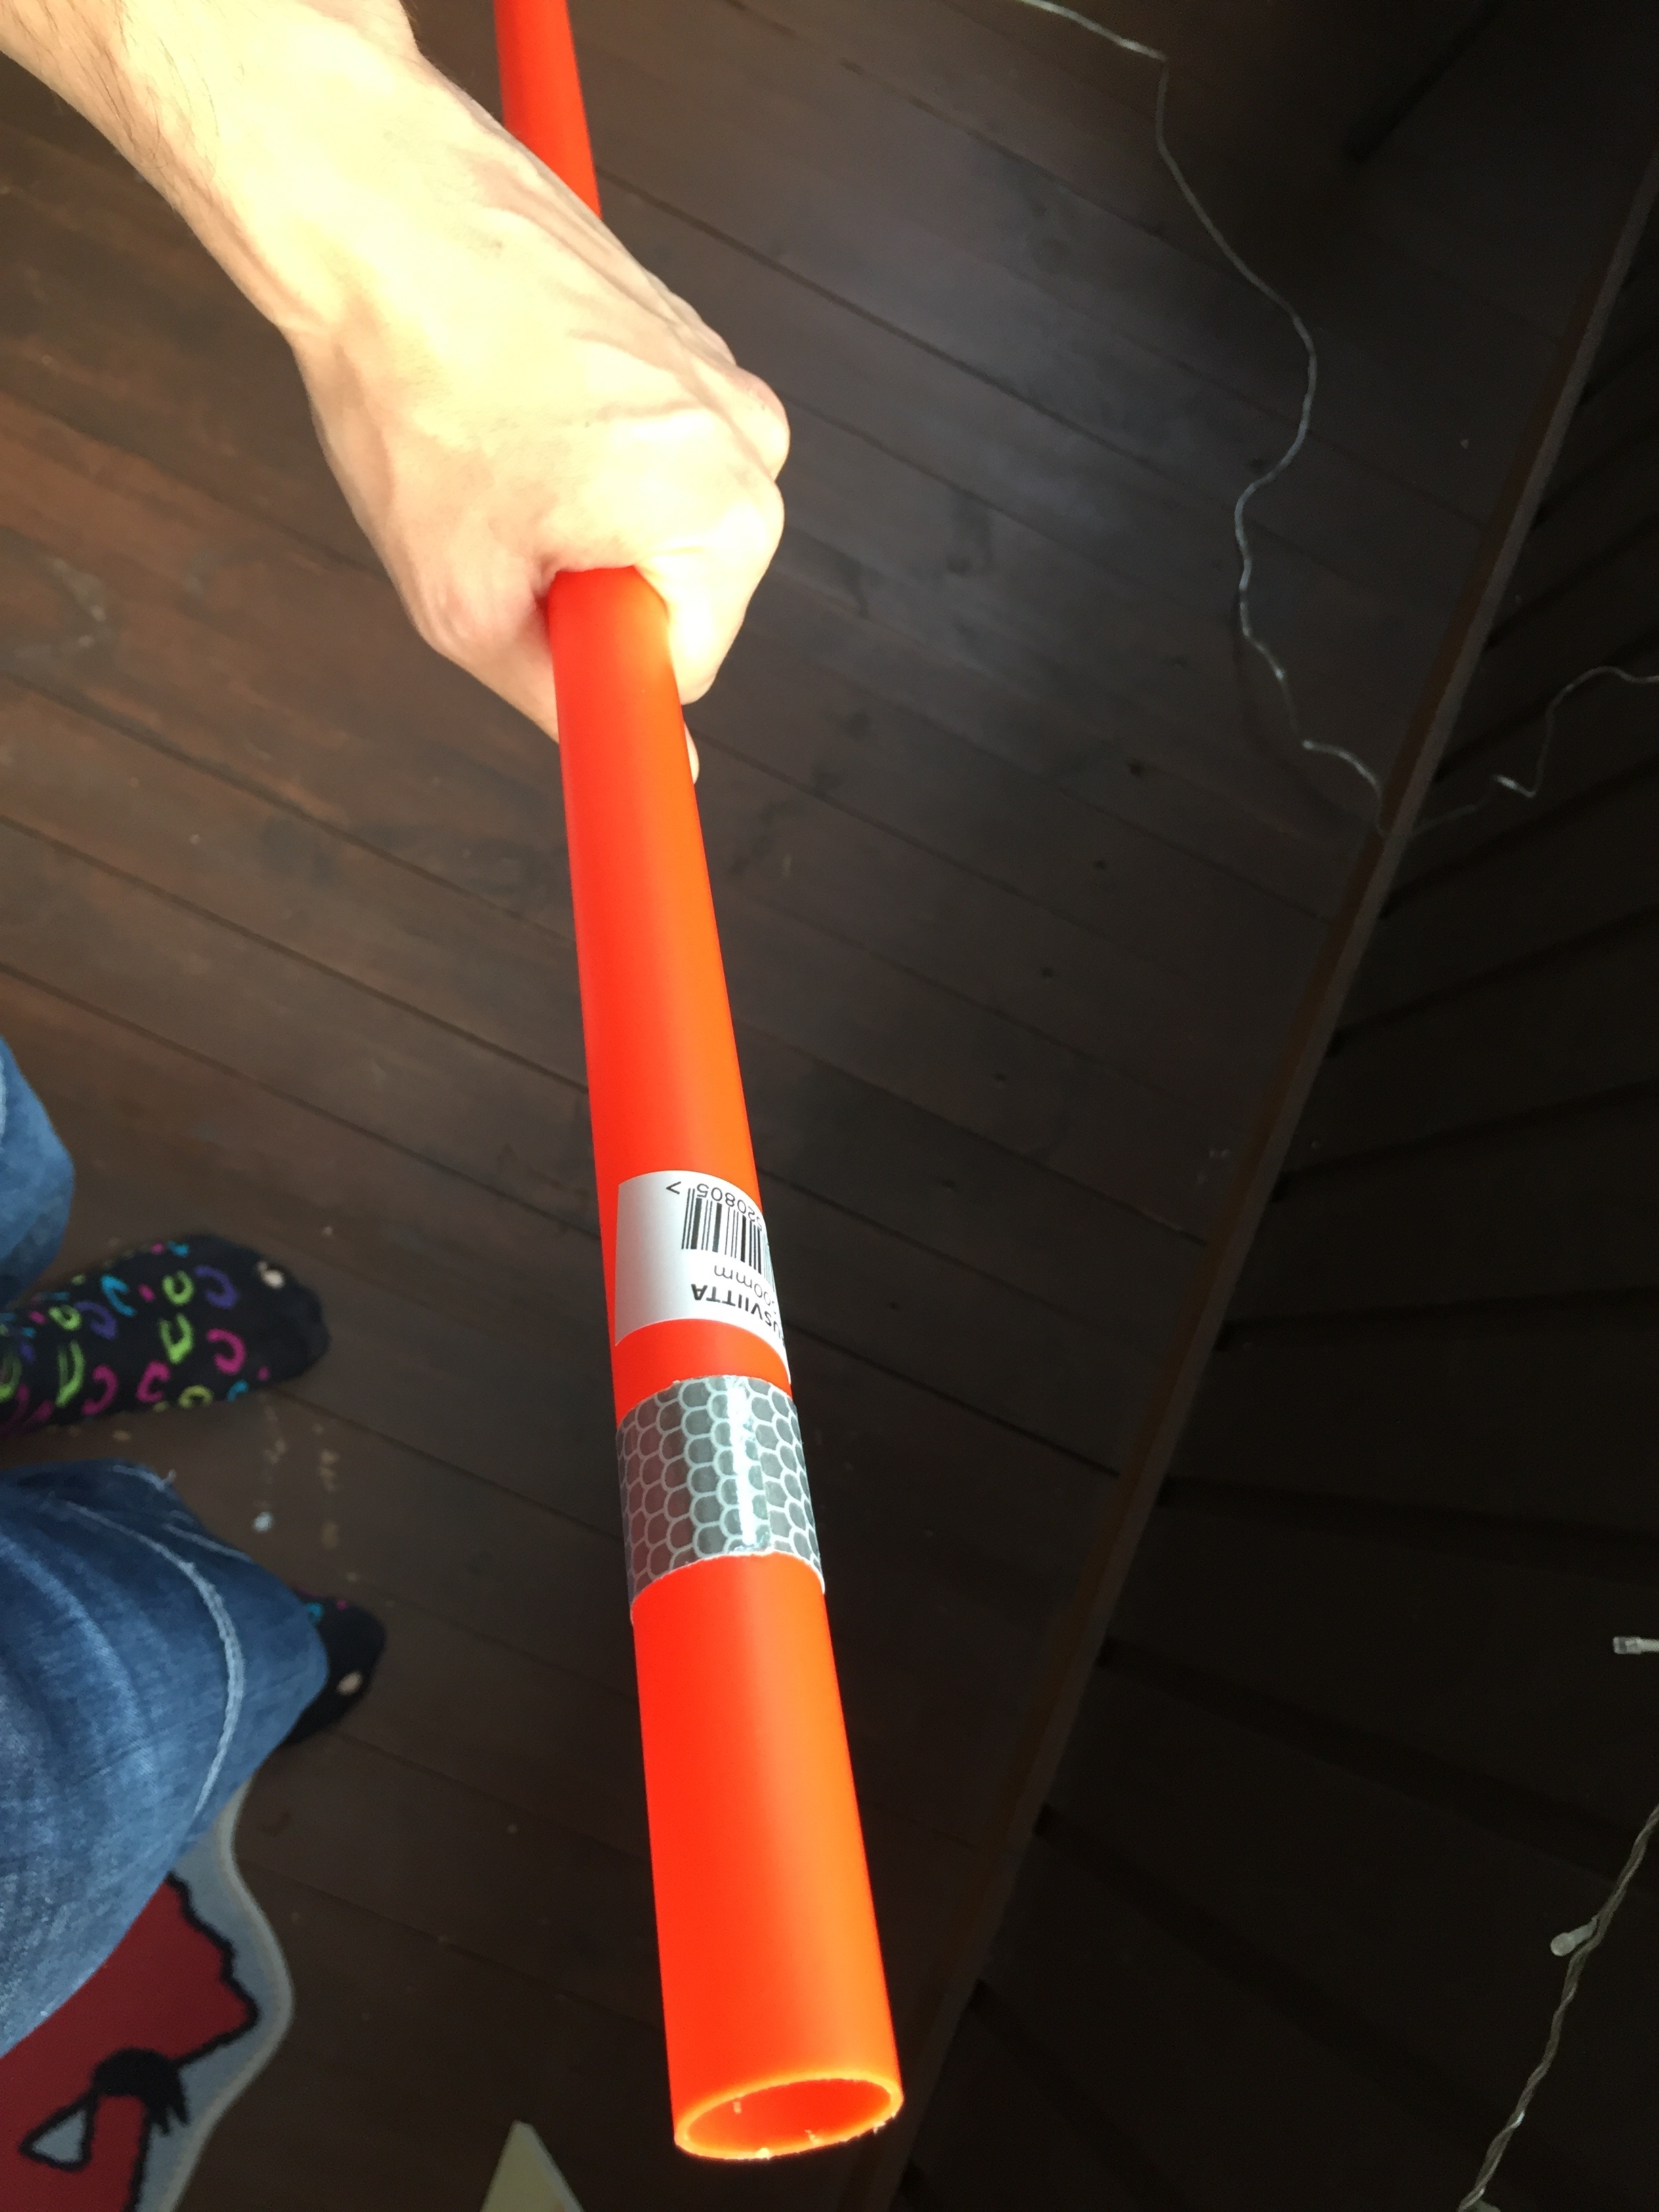
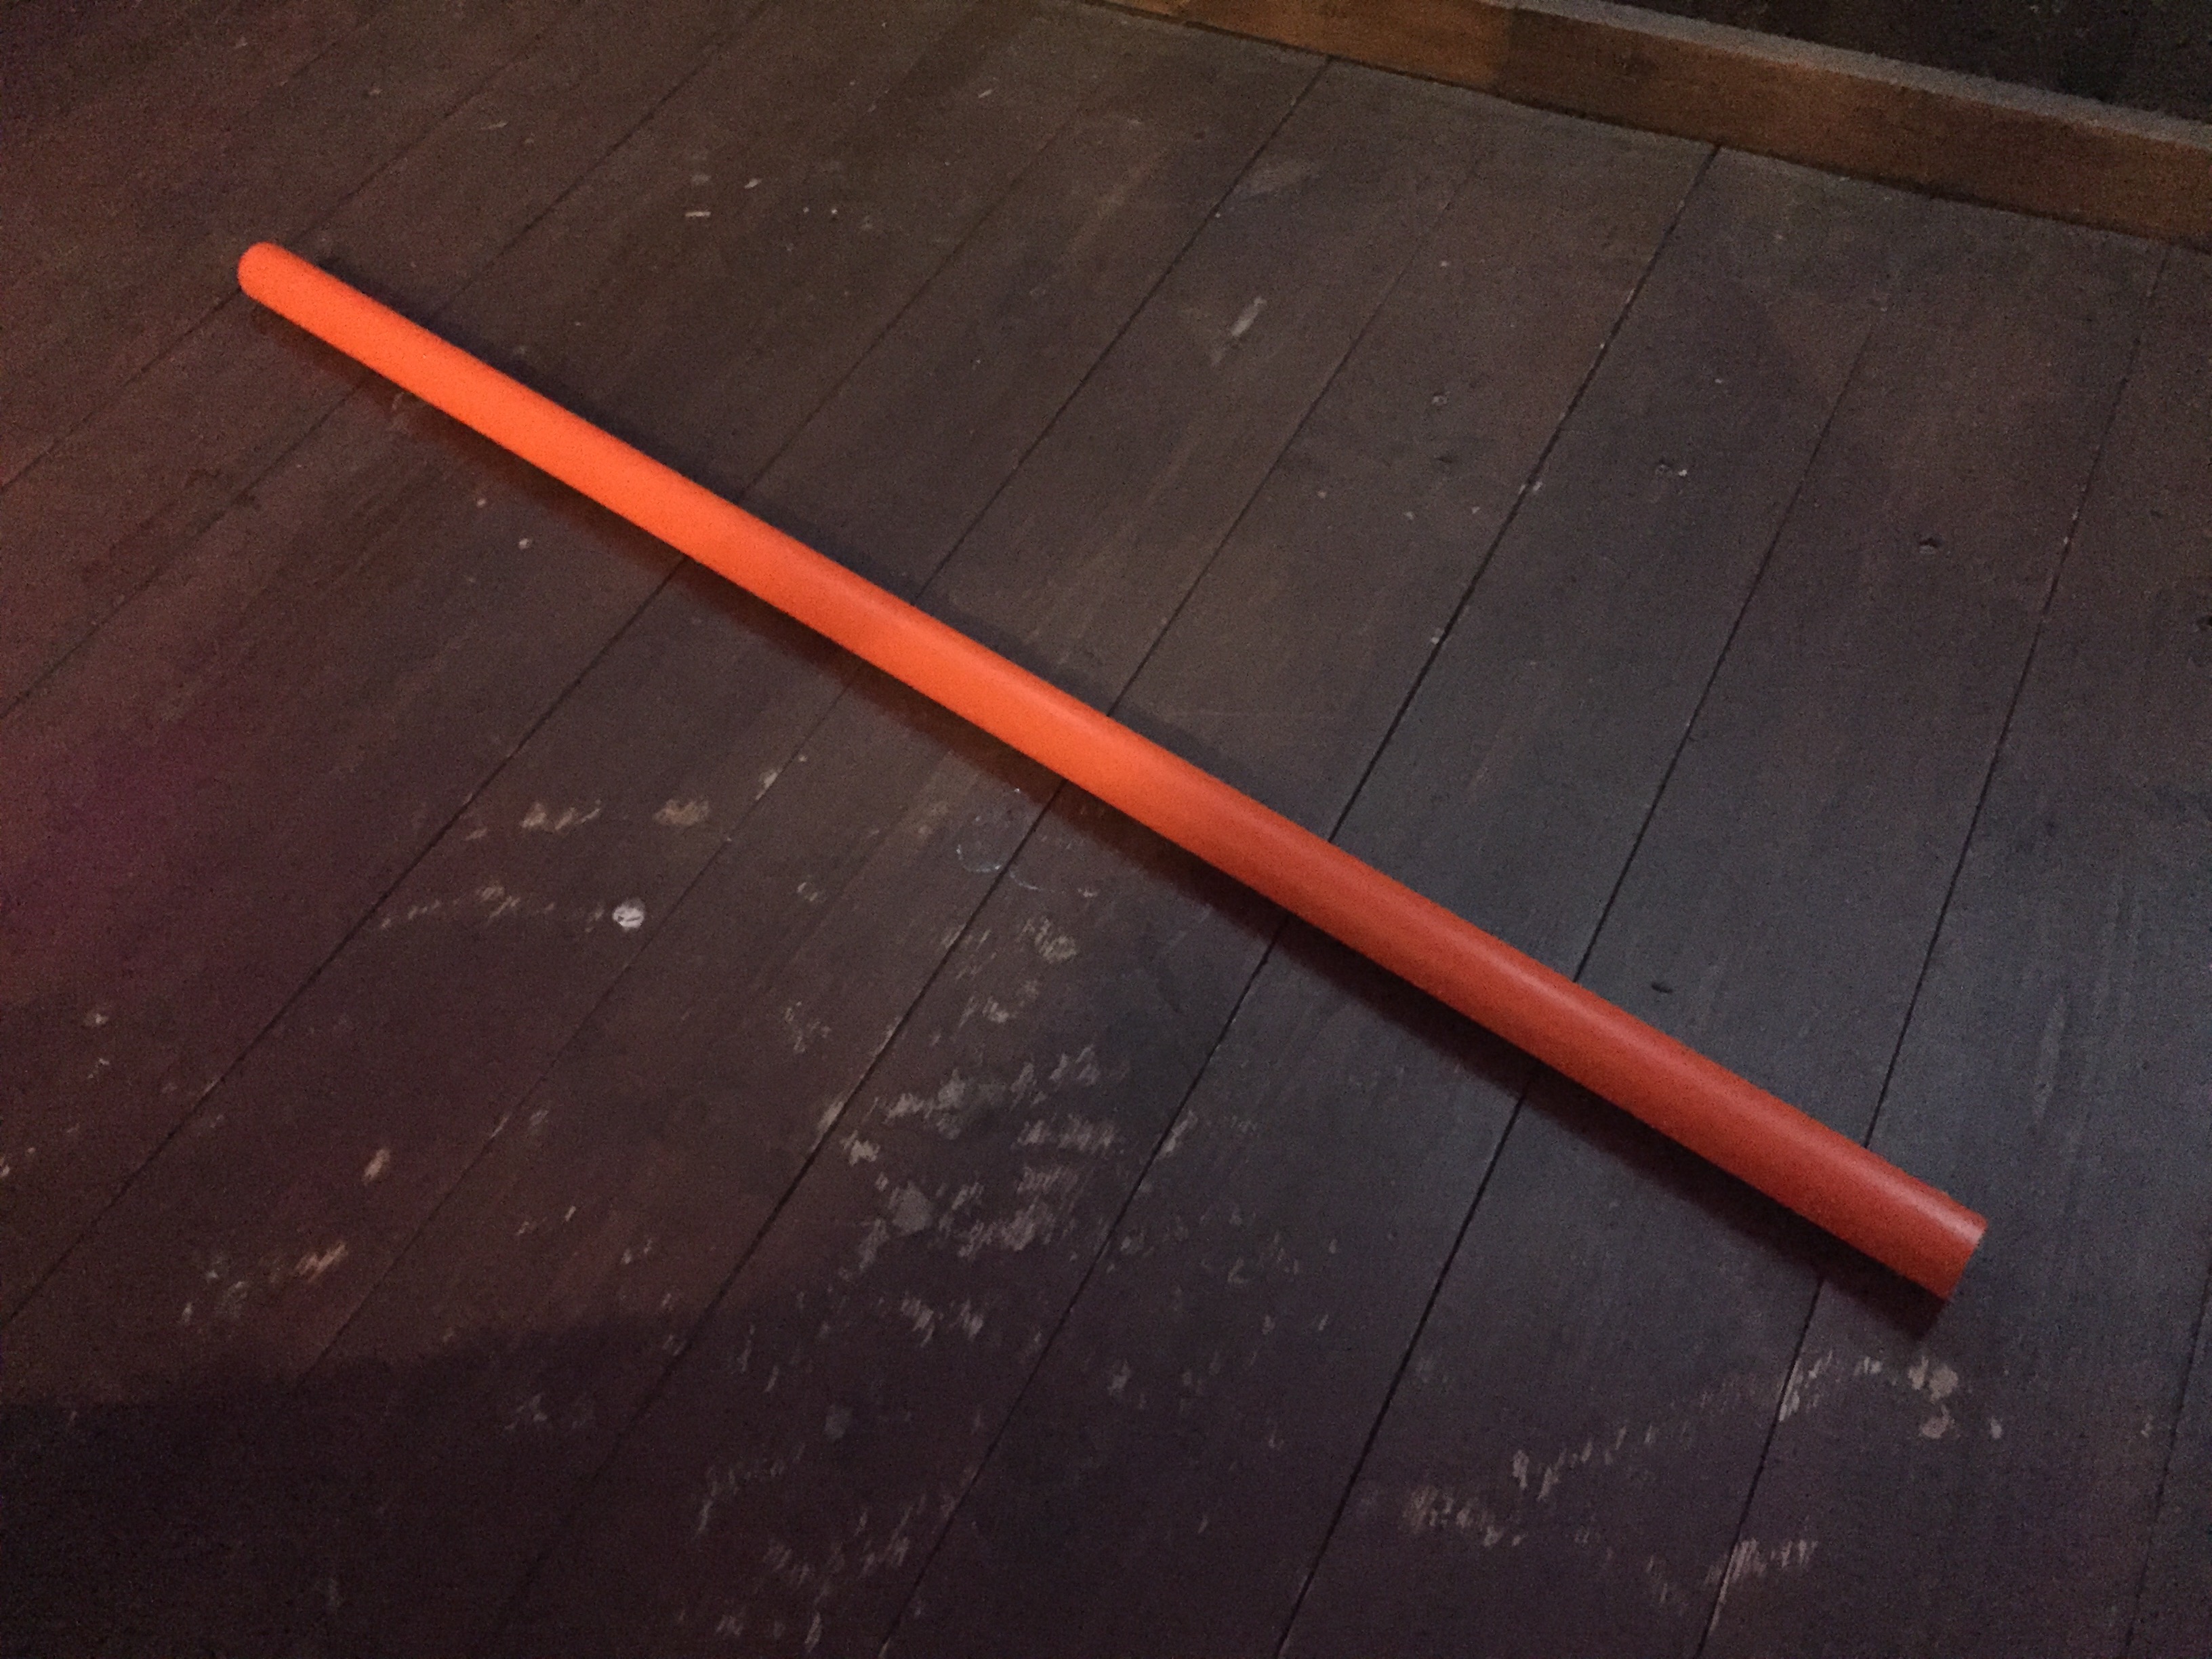
Now let’s cut this with my precious metal saw. Putting in a picture because i’ve actually used it to cut almost everything. Cutting it to around 70cm long.

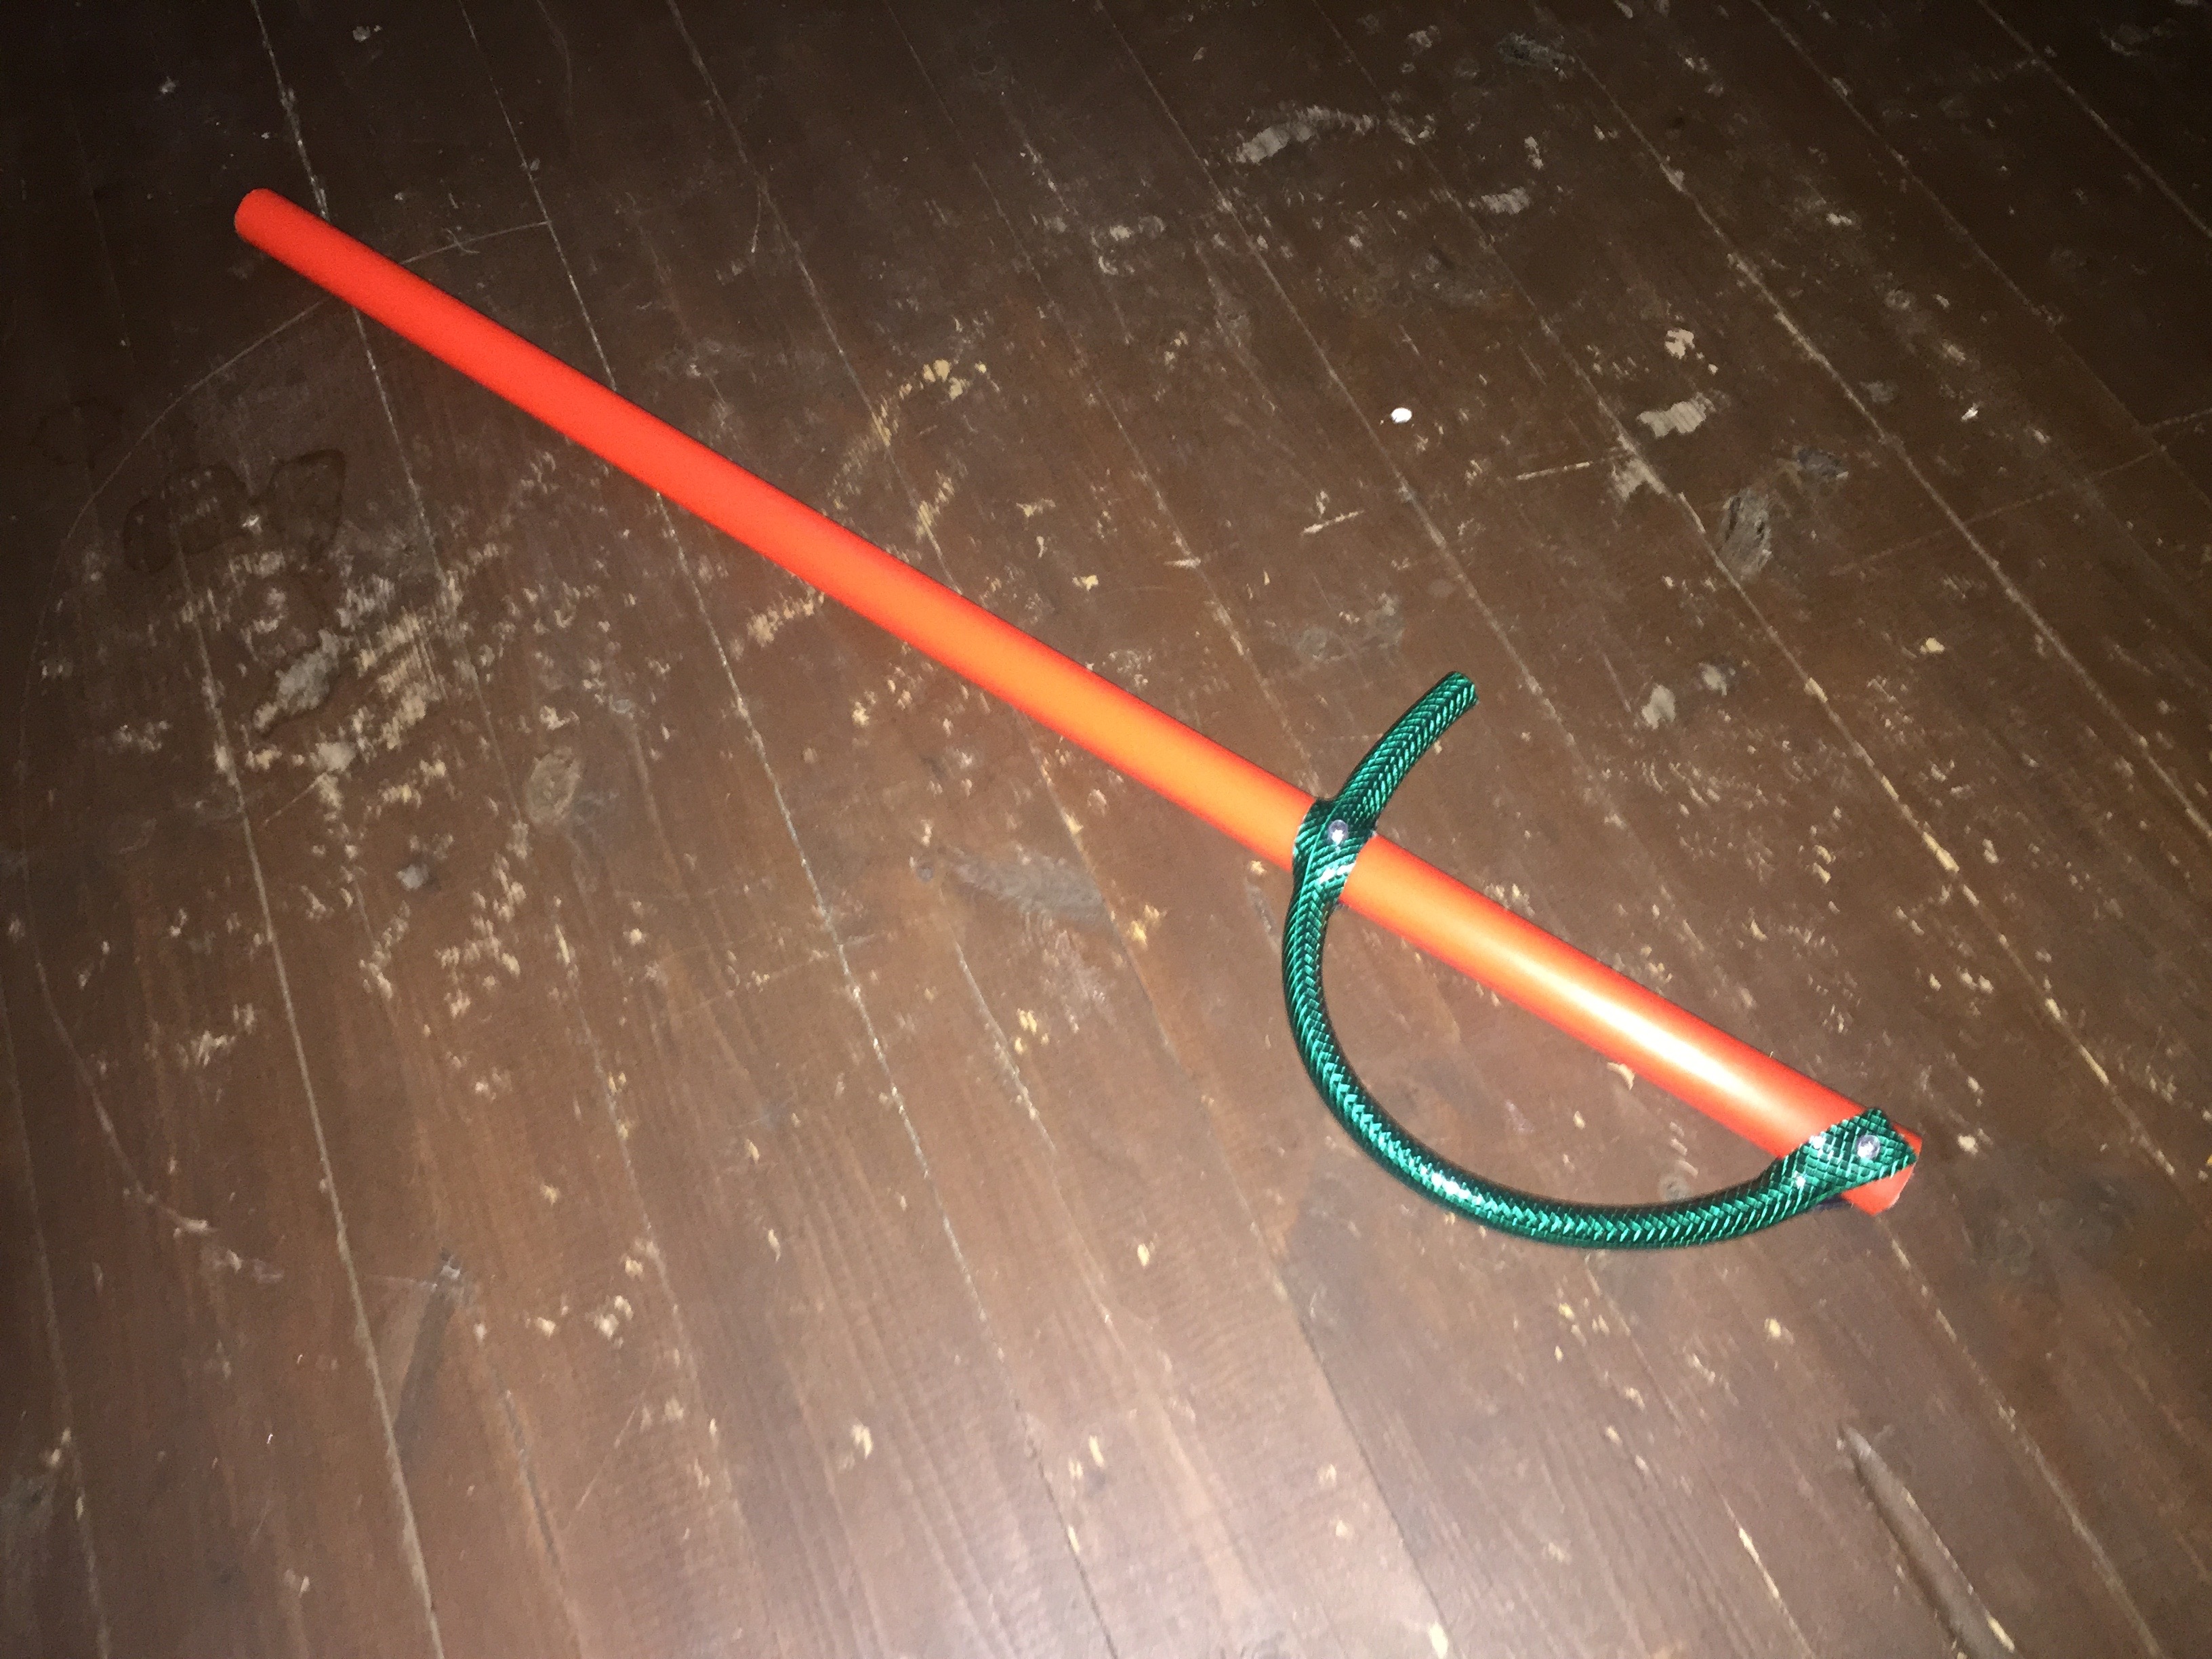
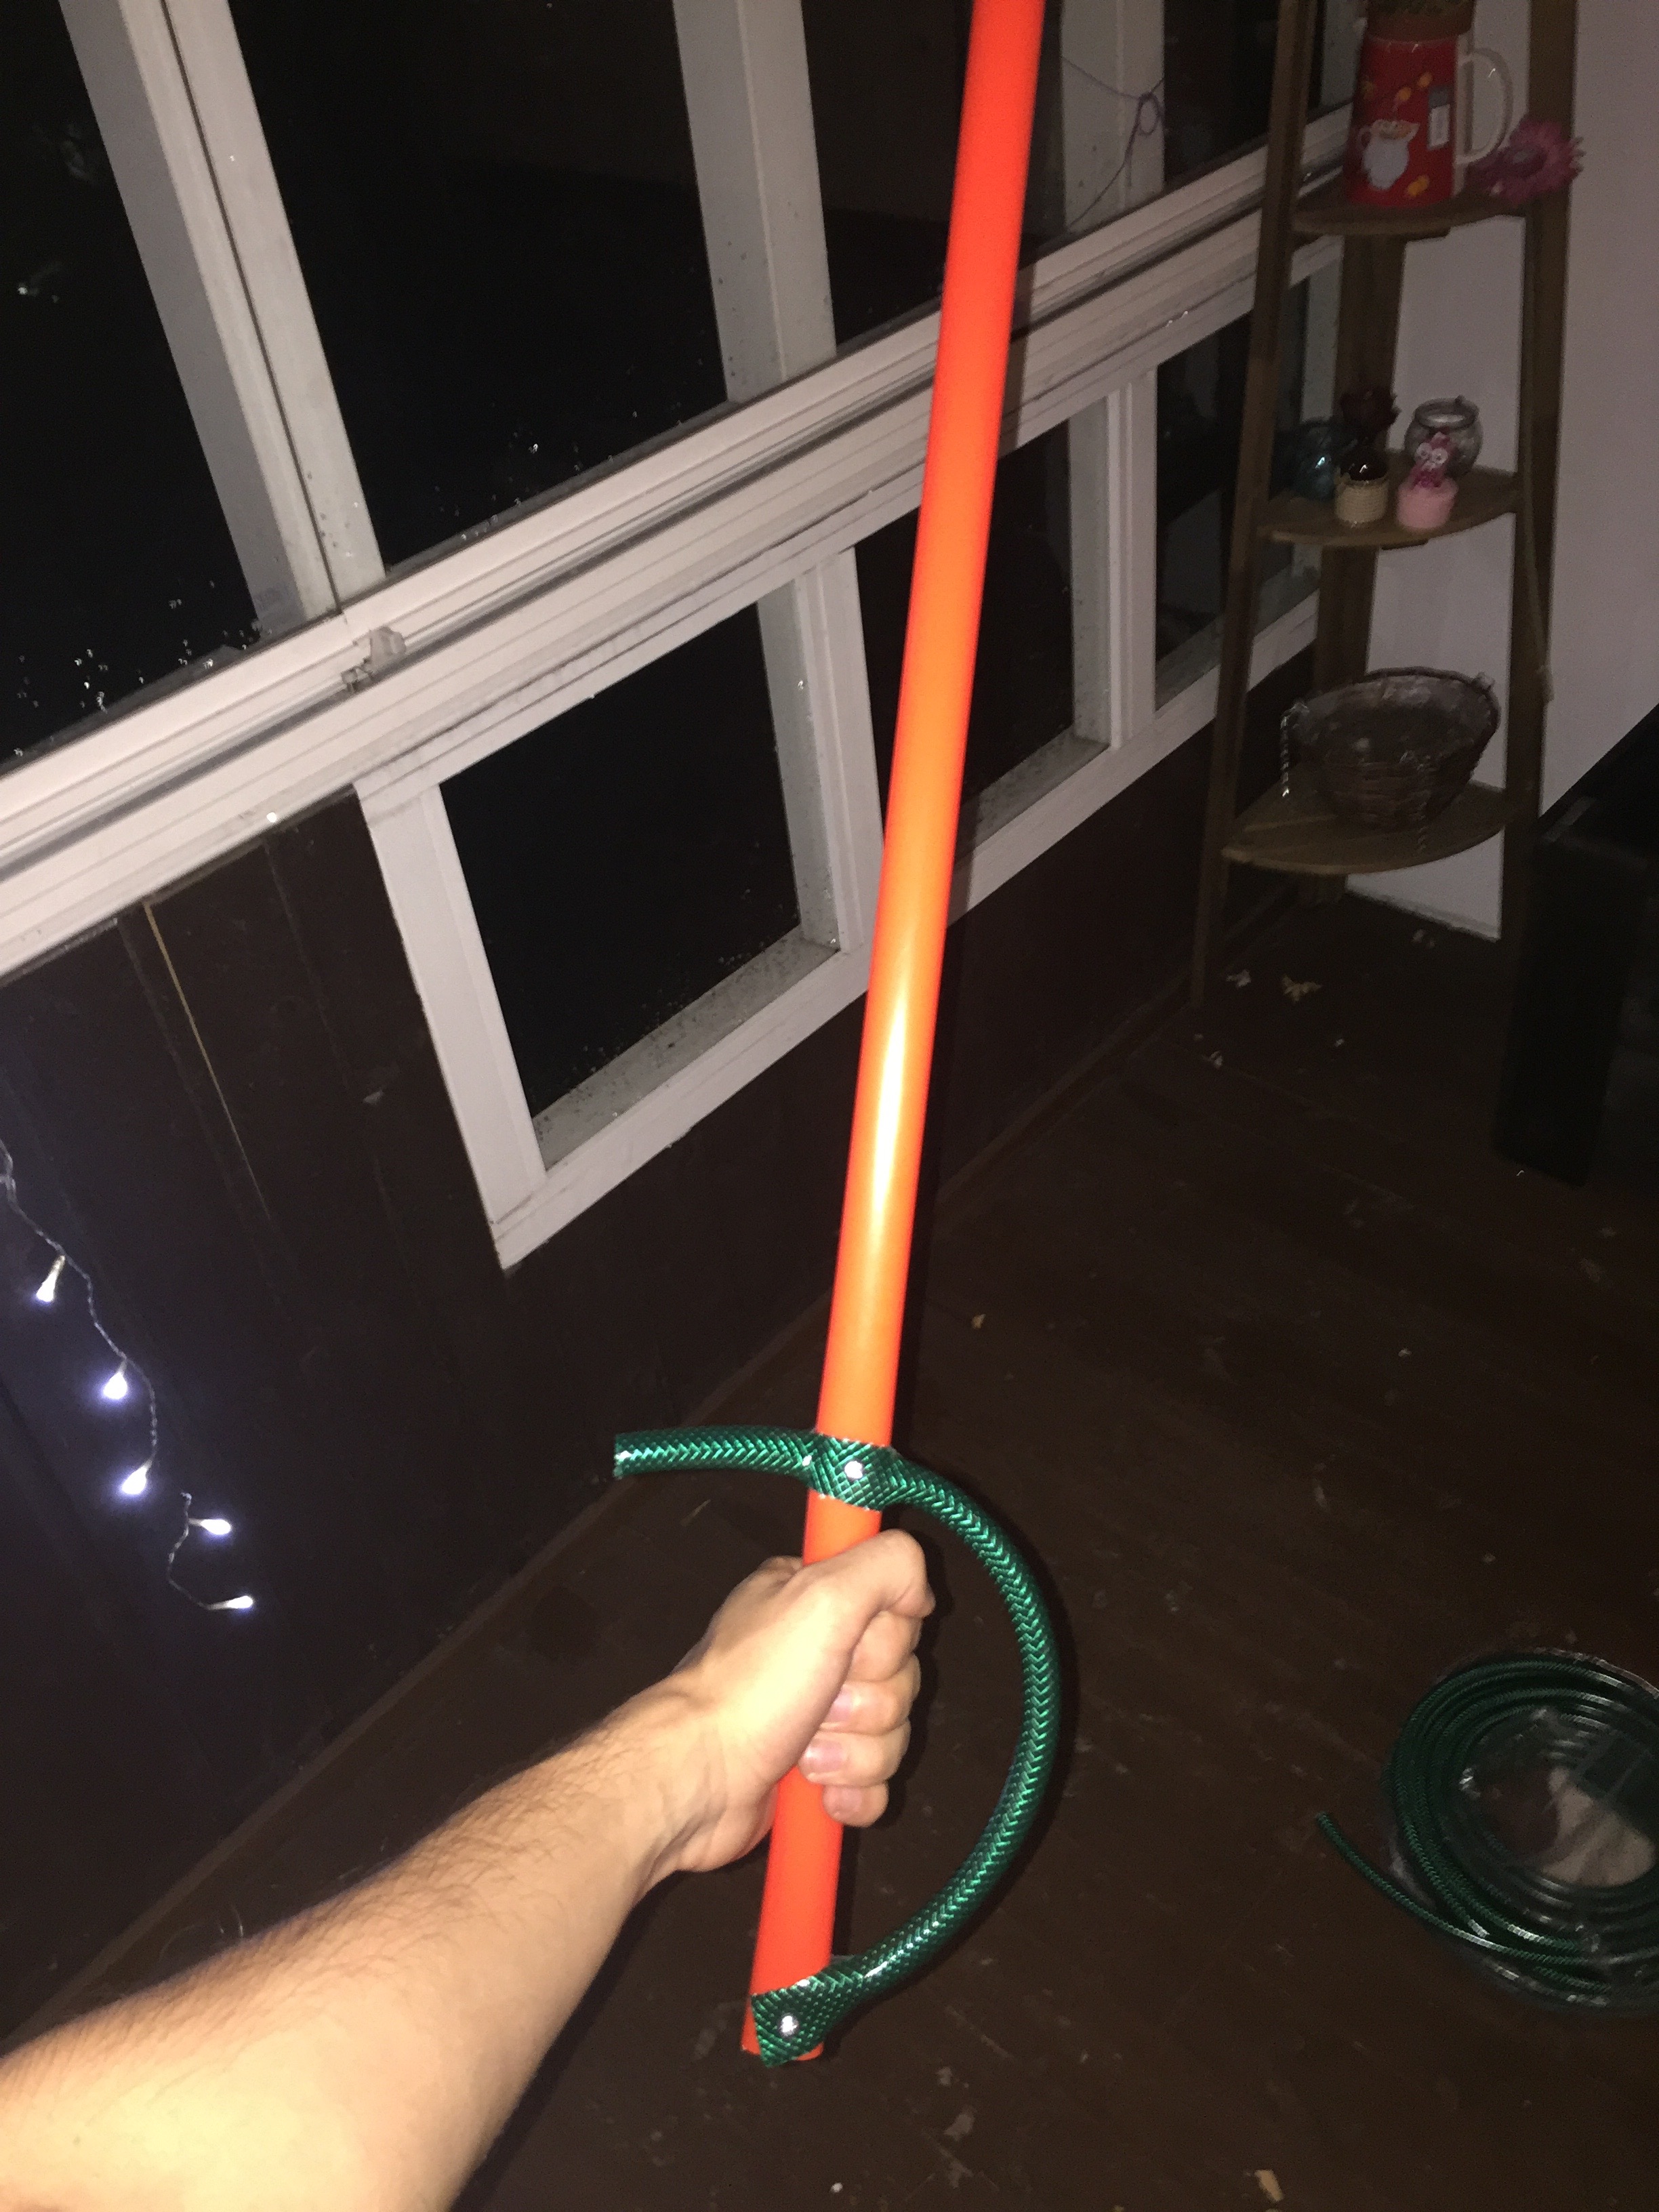
Let’s use some garden hose bought from K-Rauta (4.95€ for 20 meters – not bad)
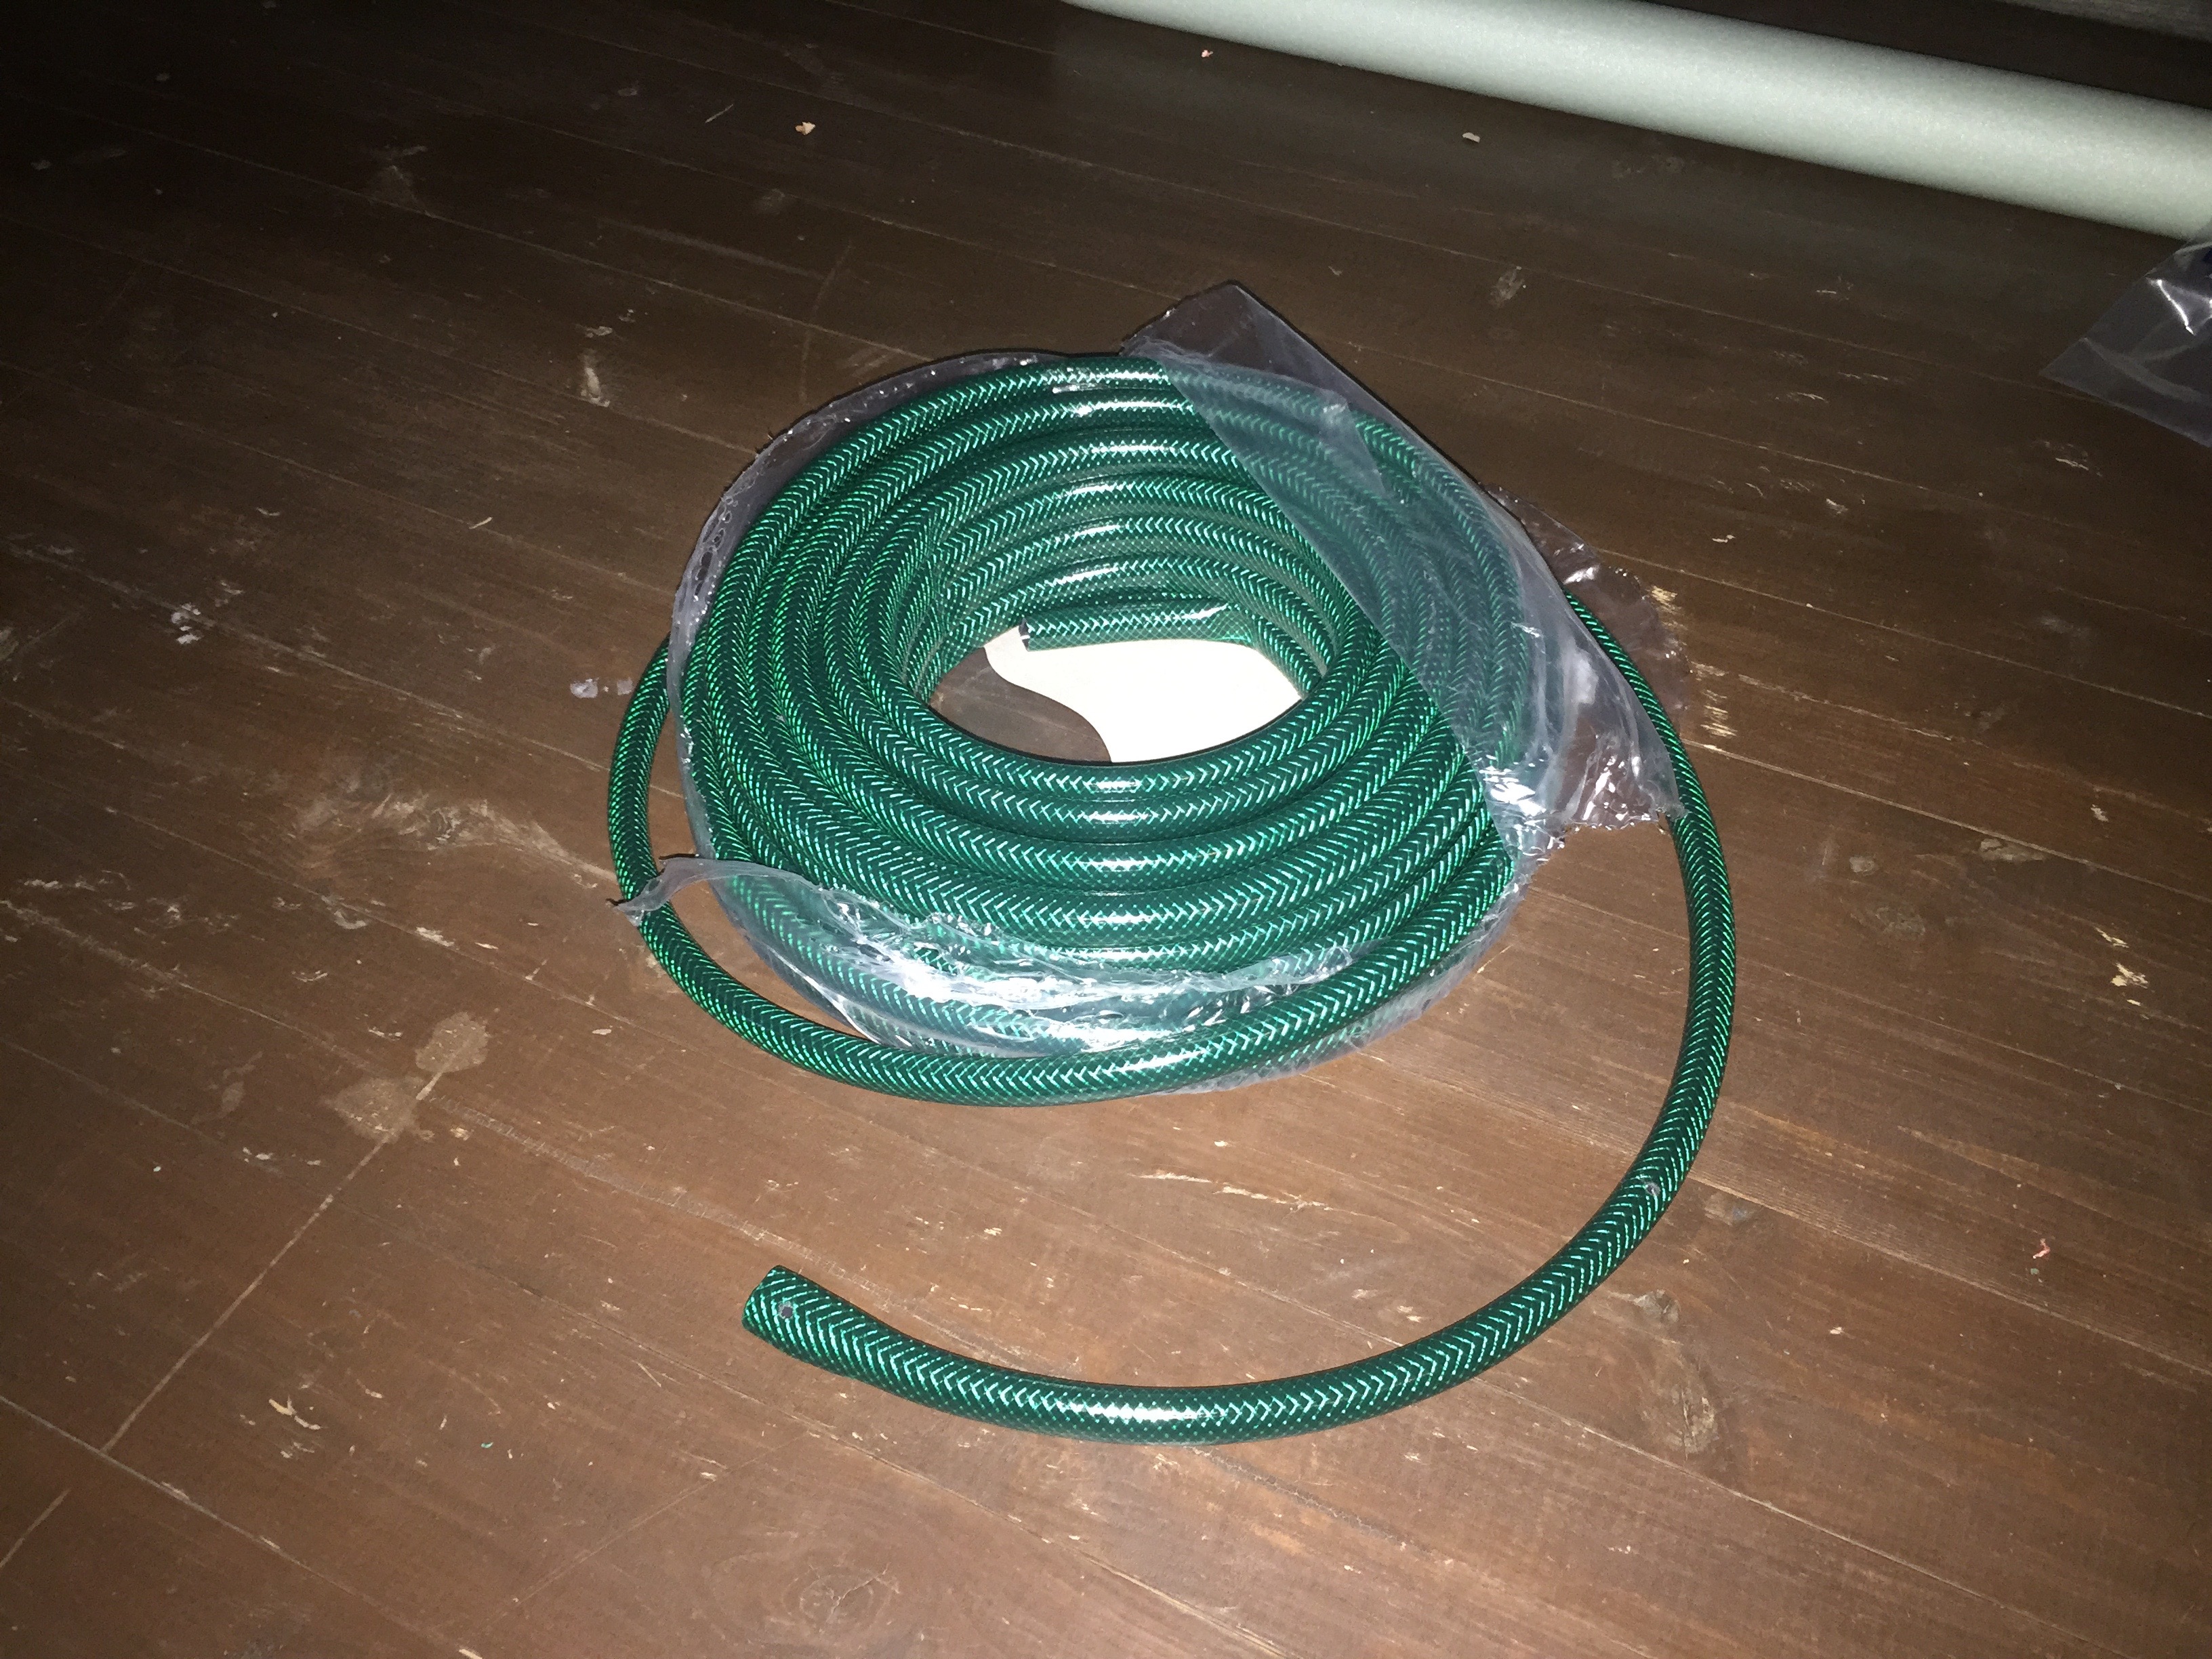
And use it to make the hand guard, cutting the hose with a knife, drilling 2 holes and placing 2 bolts.
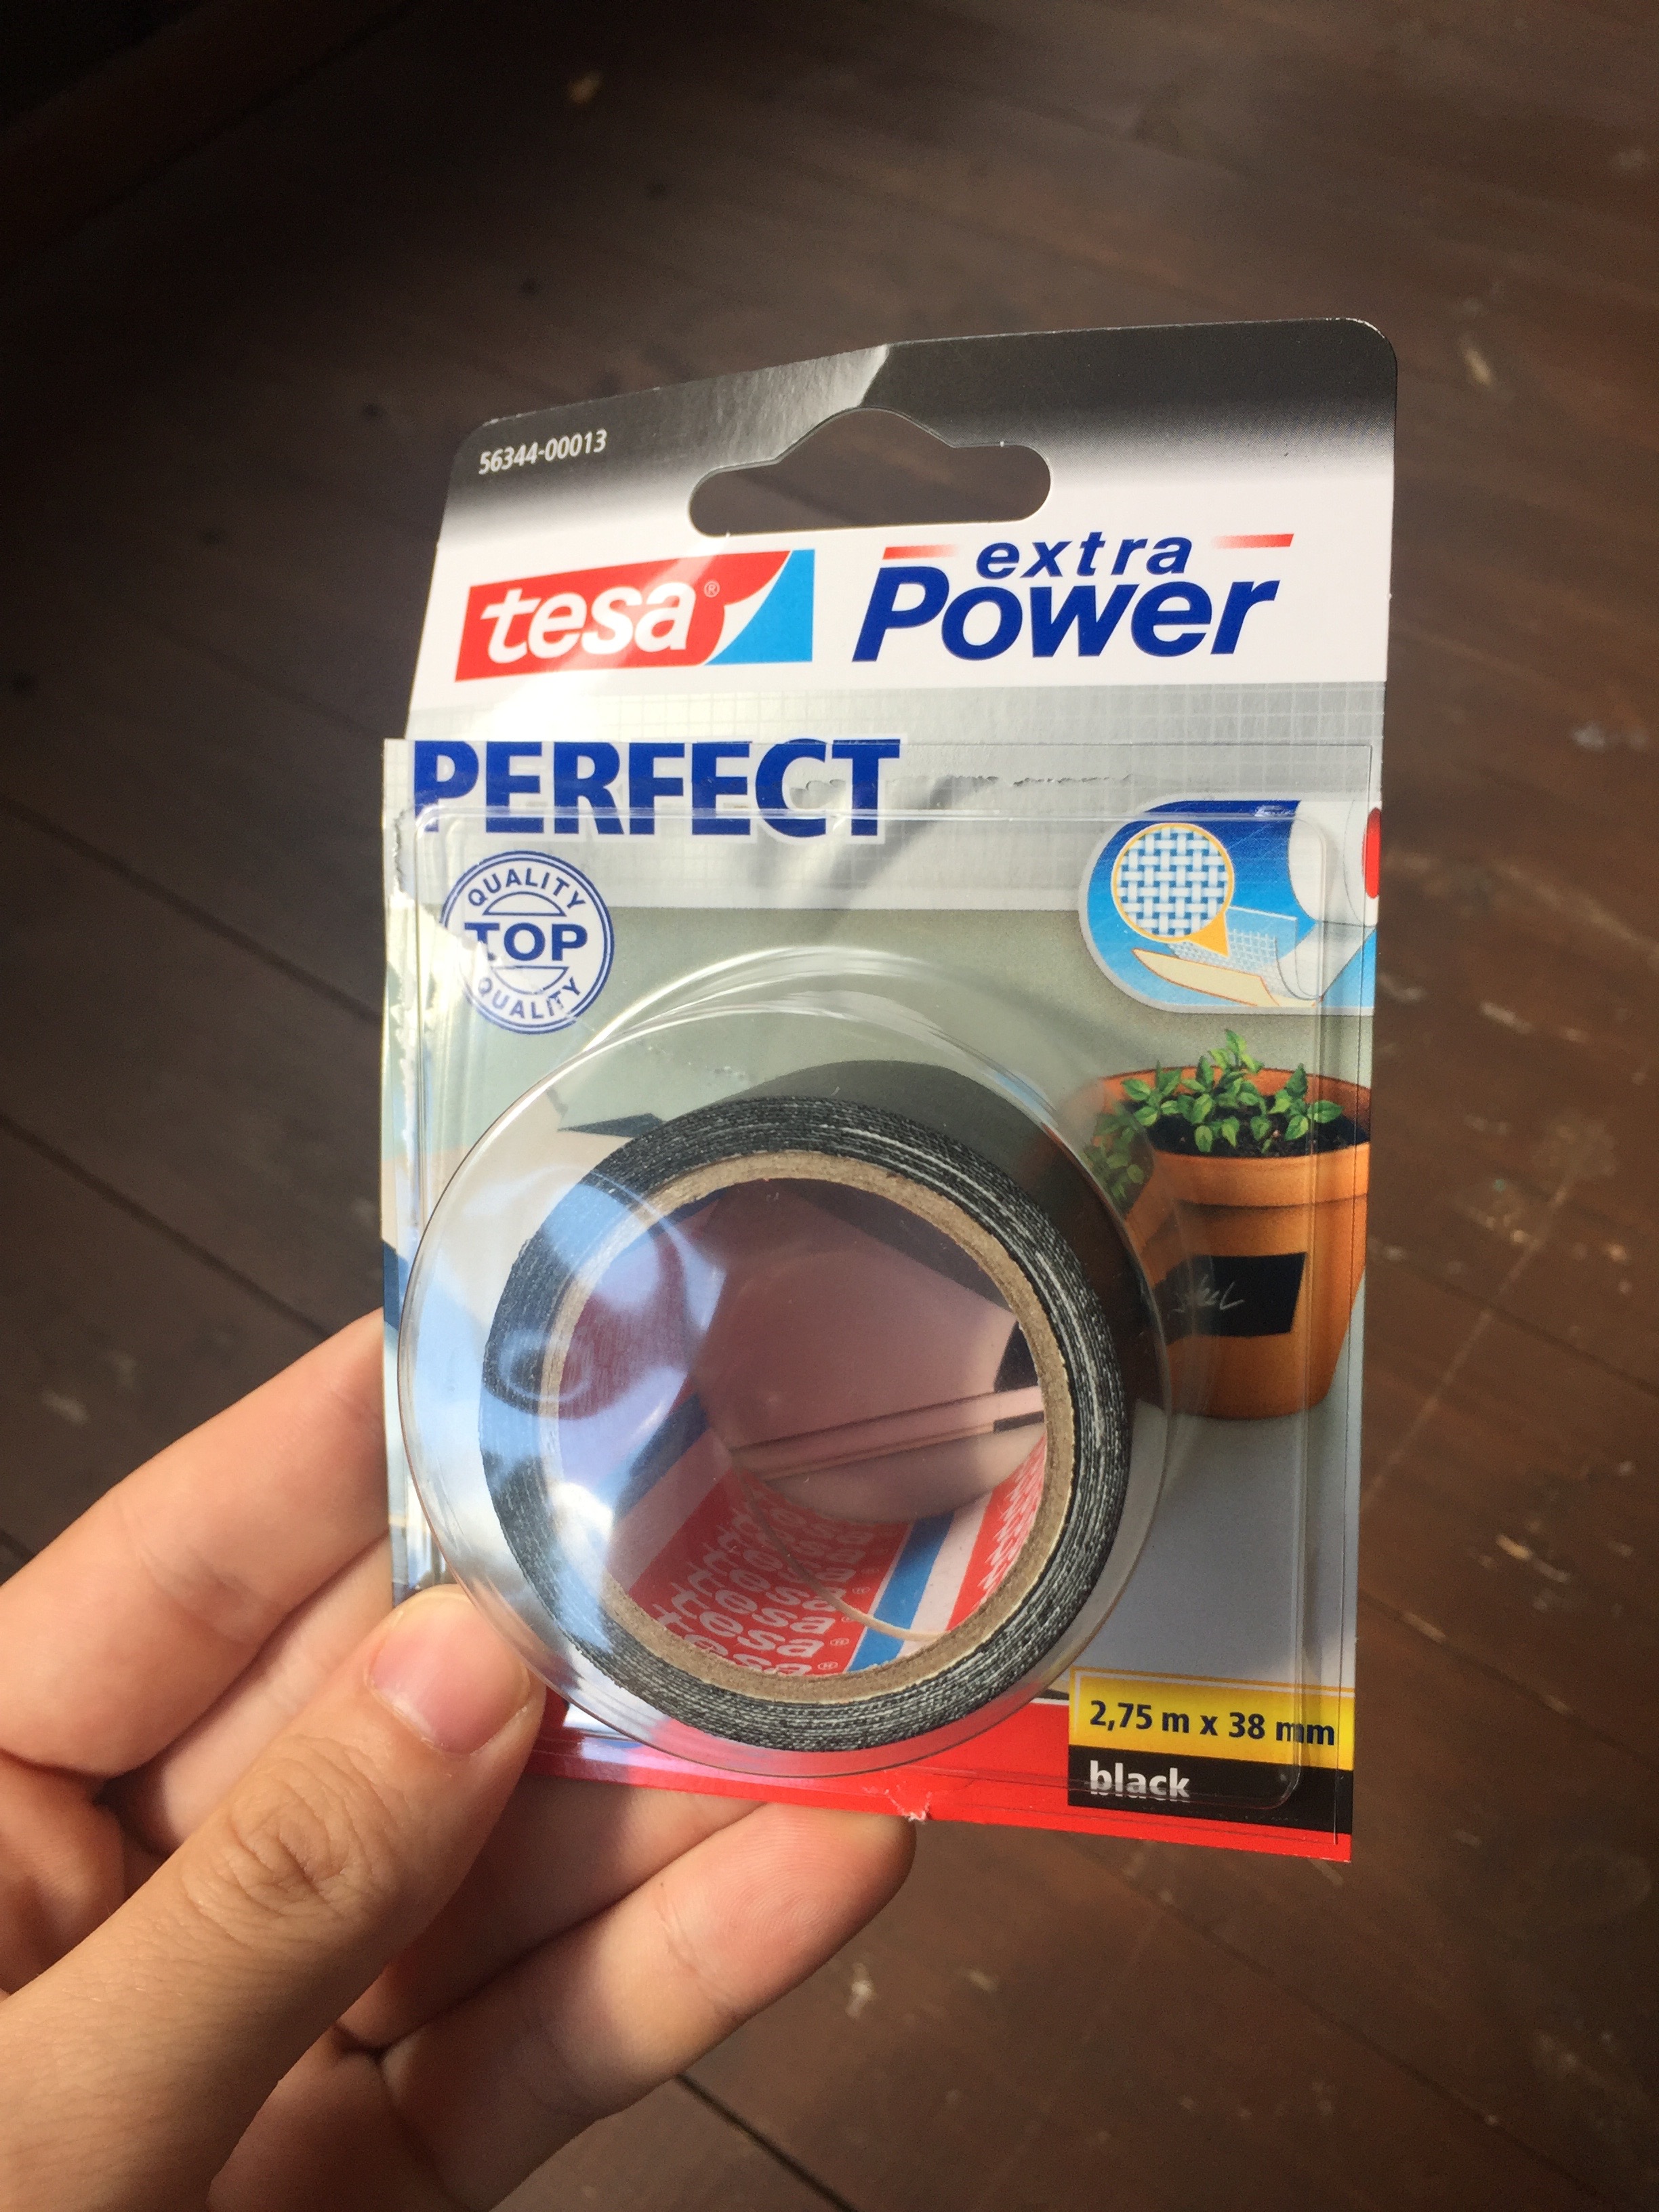
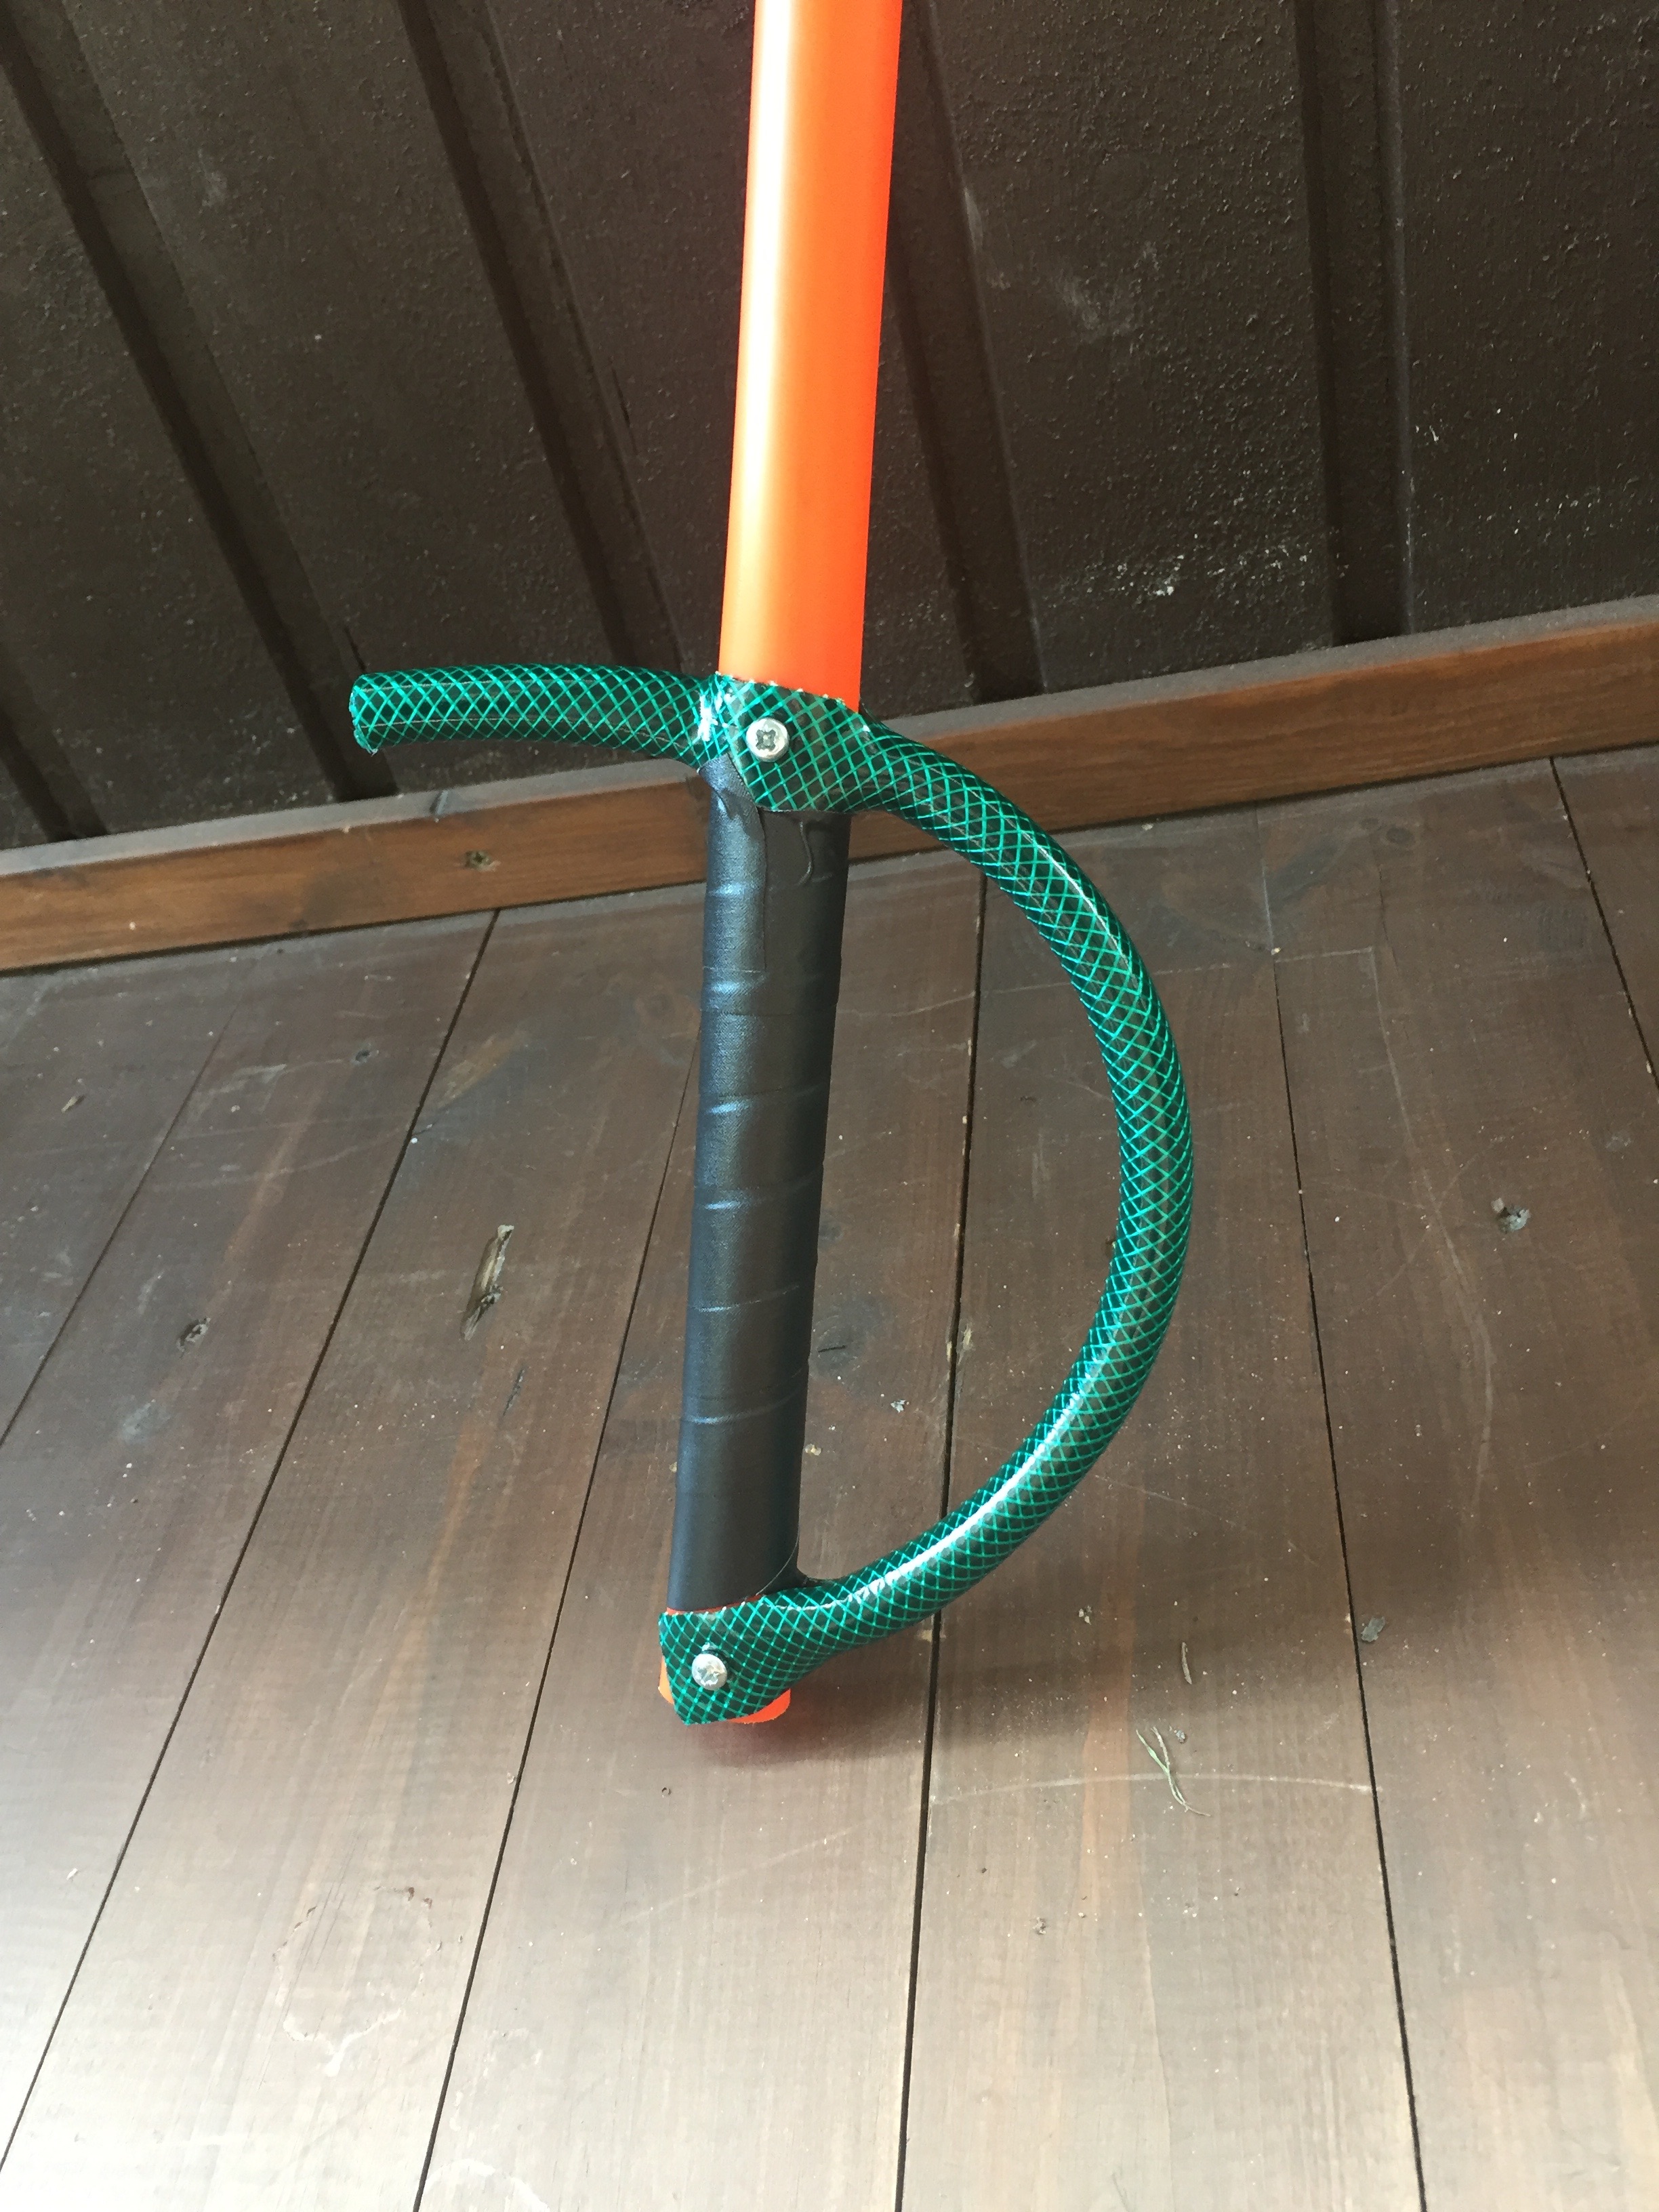
Then let’s add some handle tape.
Bought again from K-Rauta 6.95€ for 2.75m, this is an expensive bit but I feel this is worth it, makes the sword look and feel real nice!
Padding
The result is pretty nice already and makes me wanna use the sword already as it is. Sadly boffering is all about padding, so let’s put some!
I bought from Bauhaus some pipe isolations for 2.5€ pieces (3.80€ in K-Rauta ![]() )
)
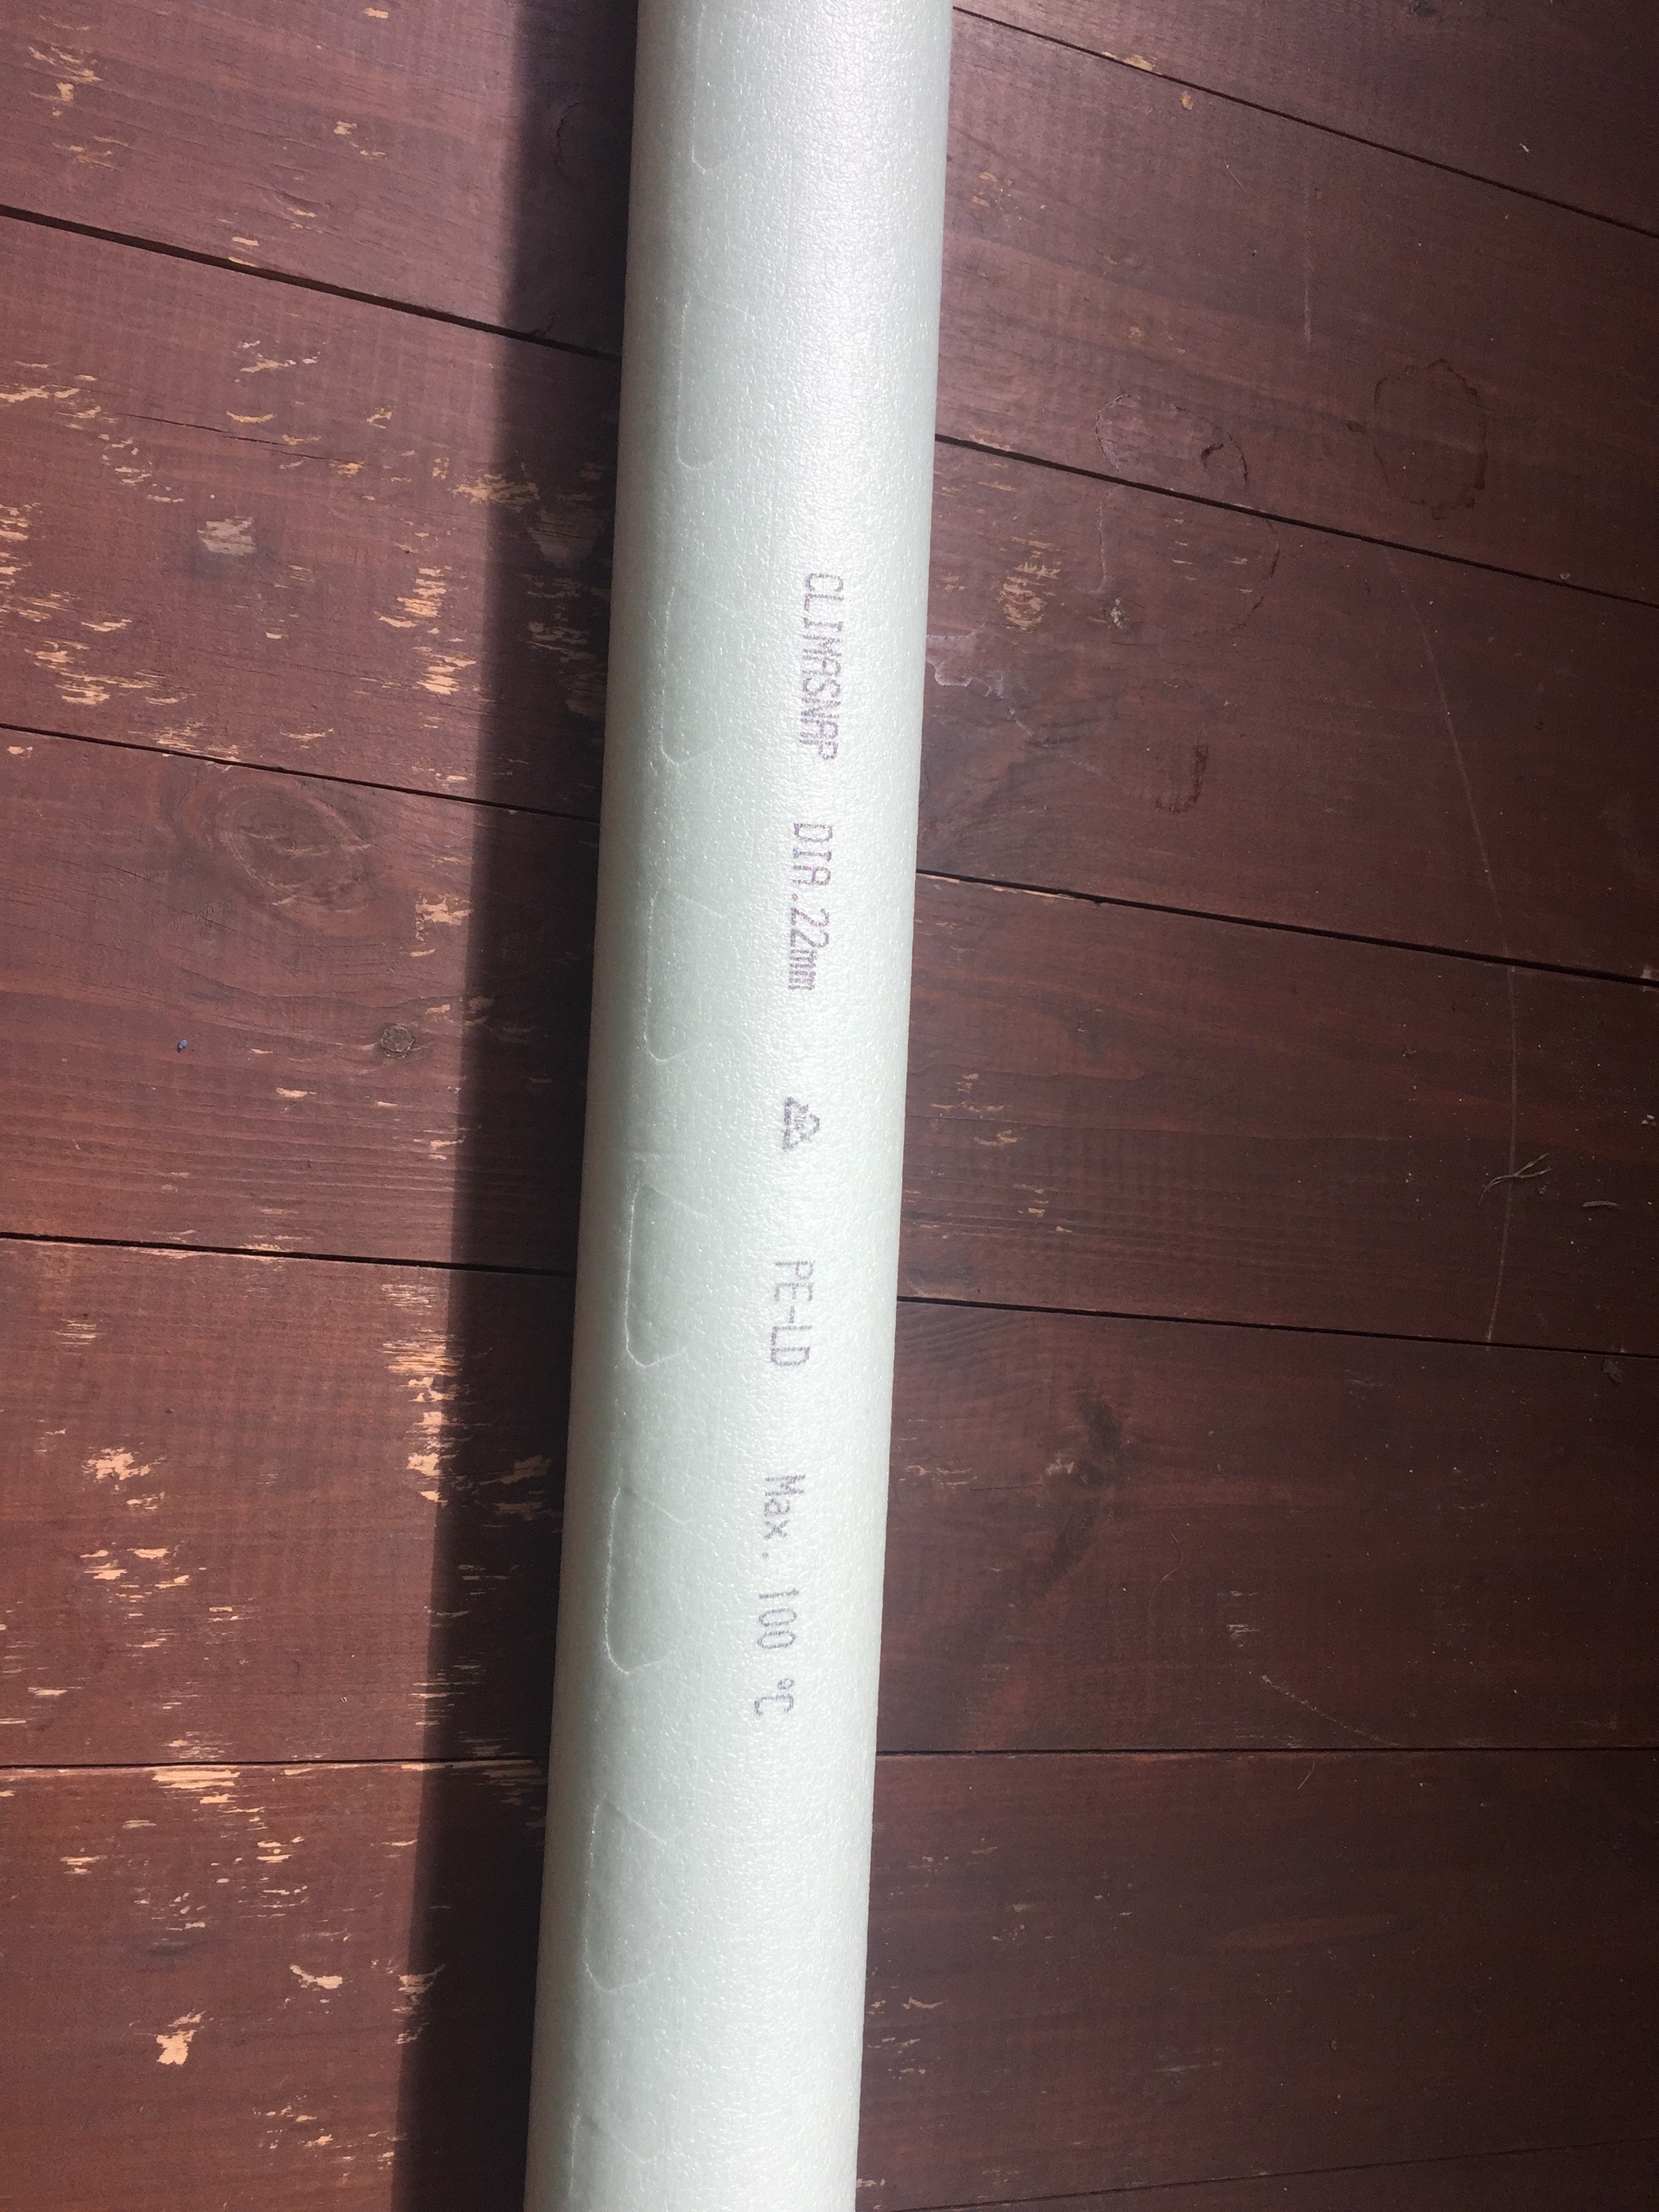
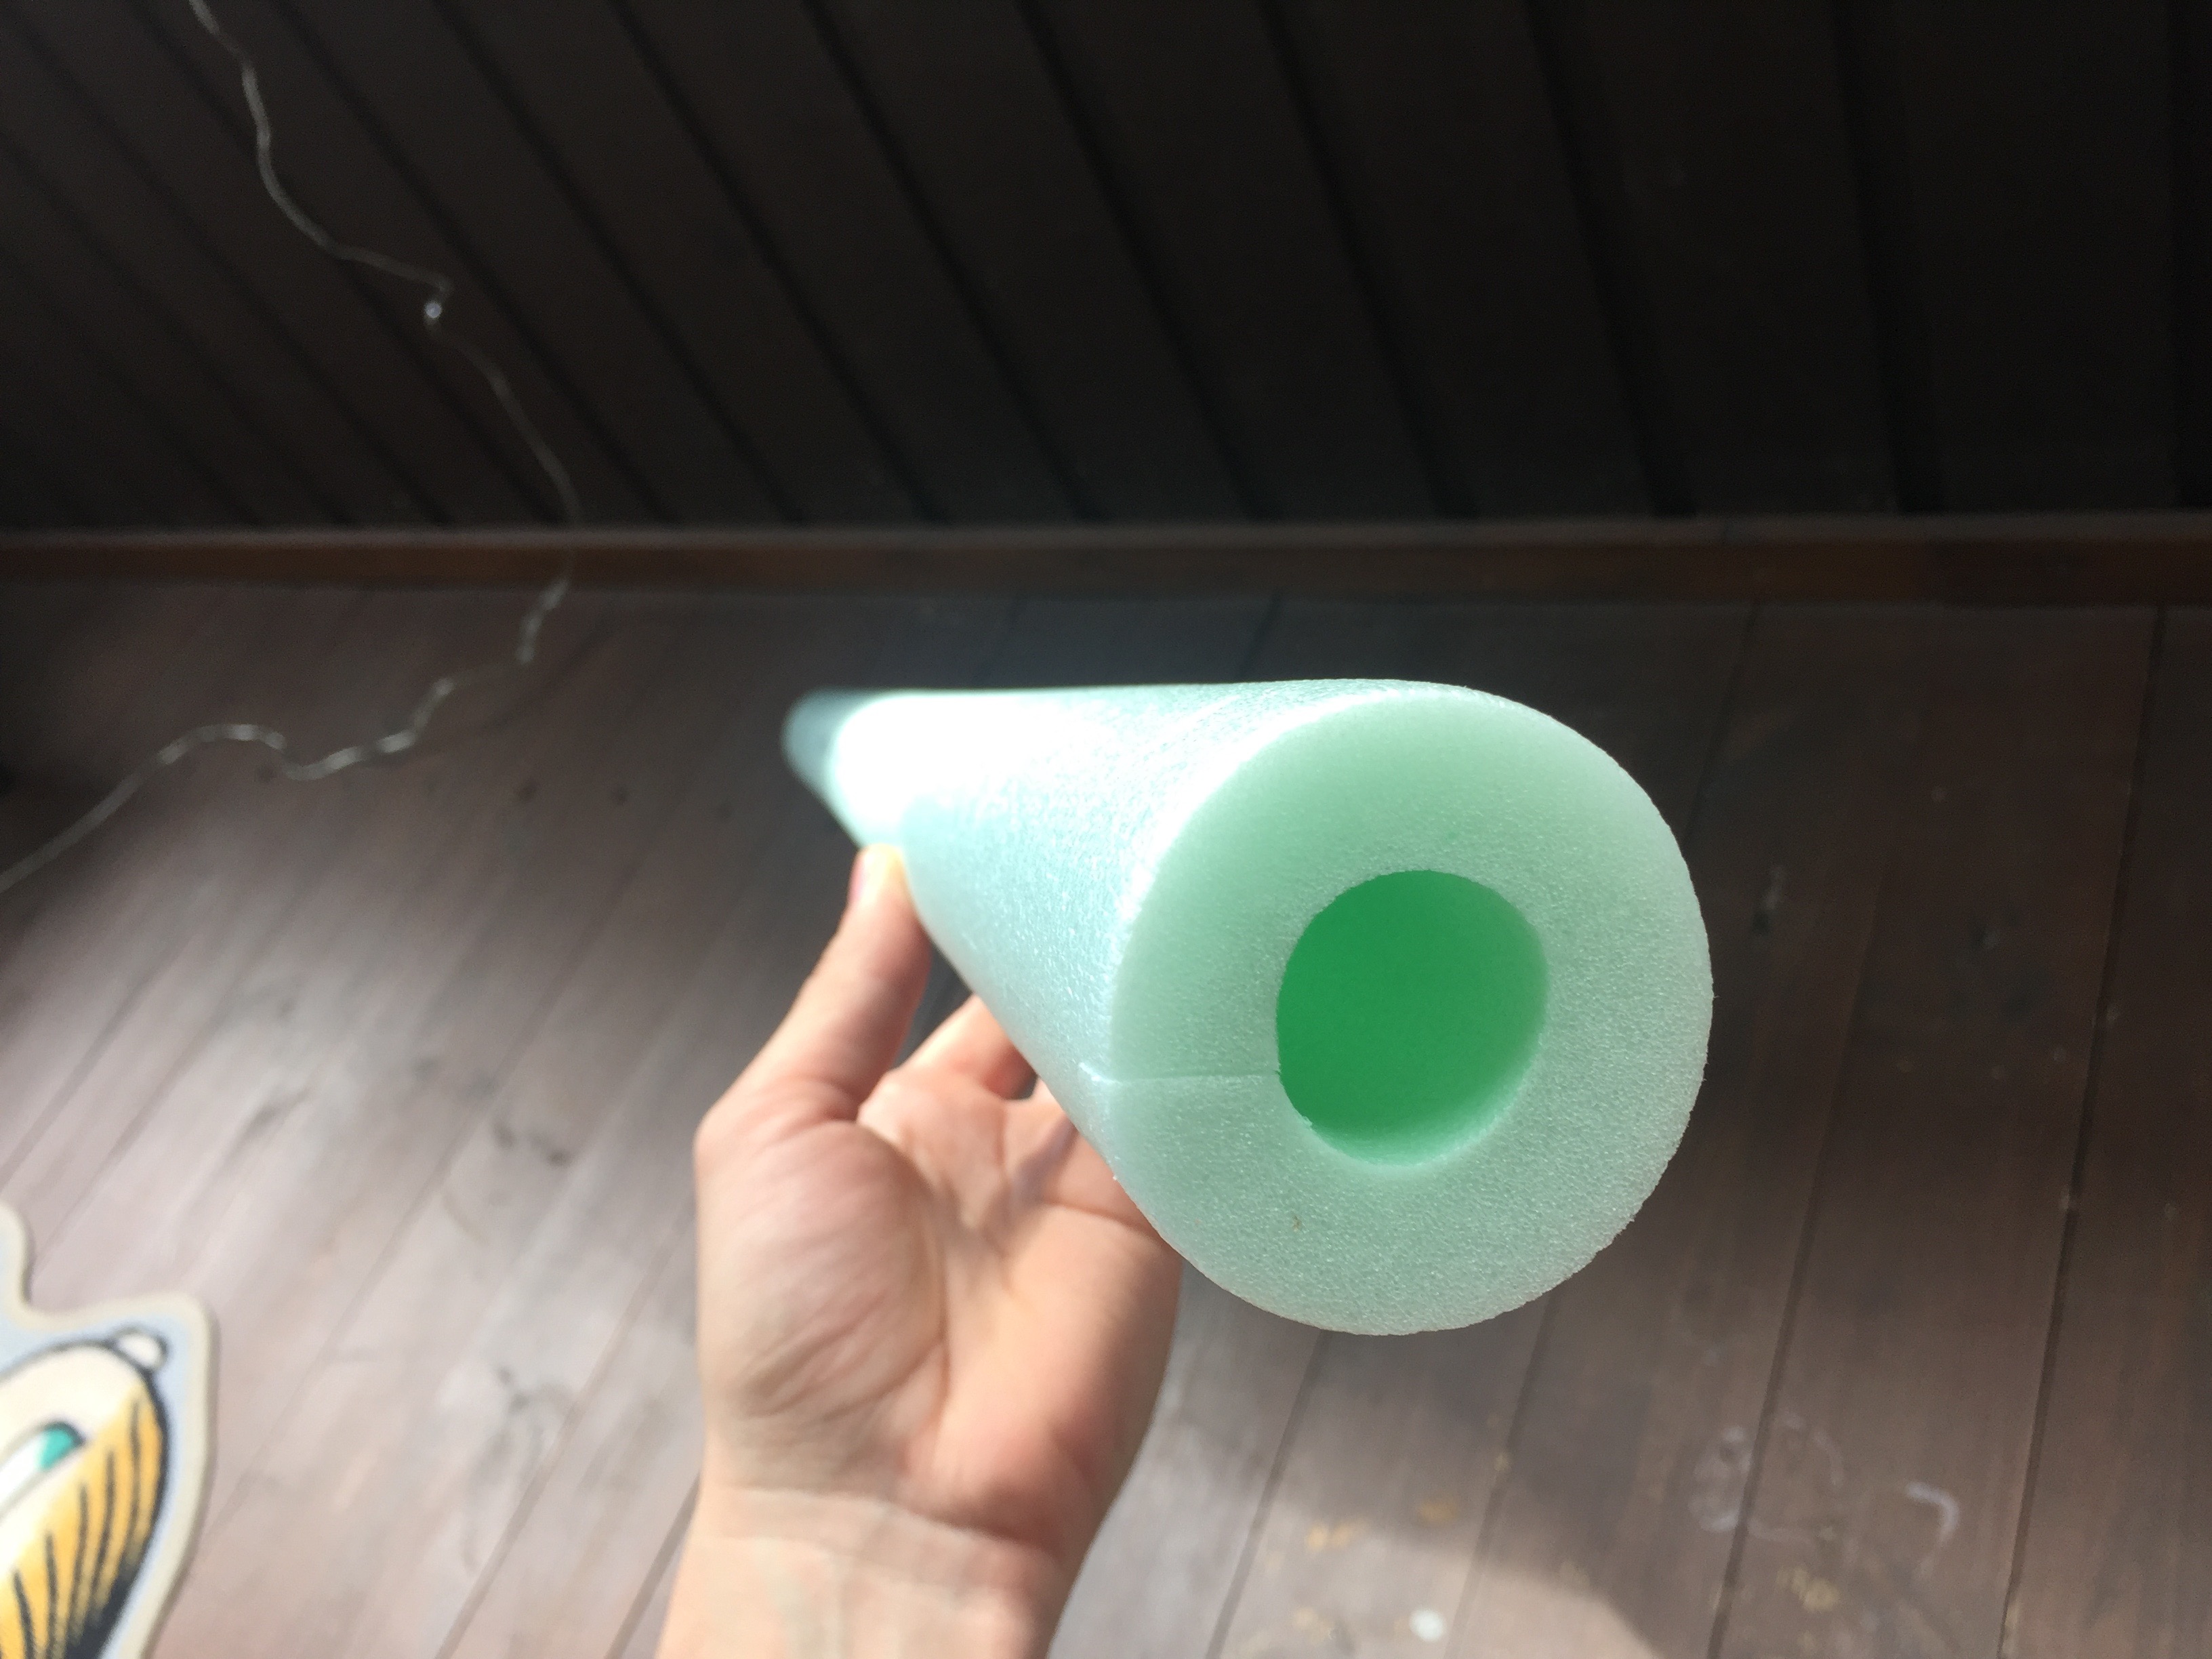
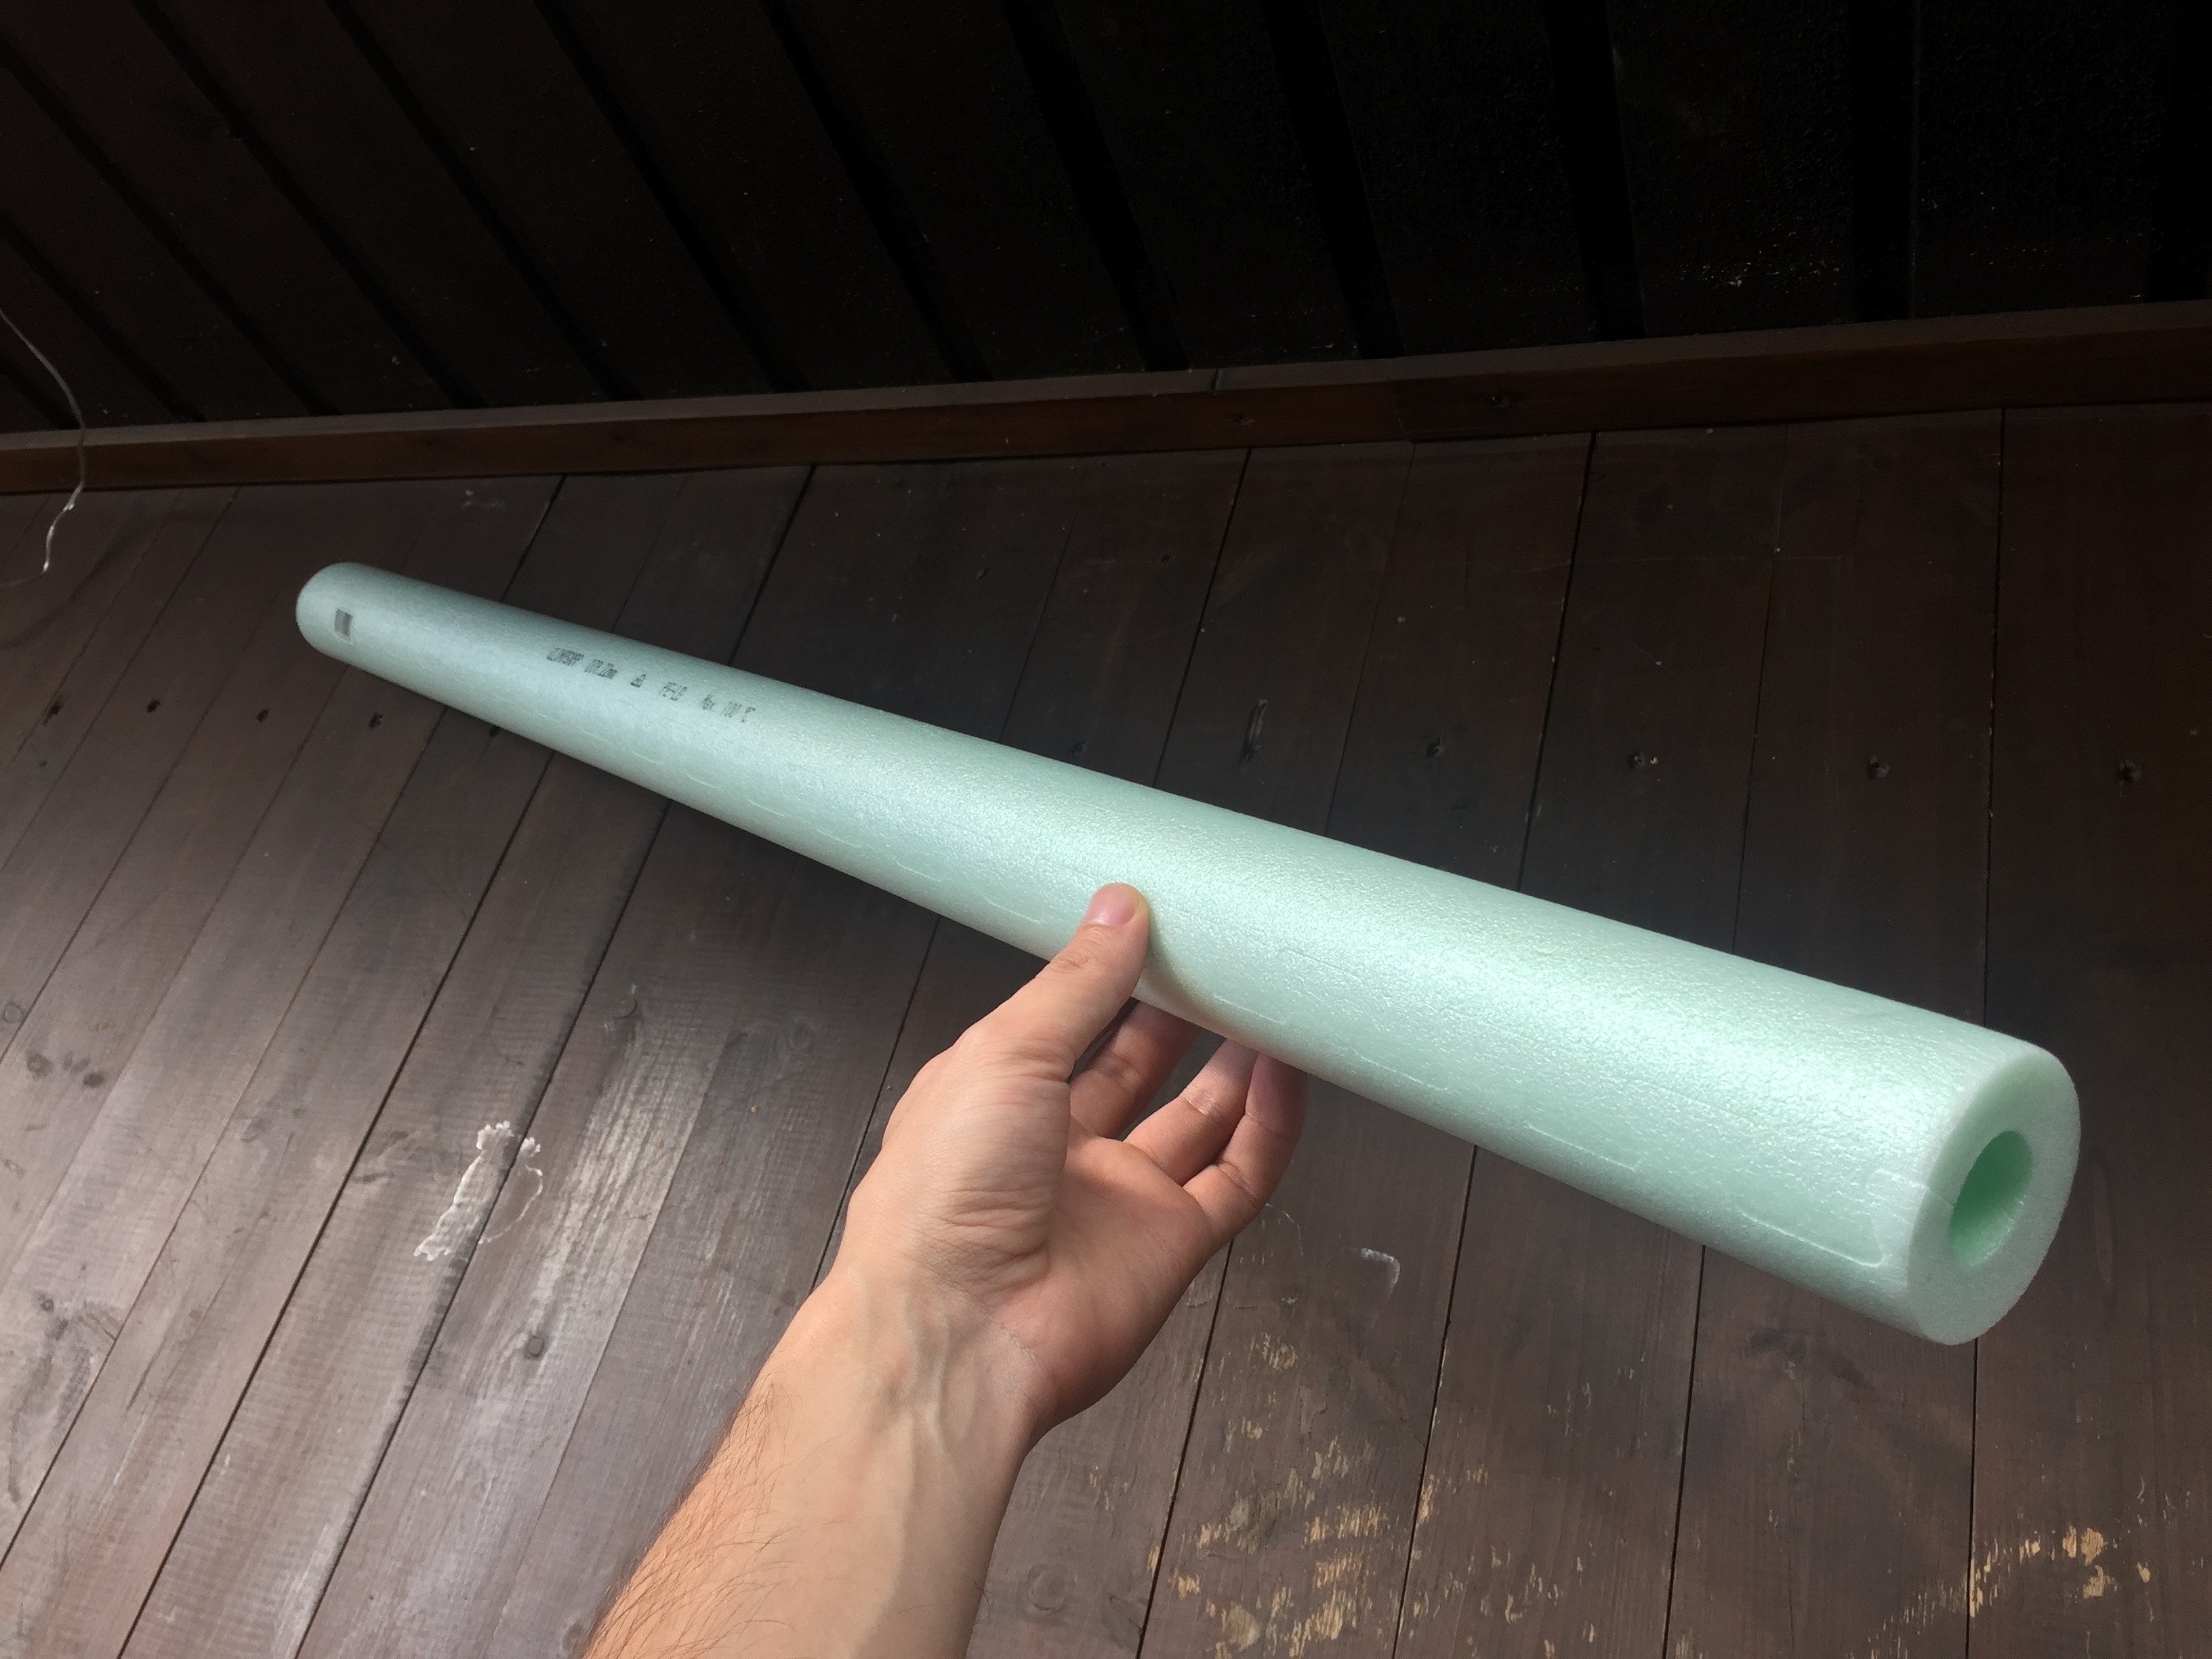
Then let’s cut it with the precious metal saw:
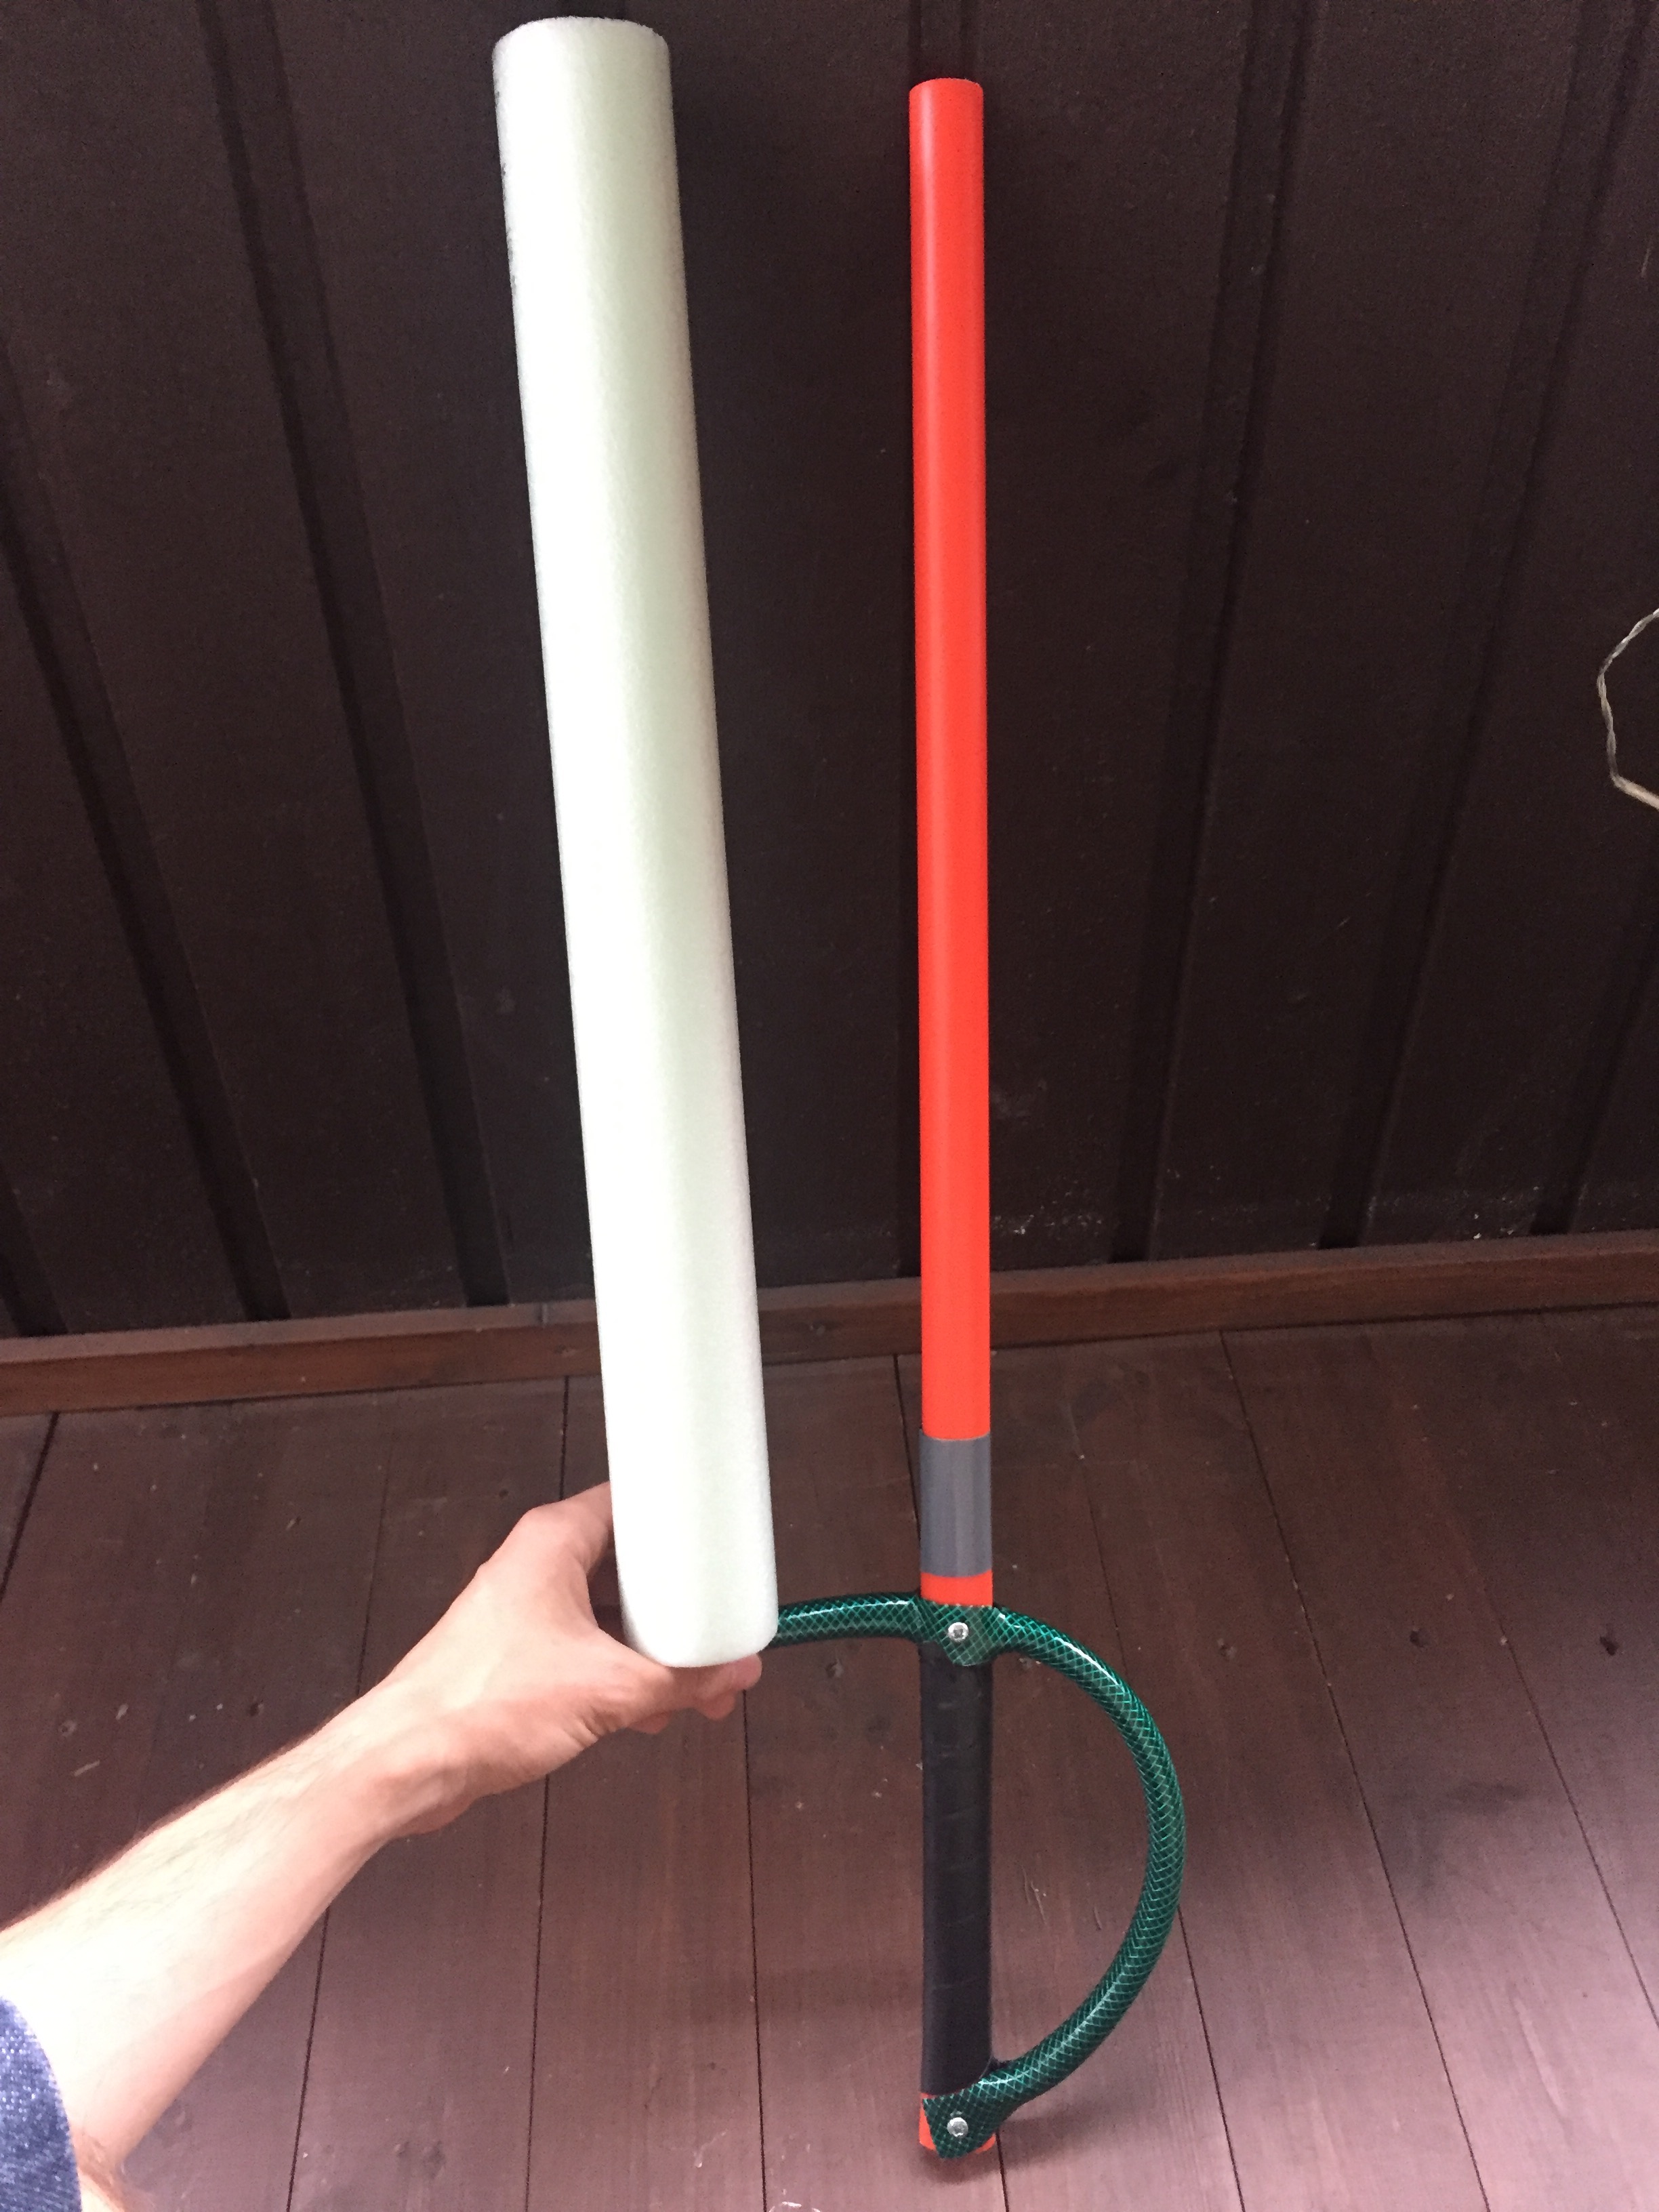
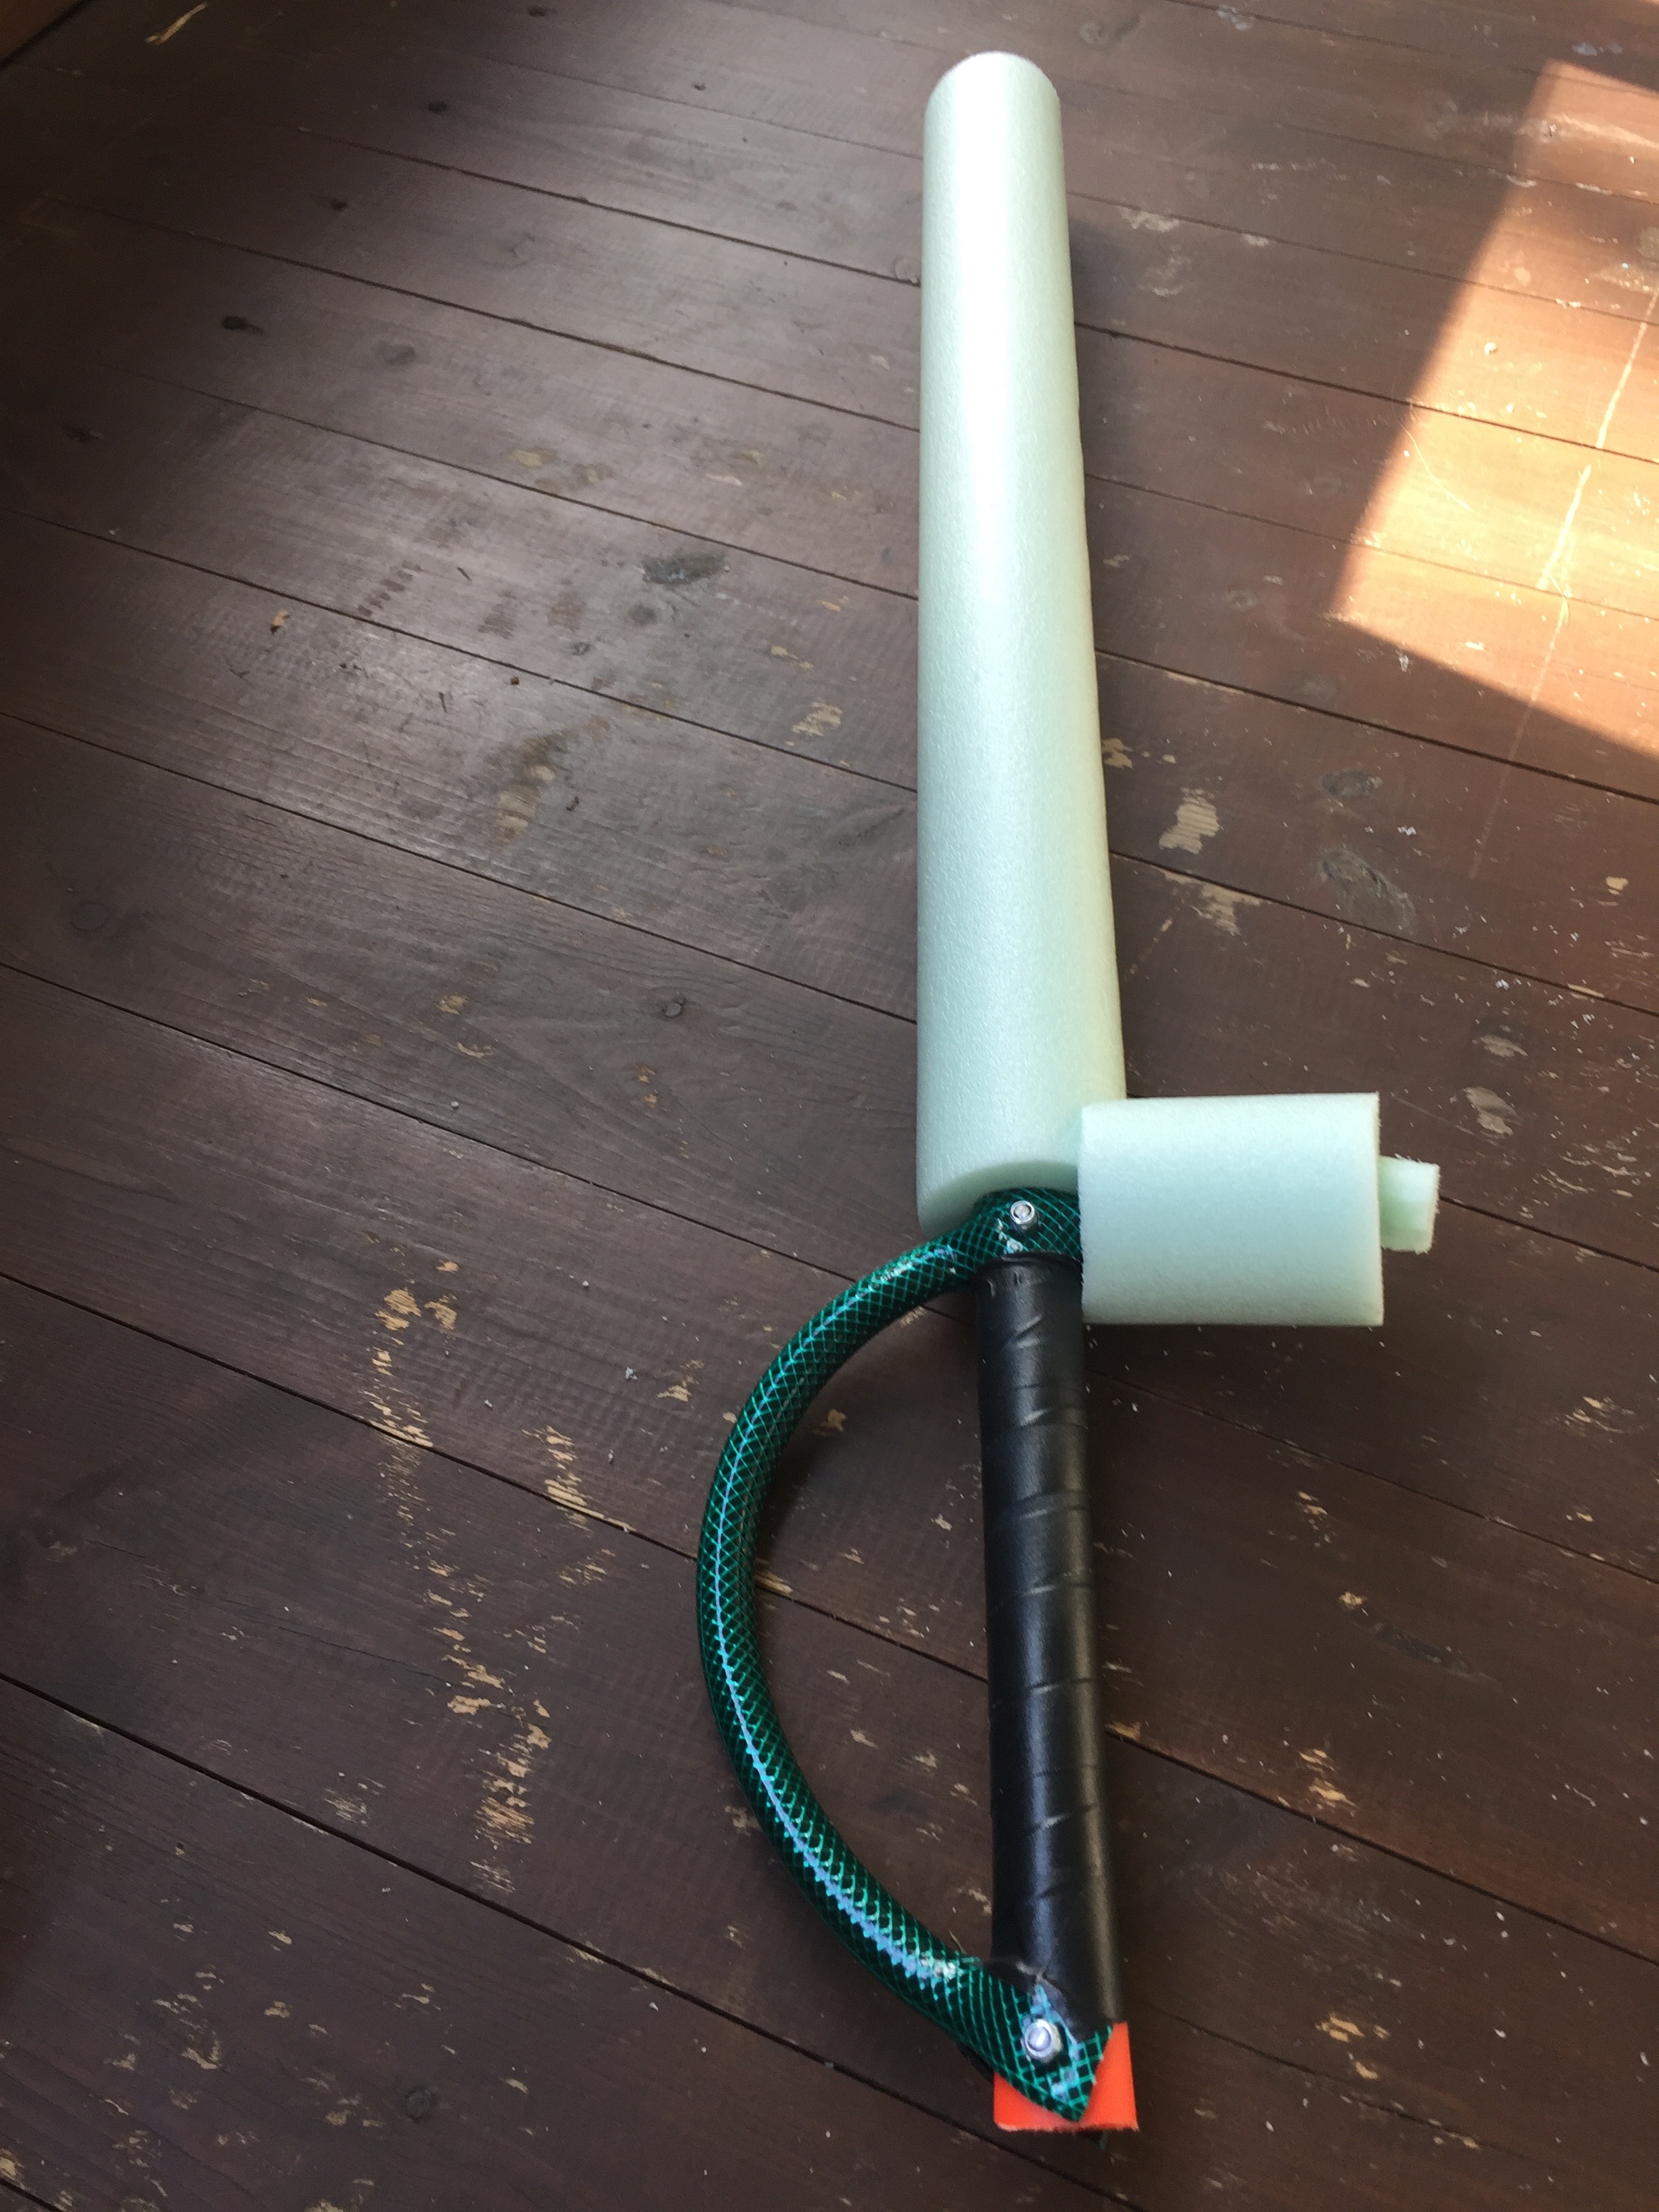
And start tapping:
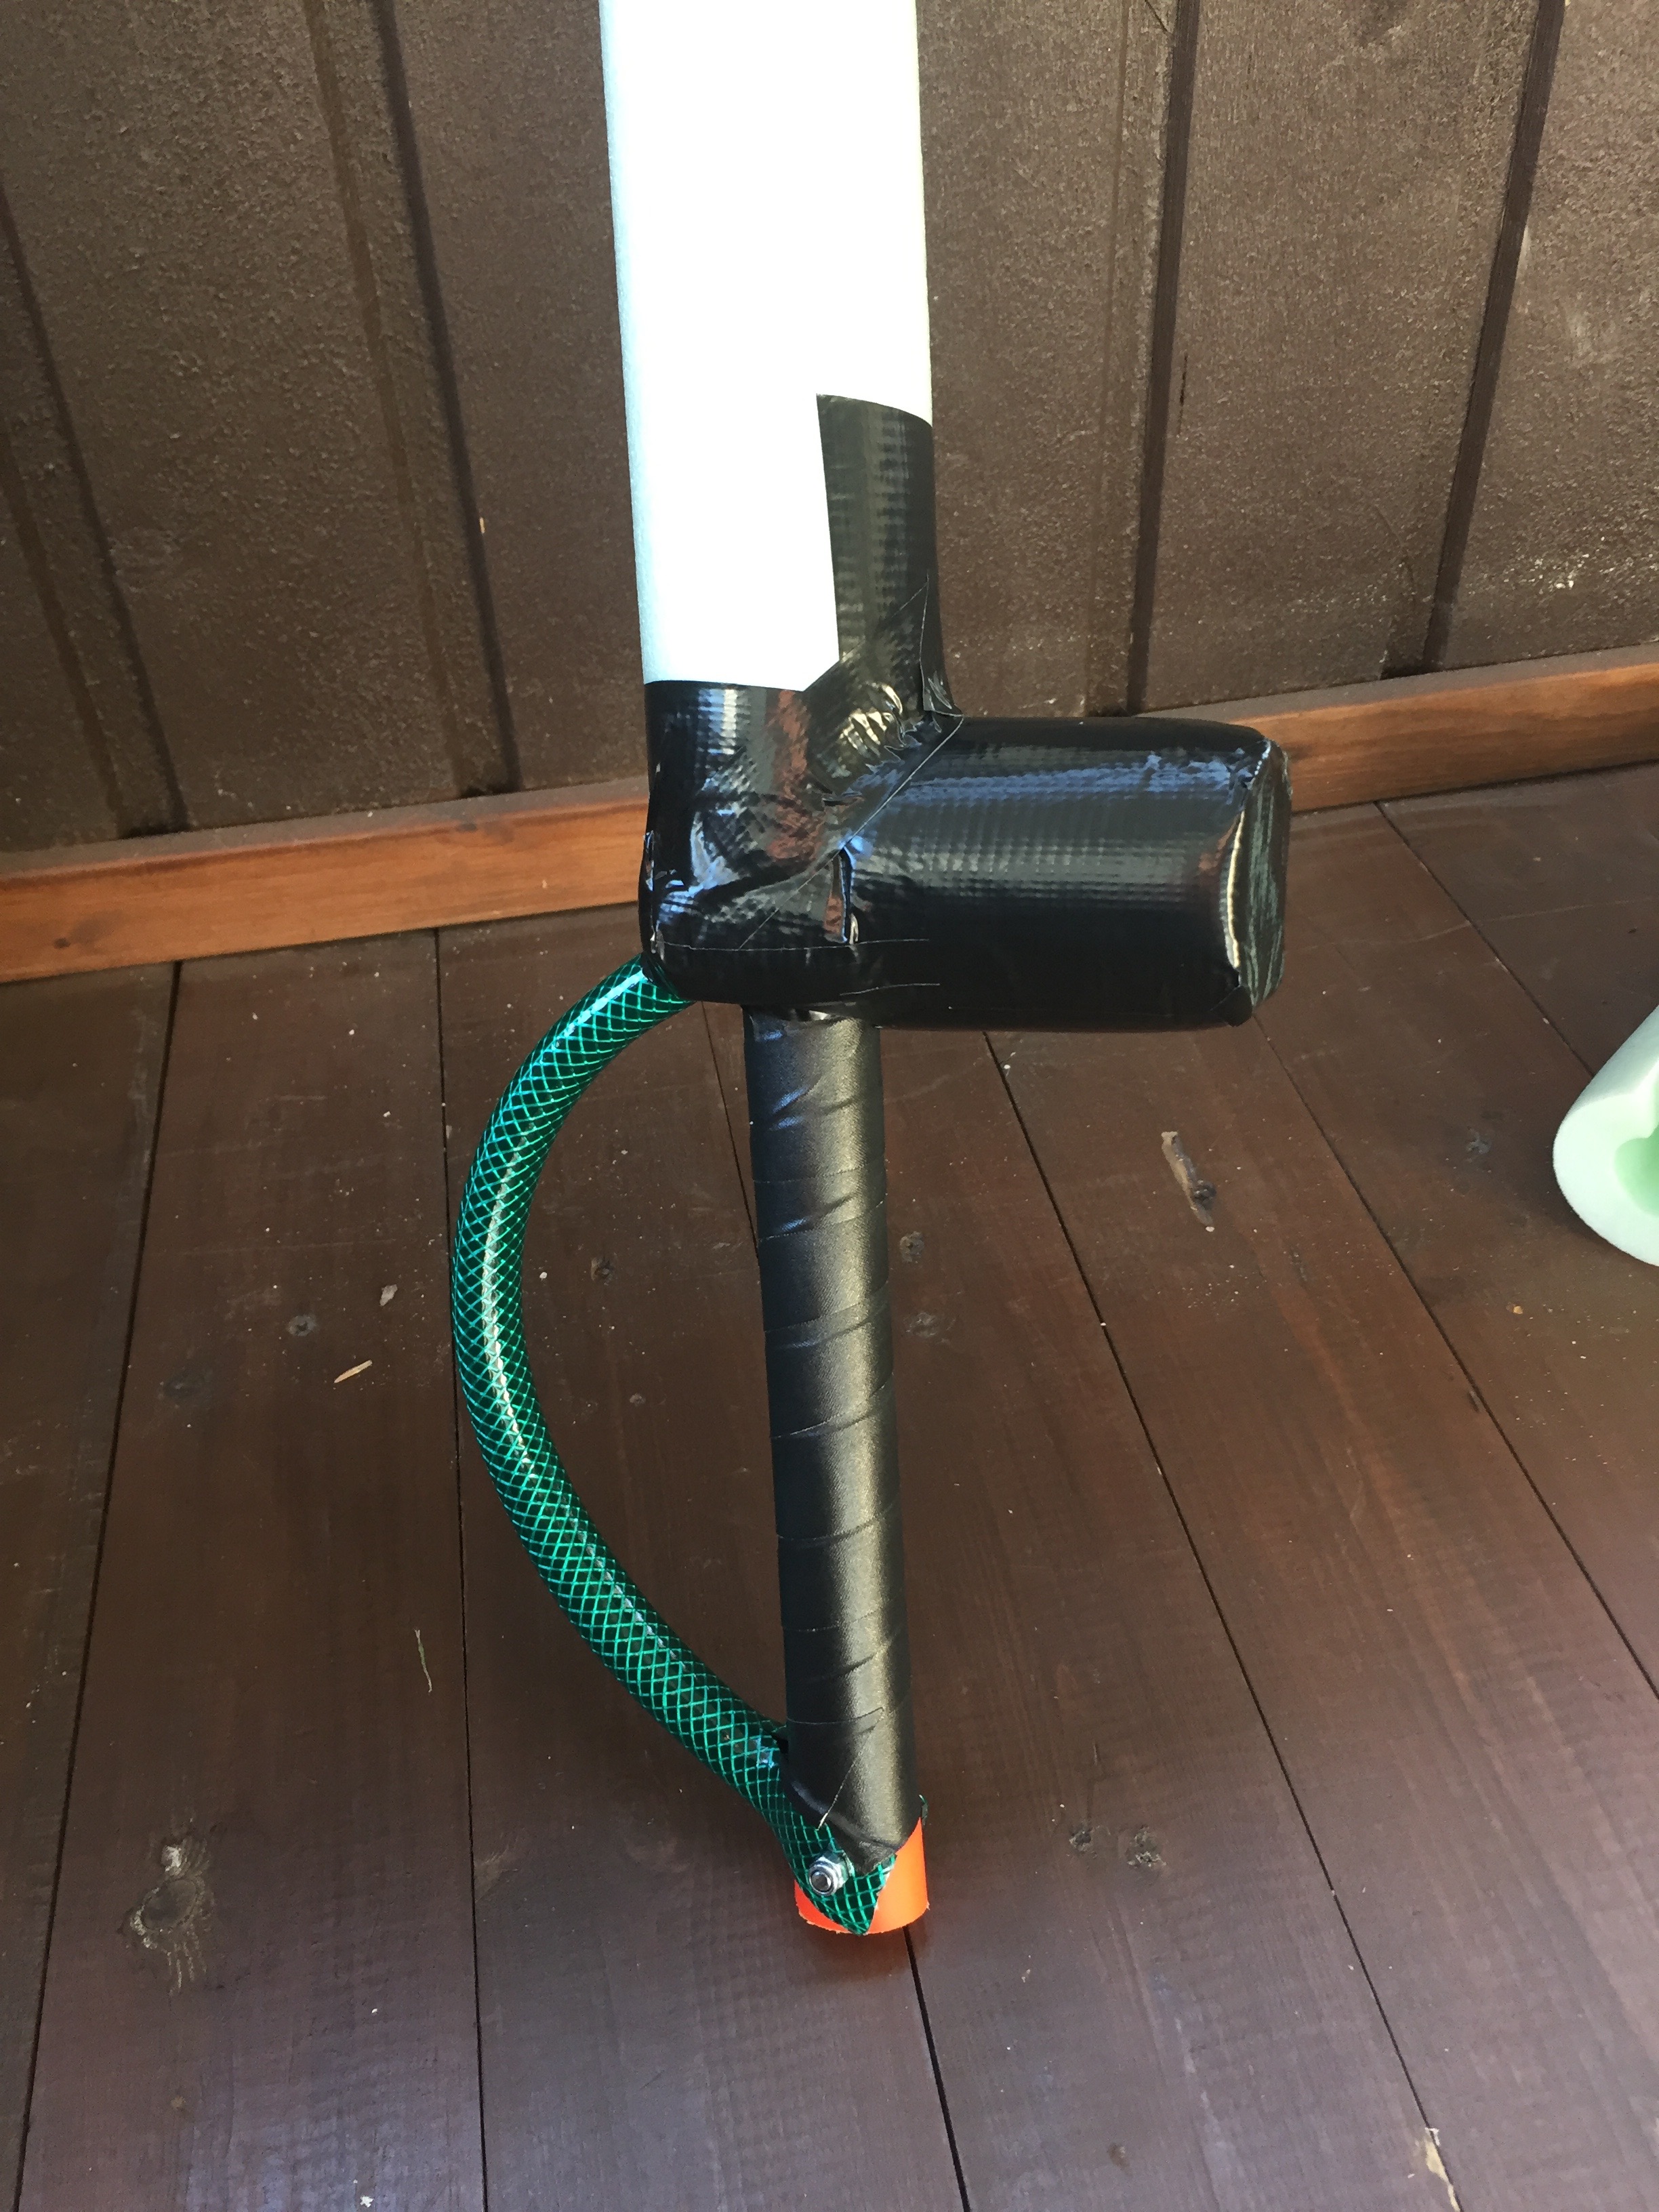
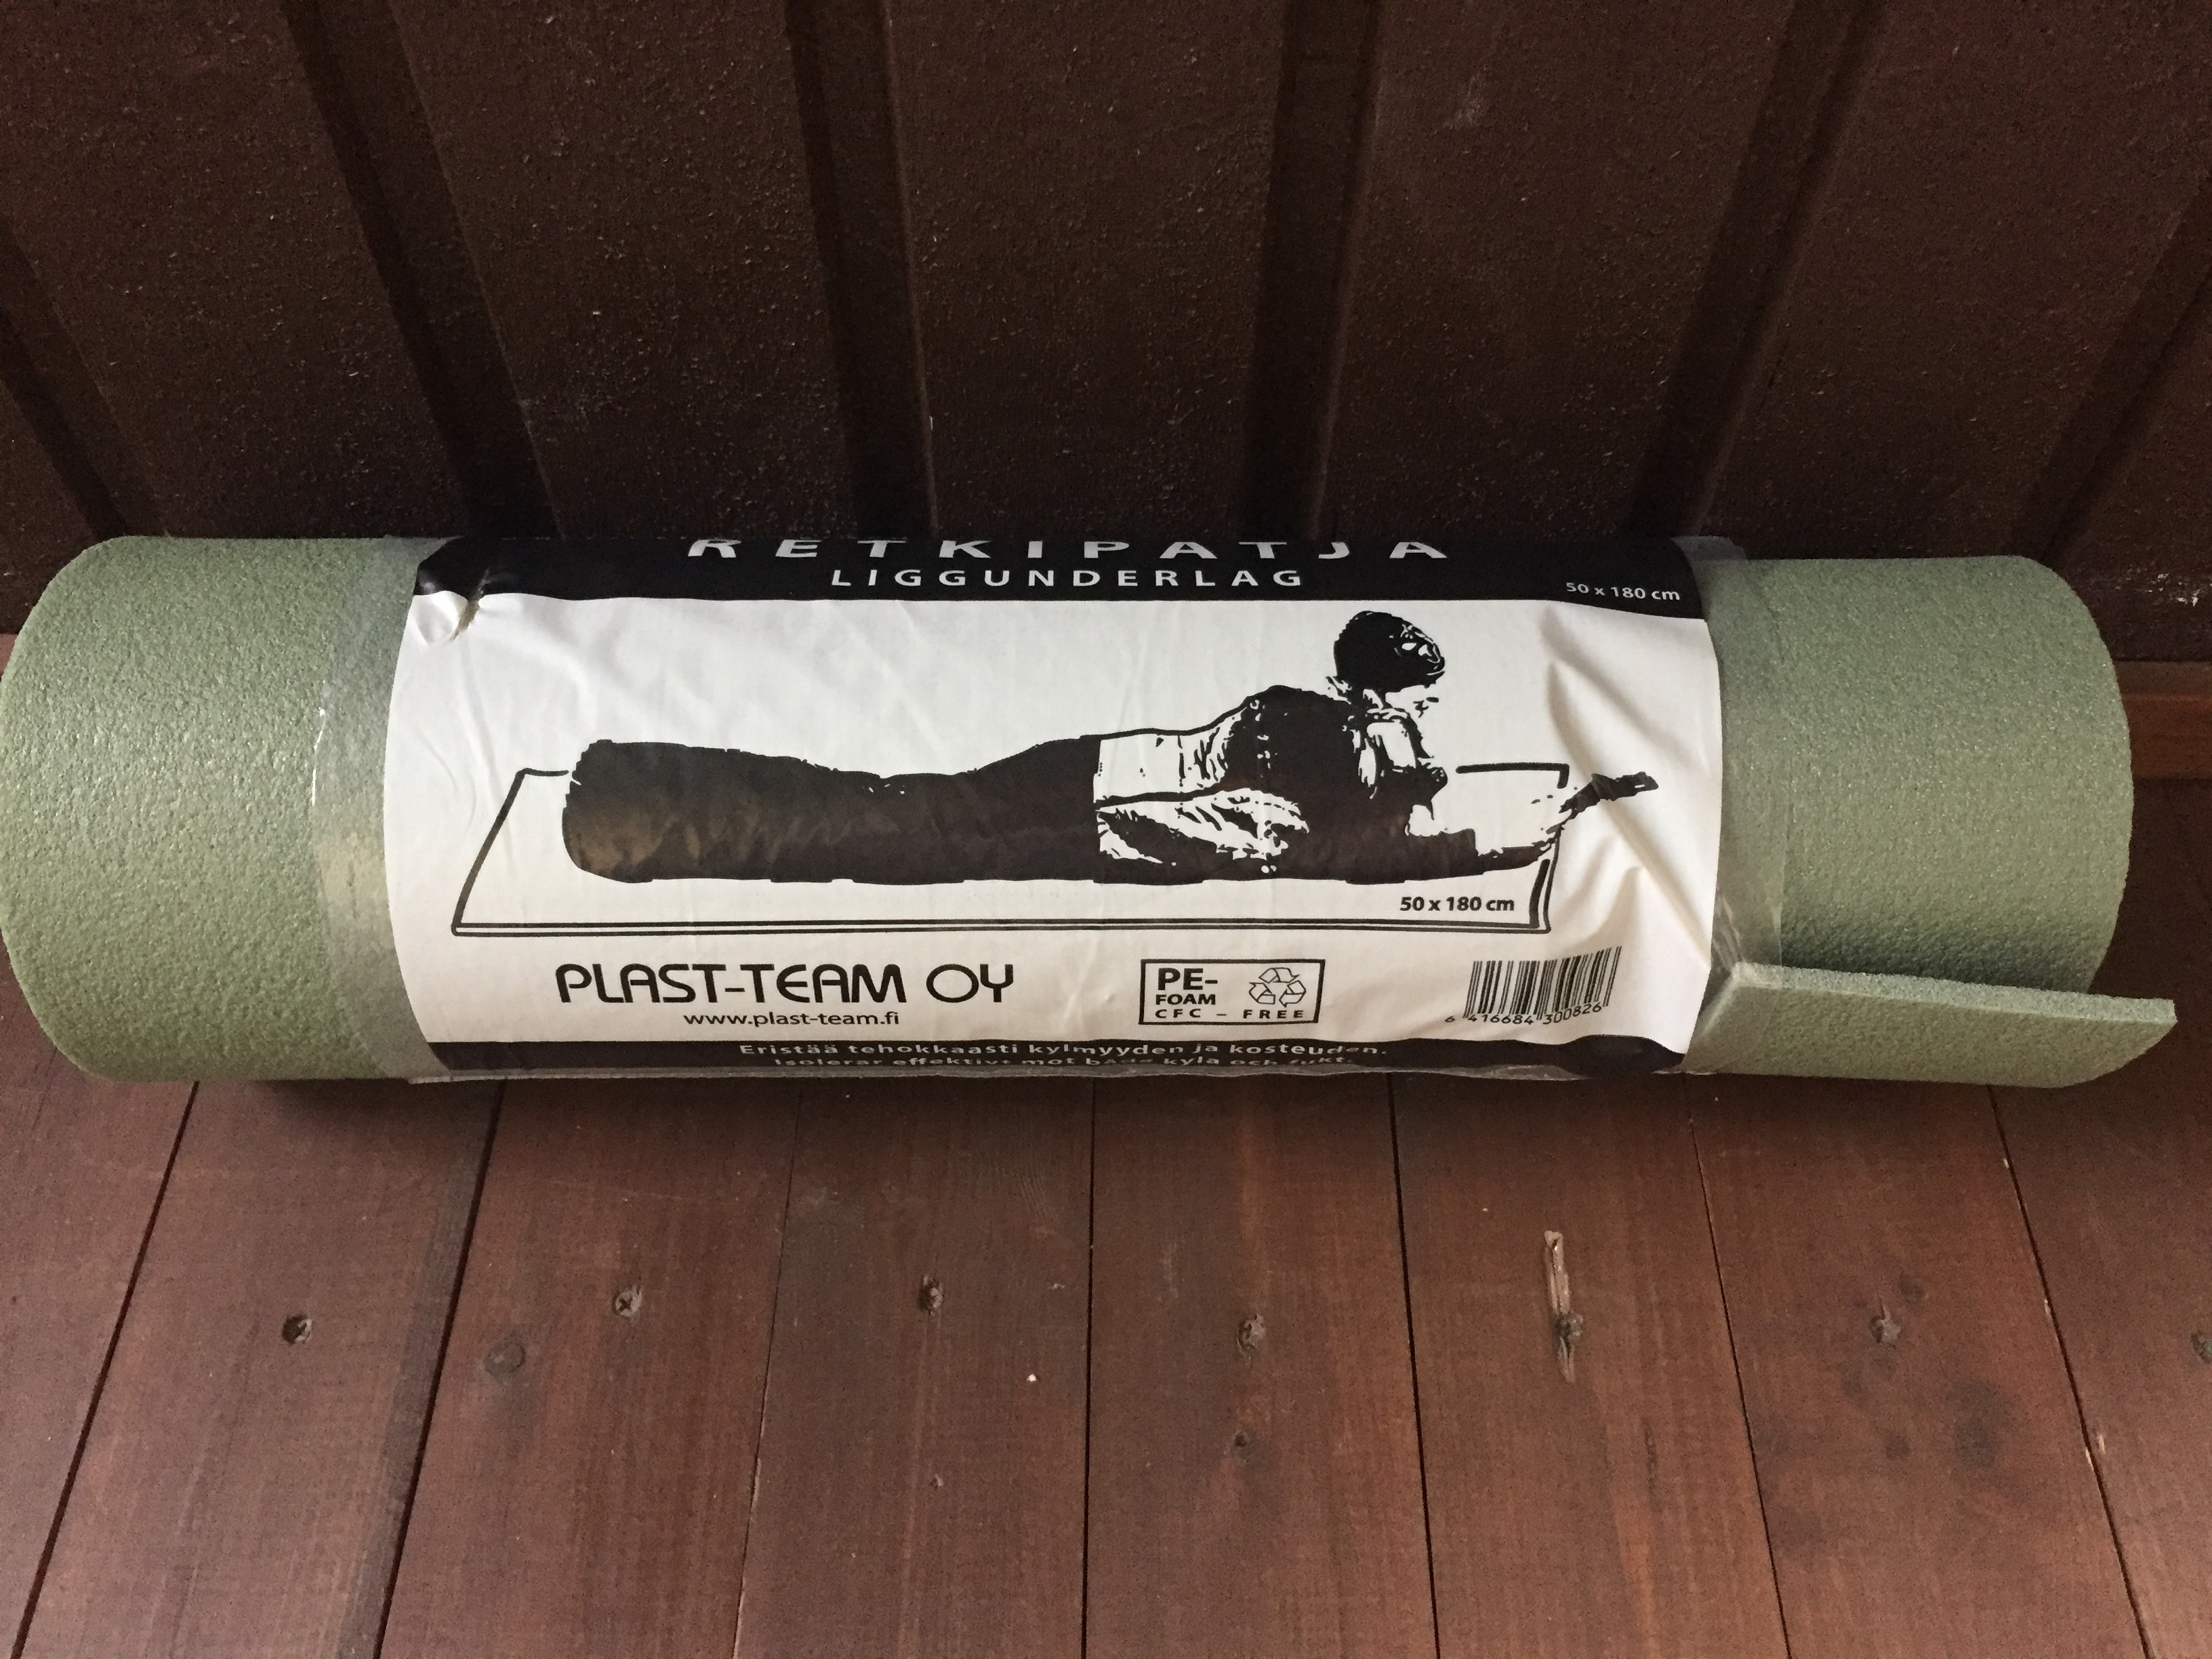
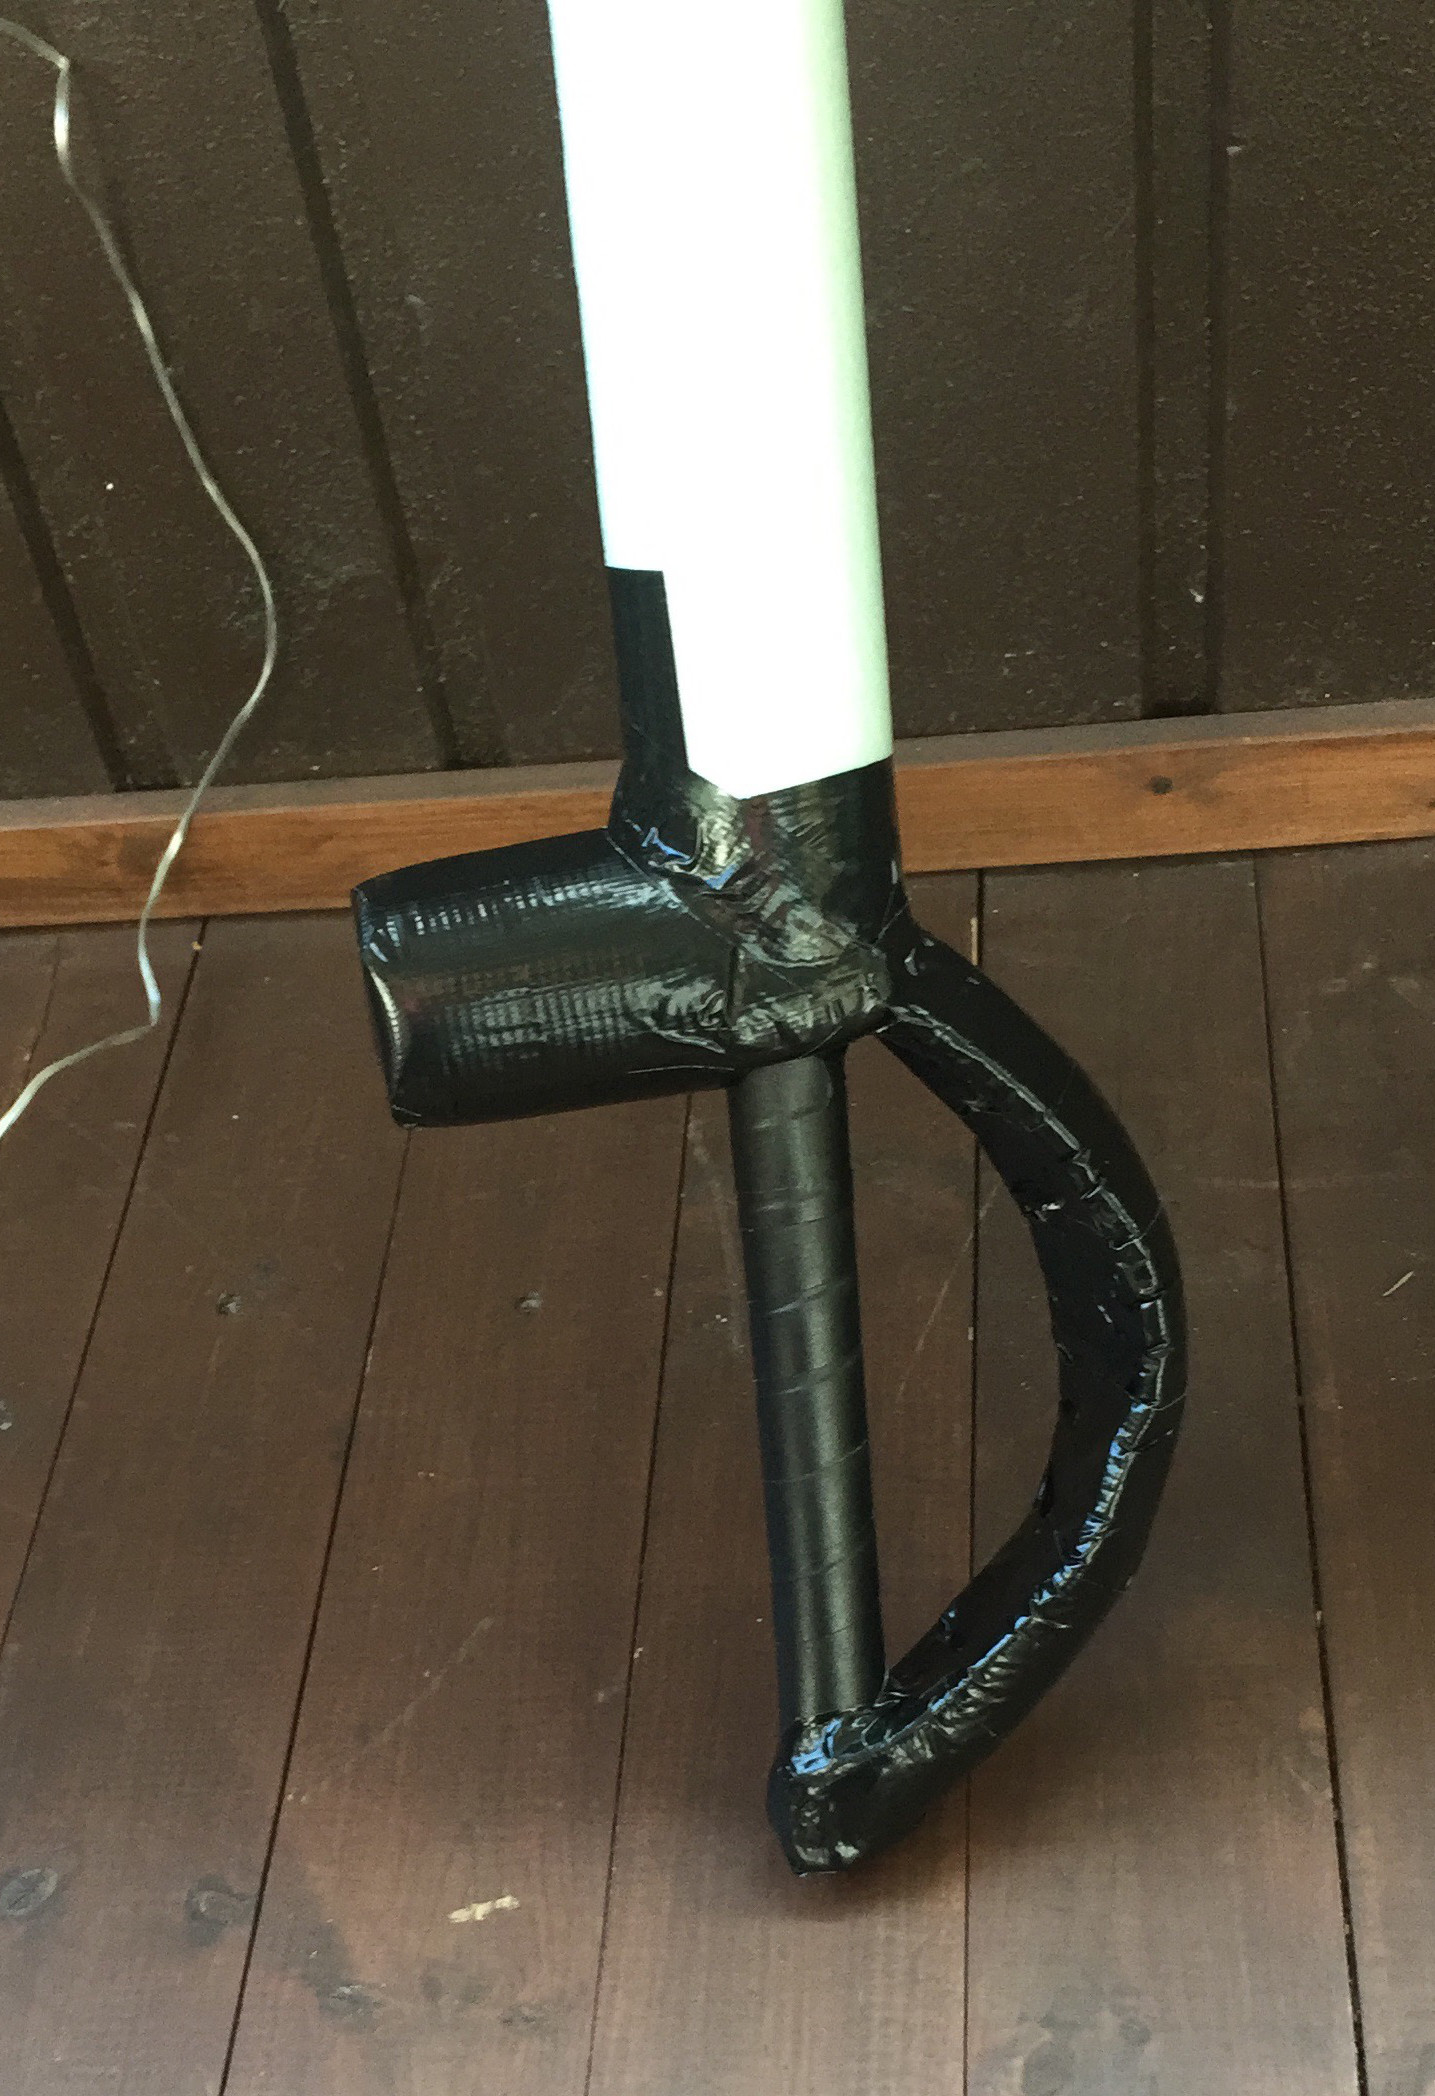
Then using a gym mat bought from Etola for 4.95€, let’s shape up the hand guard:
Then for the tip of the sword, I used some foam bought from Etola. ~93€ the square meter, so this is actually quite expensive, but we don’t need that much, I only bought a small piece.
The tip of the sword needs to be soft enough for stabs and you shouldn’t be able to feel the plastic tube. Also the finnish boffer rules allow us to hit on the face so it needs to be big enough to prevent it from going inside the eyes.
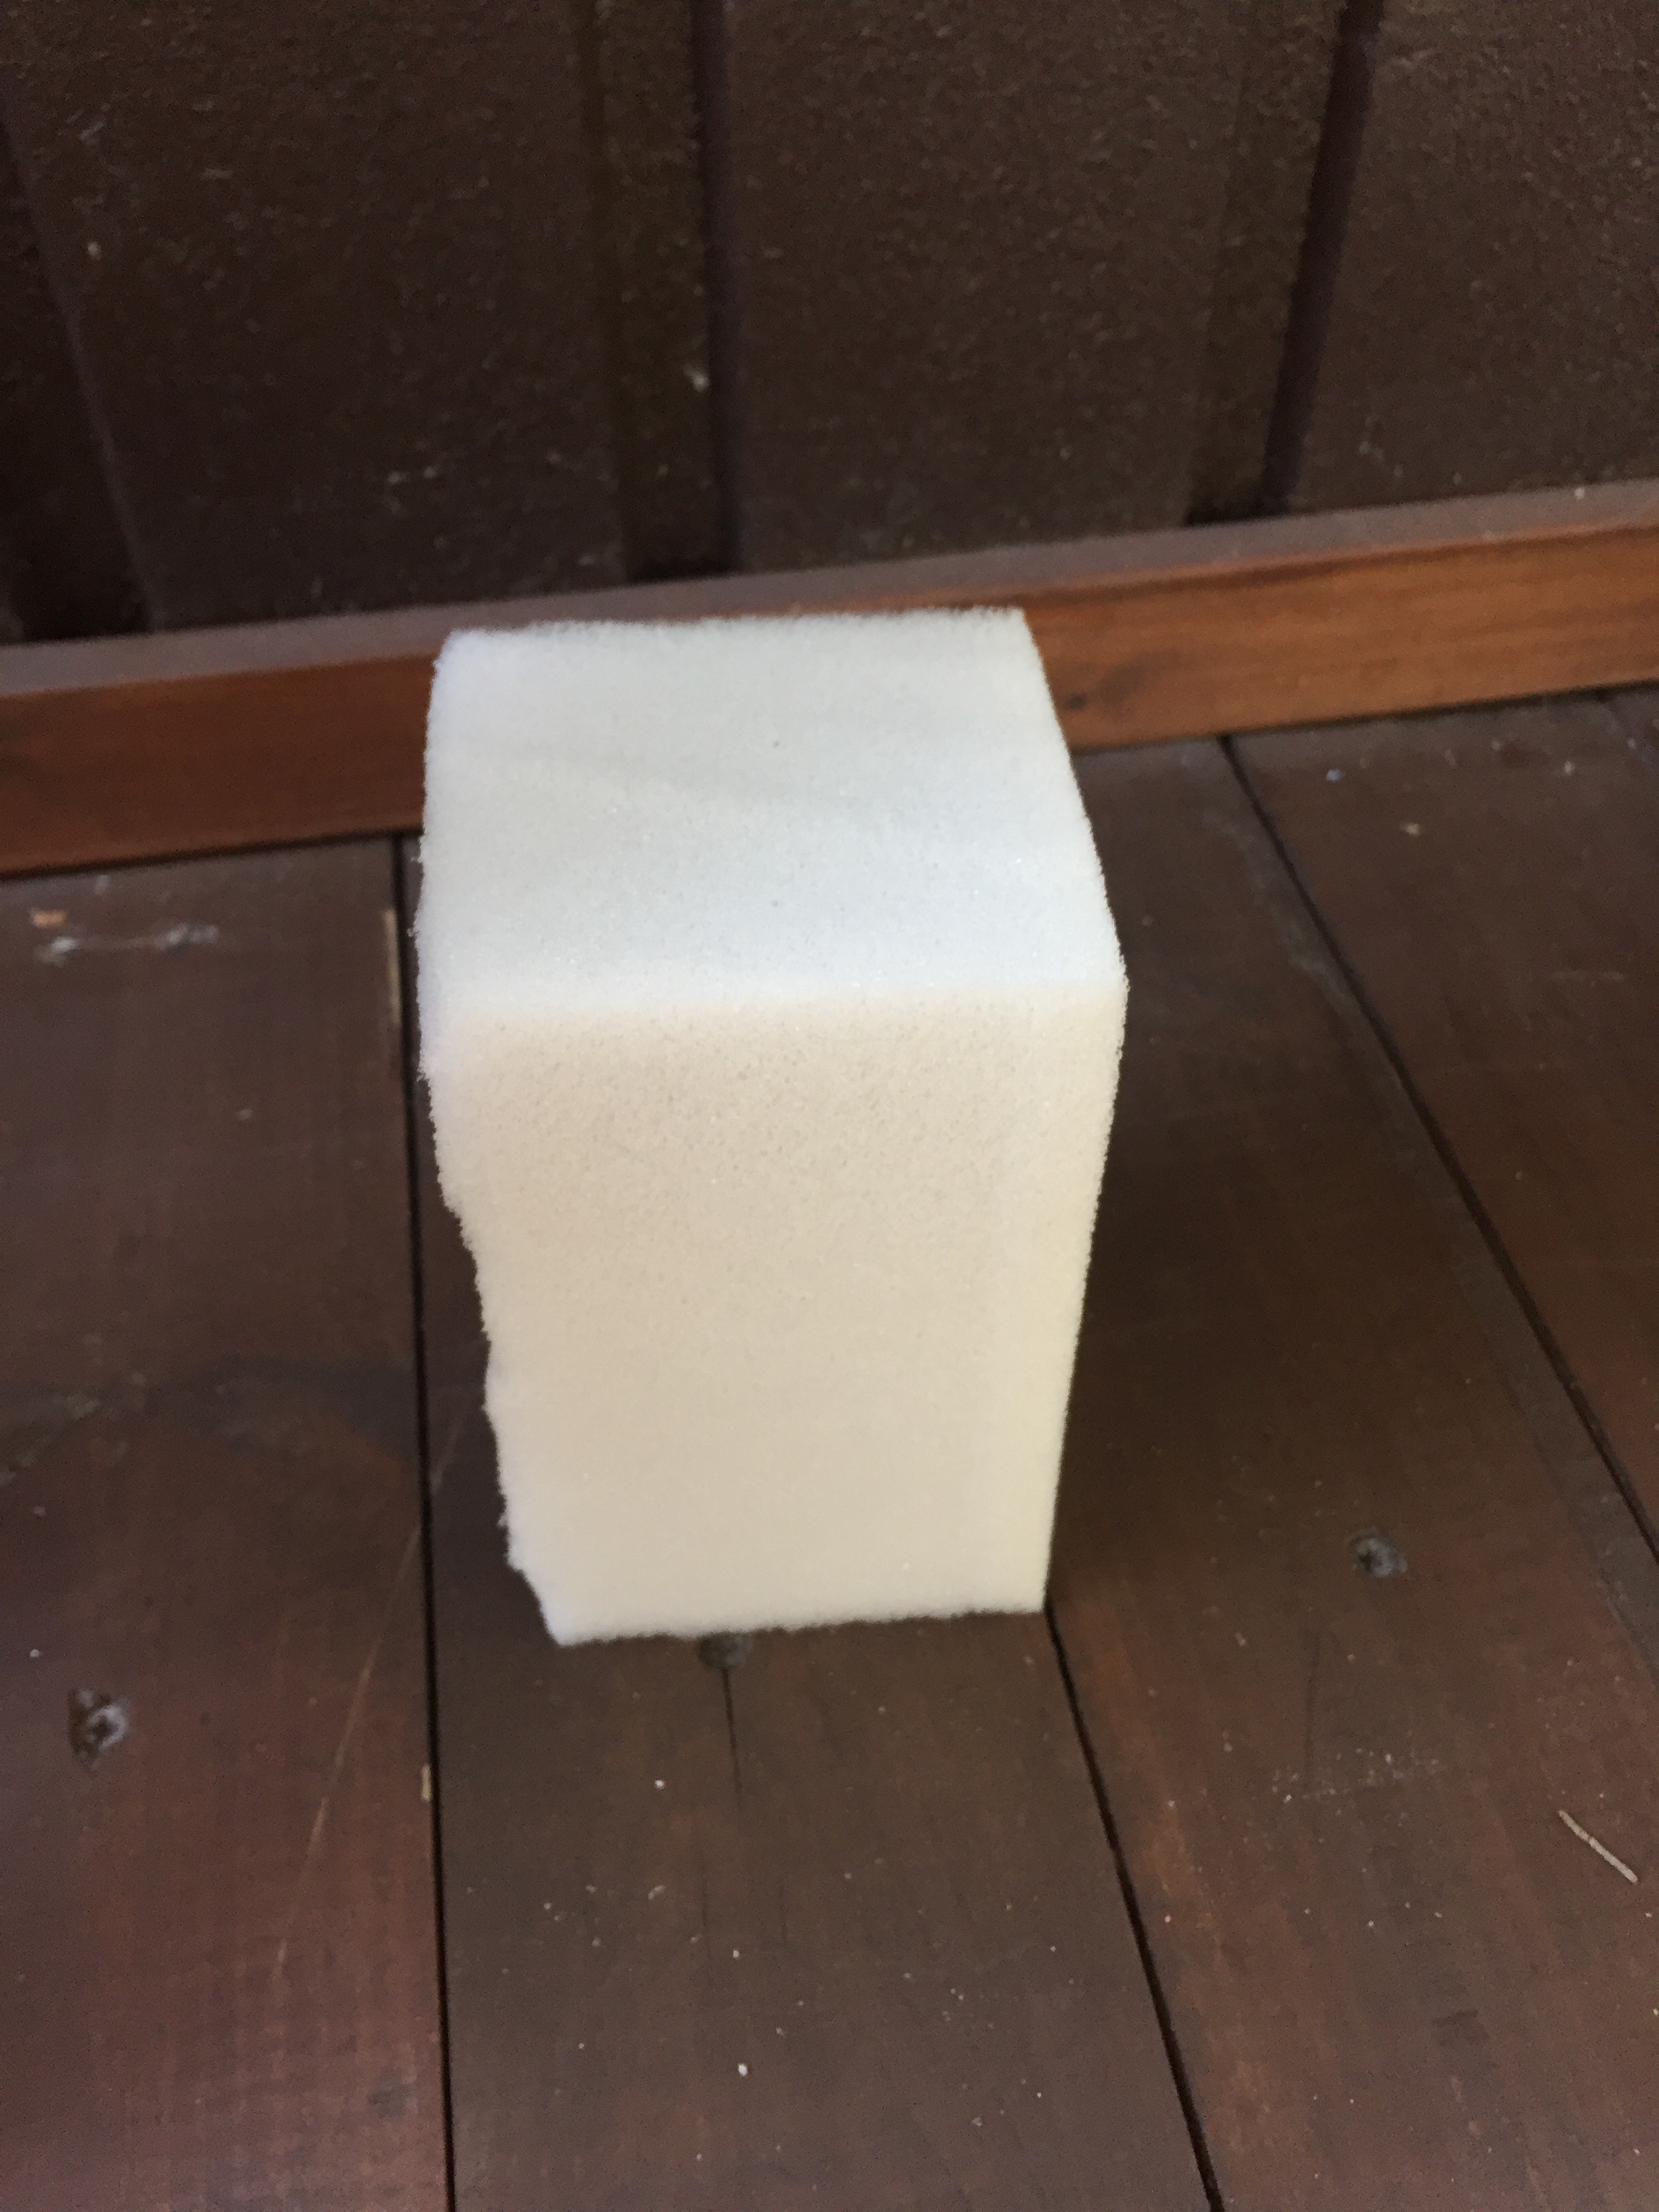
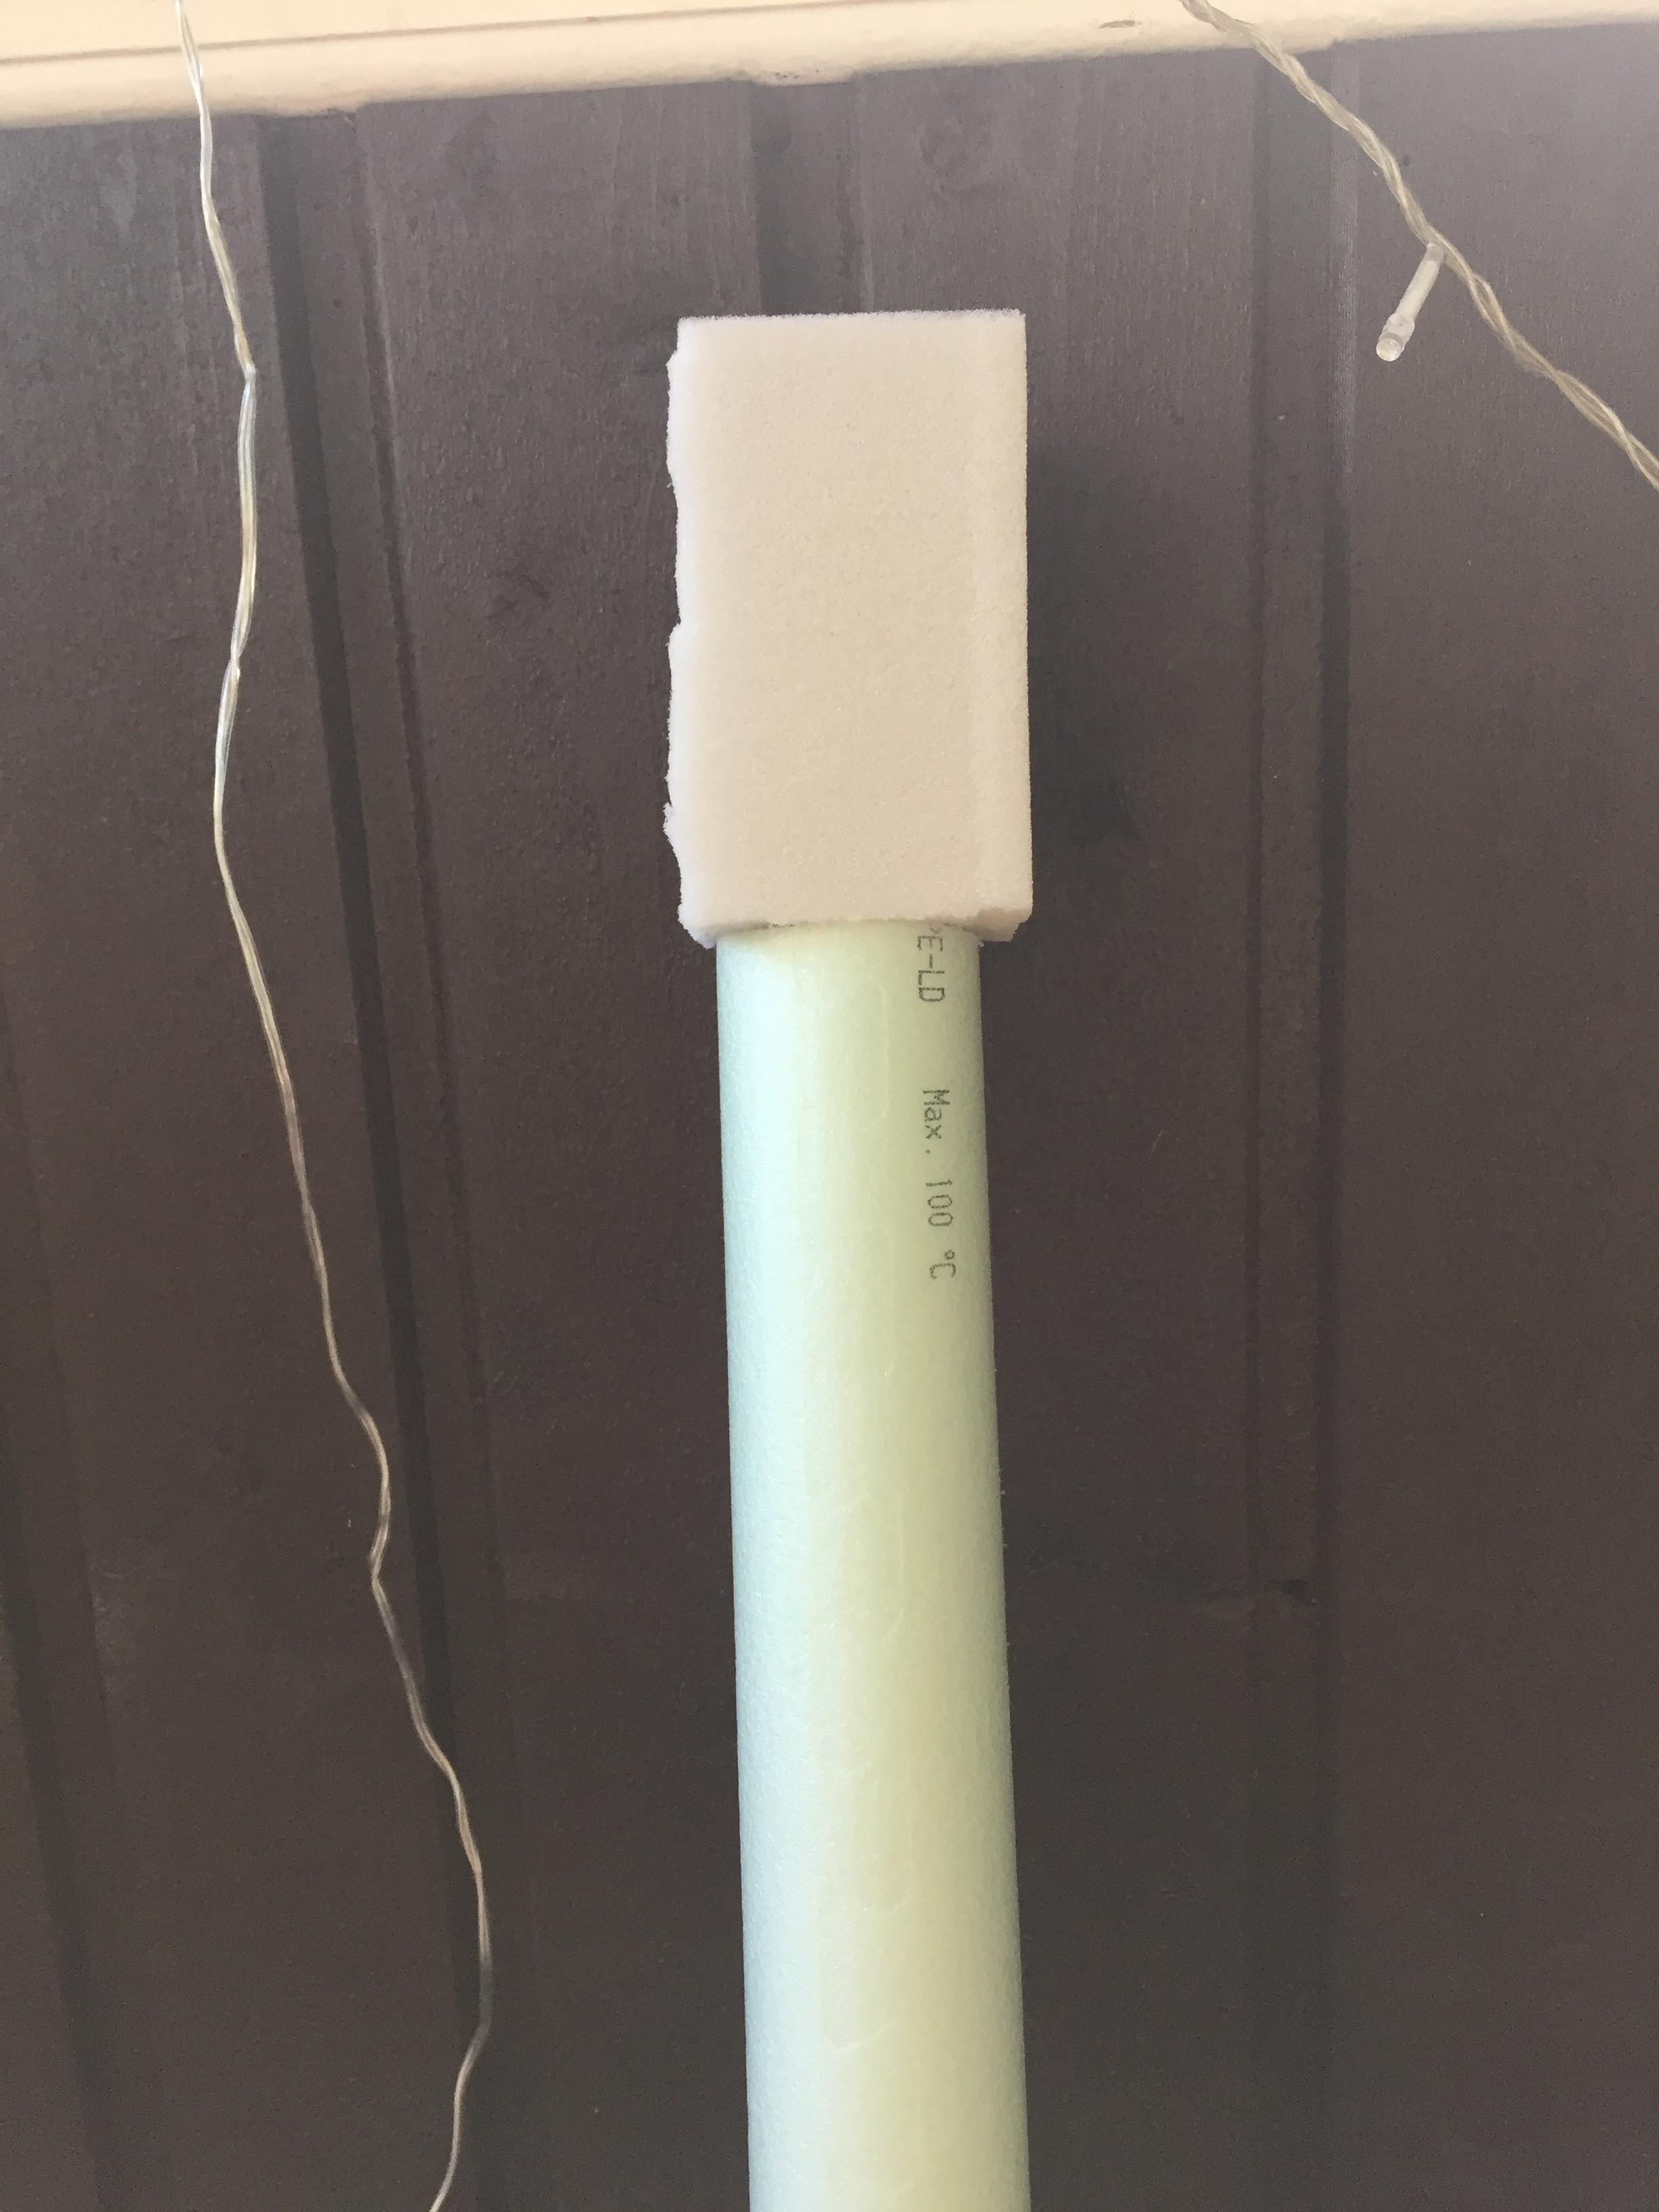
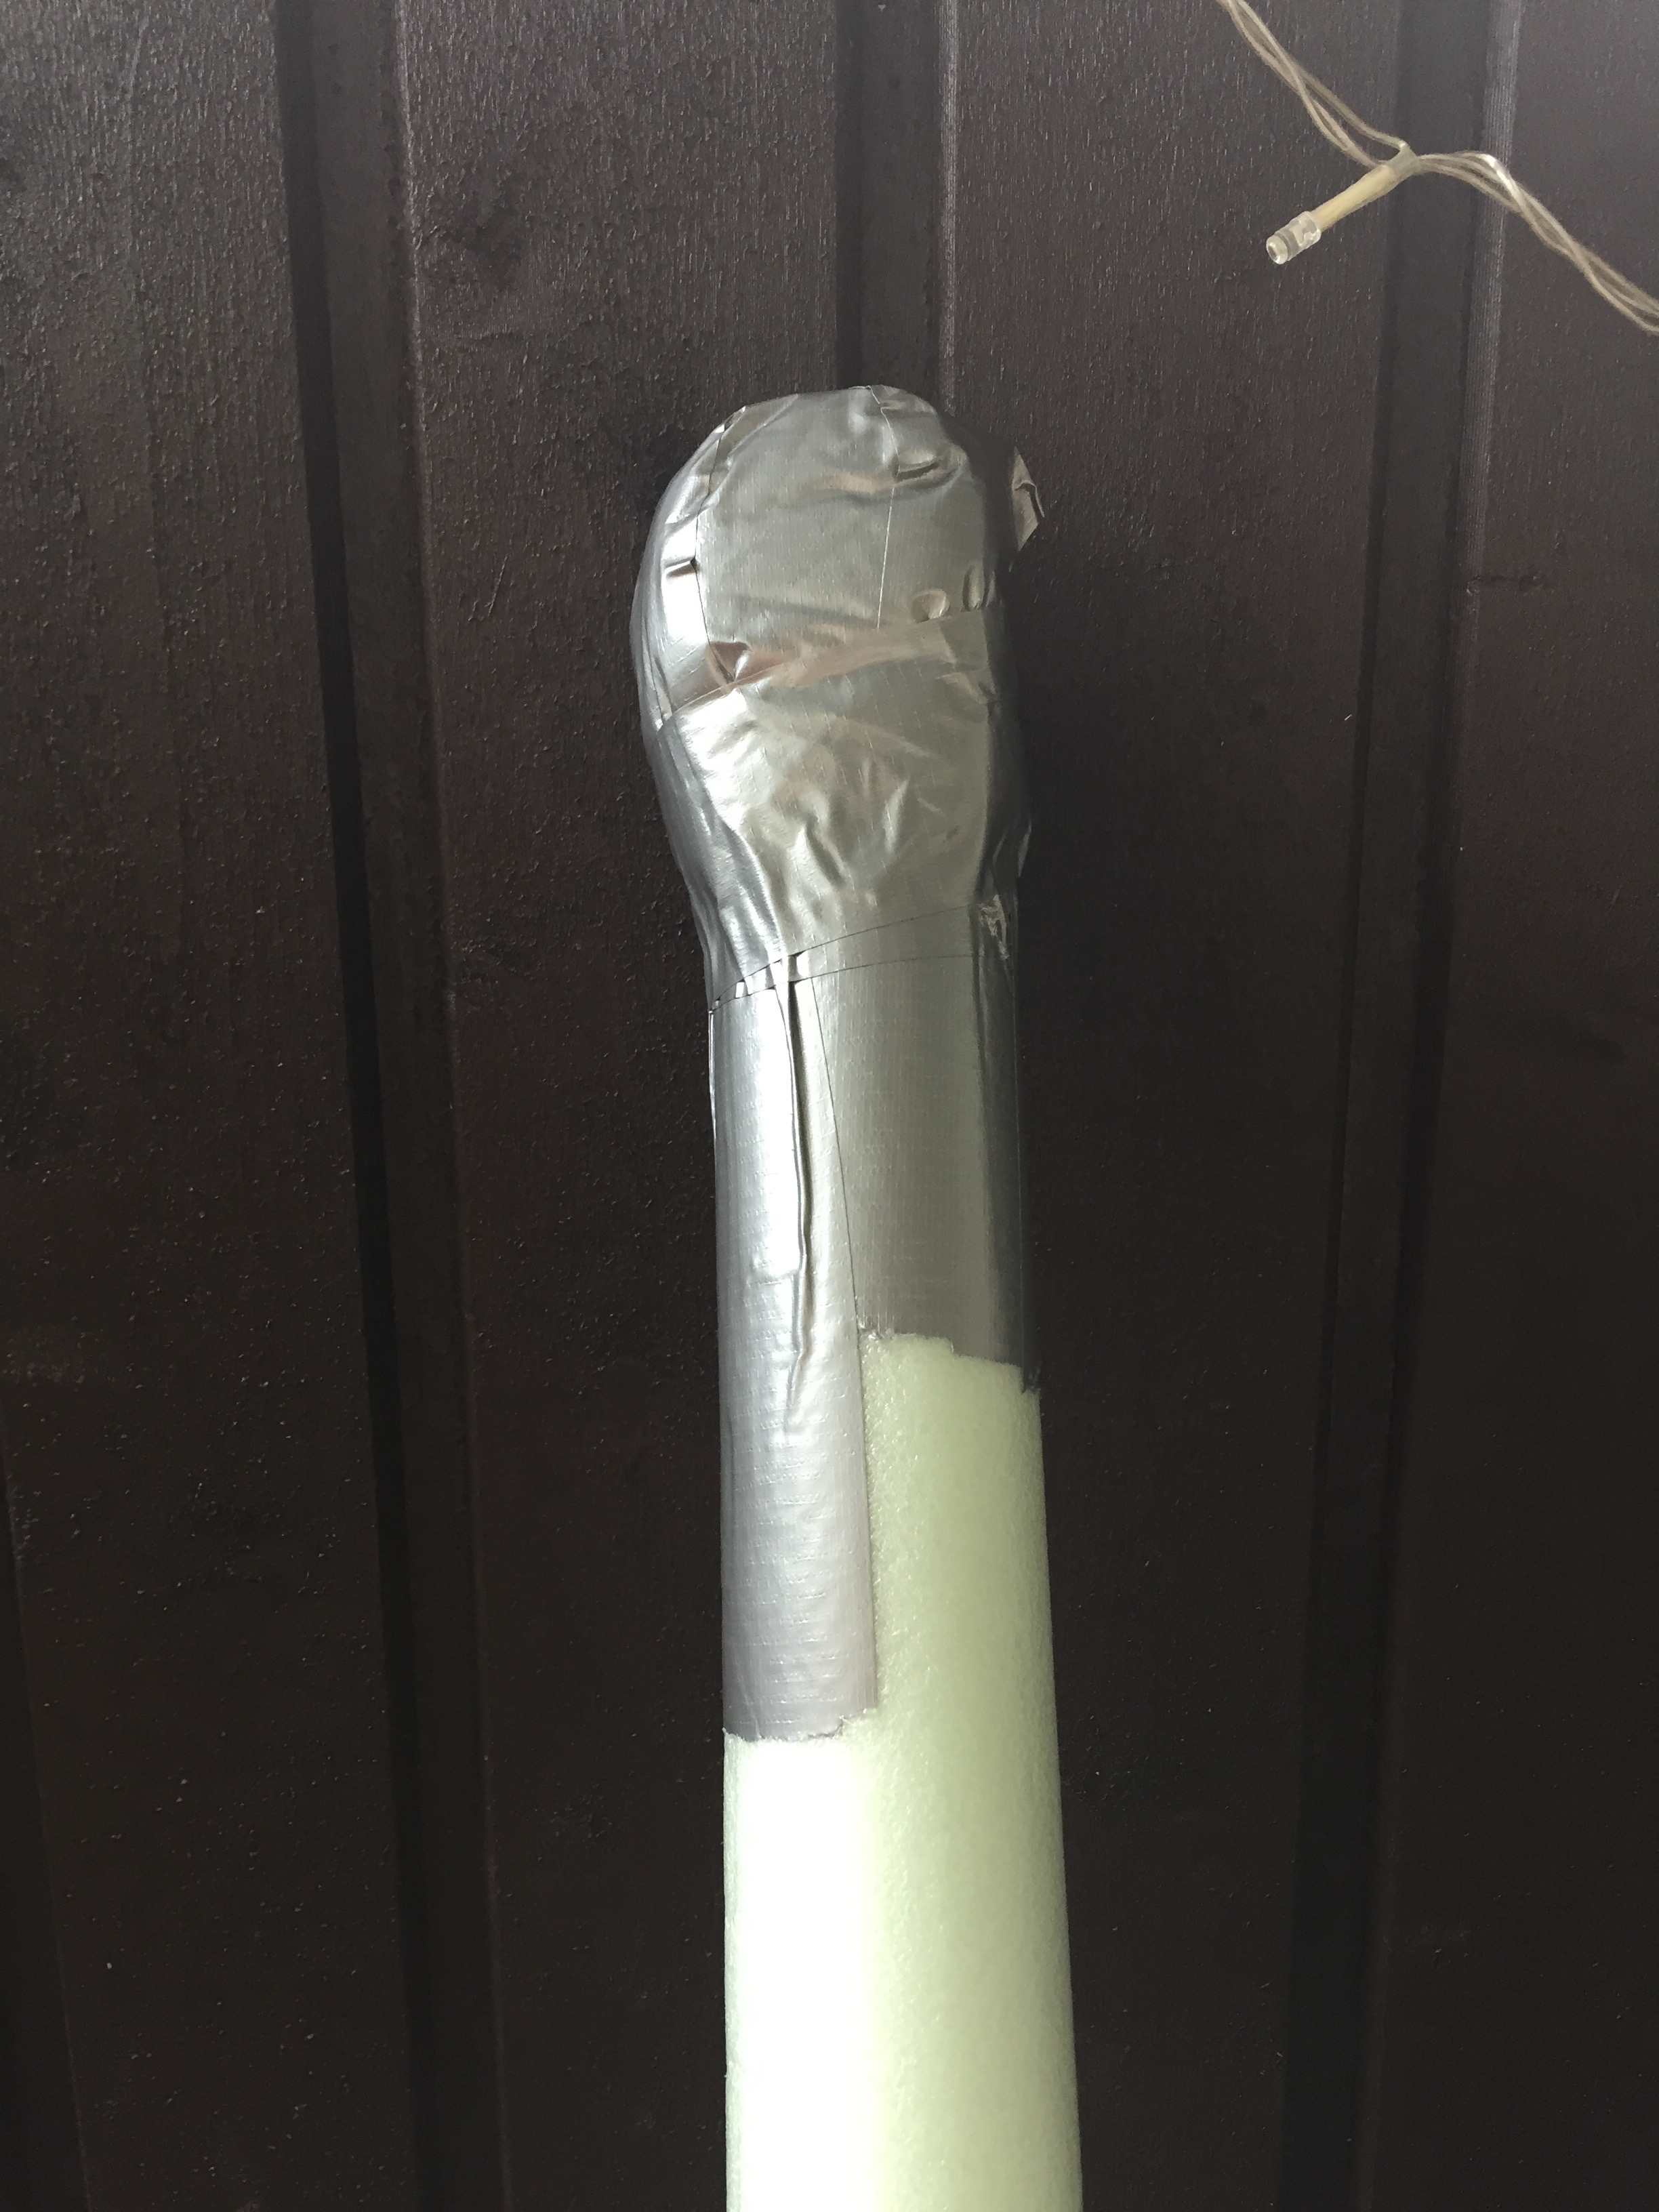
Finally use some more padding for the edges of the sword and wrap up everything with Jesus tape.
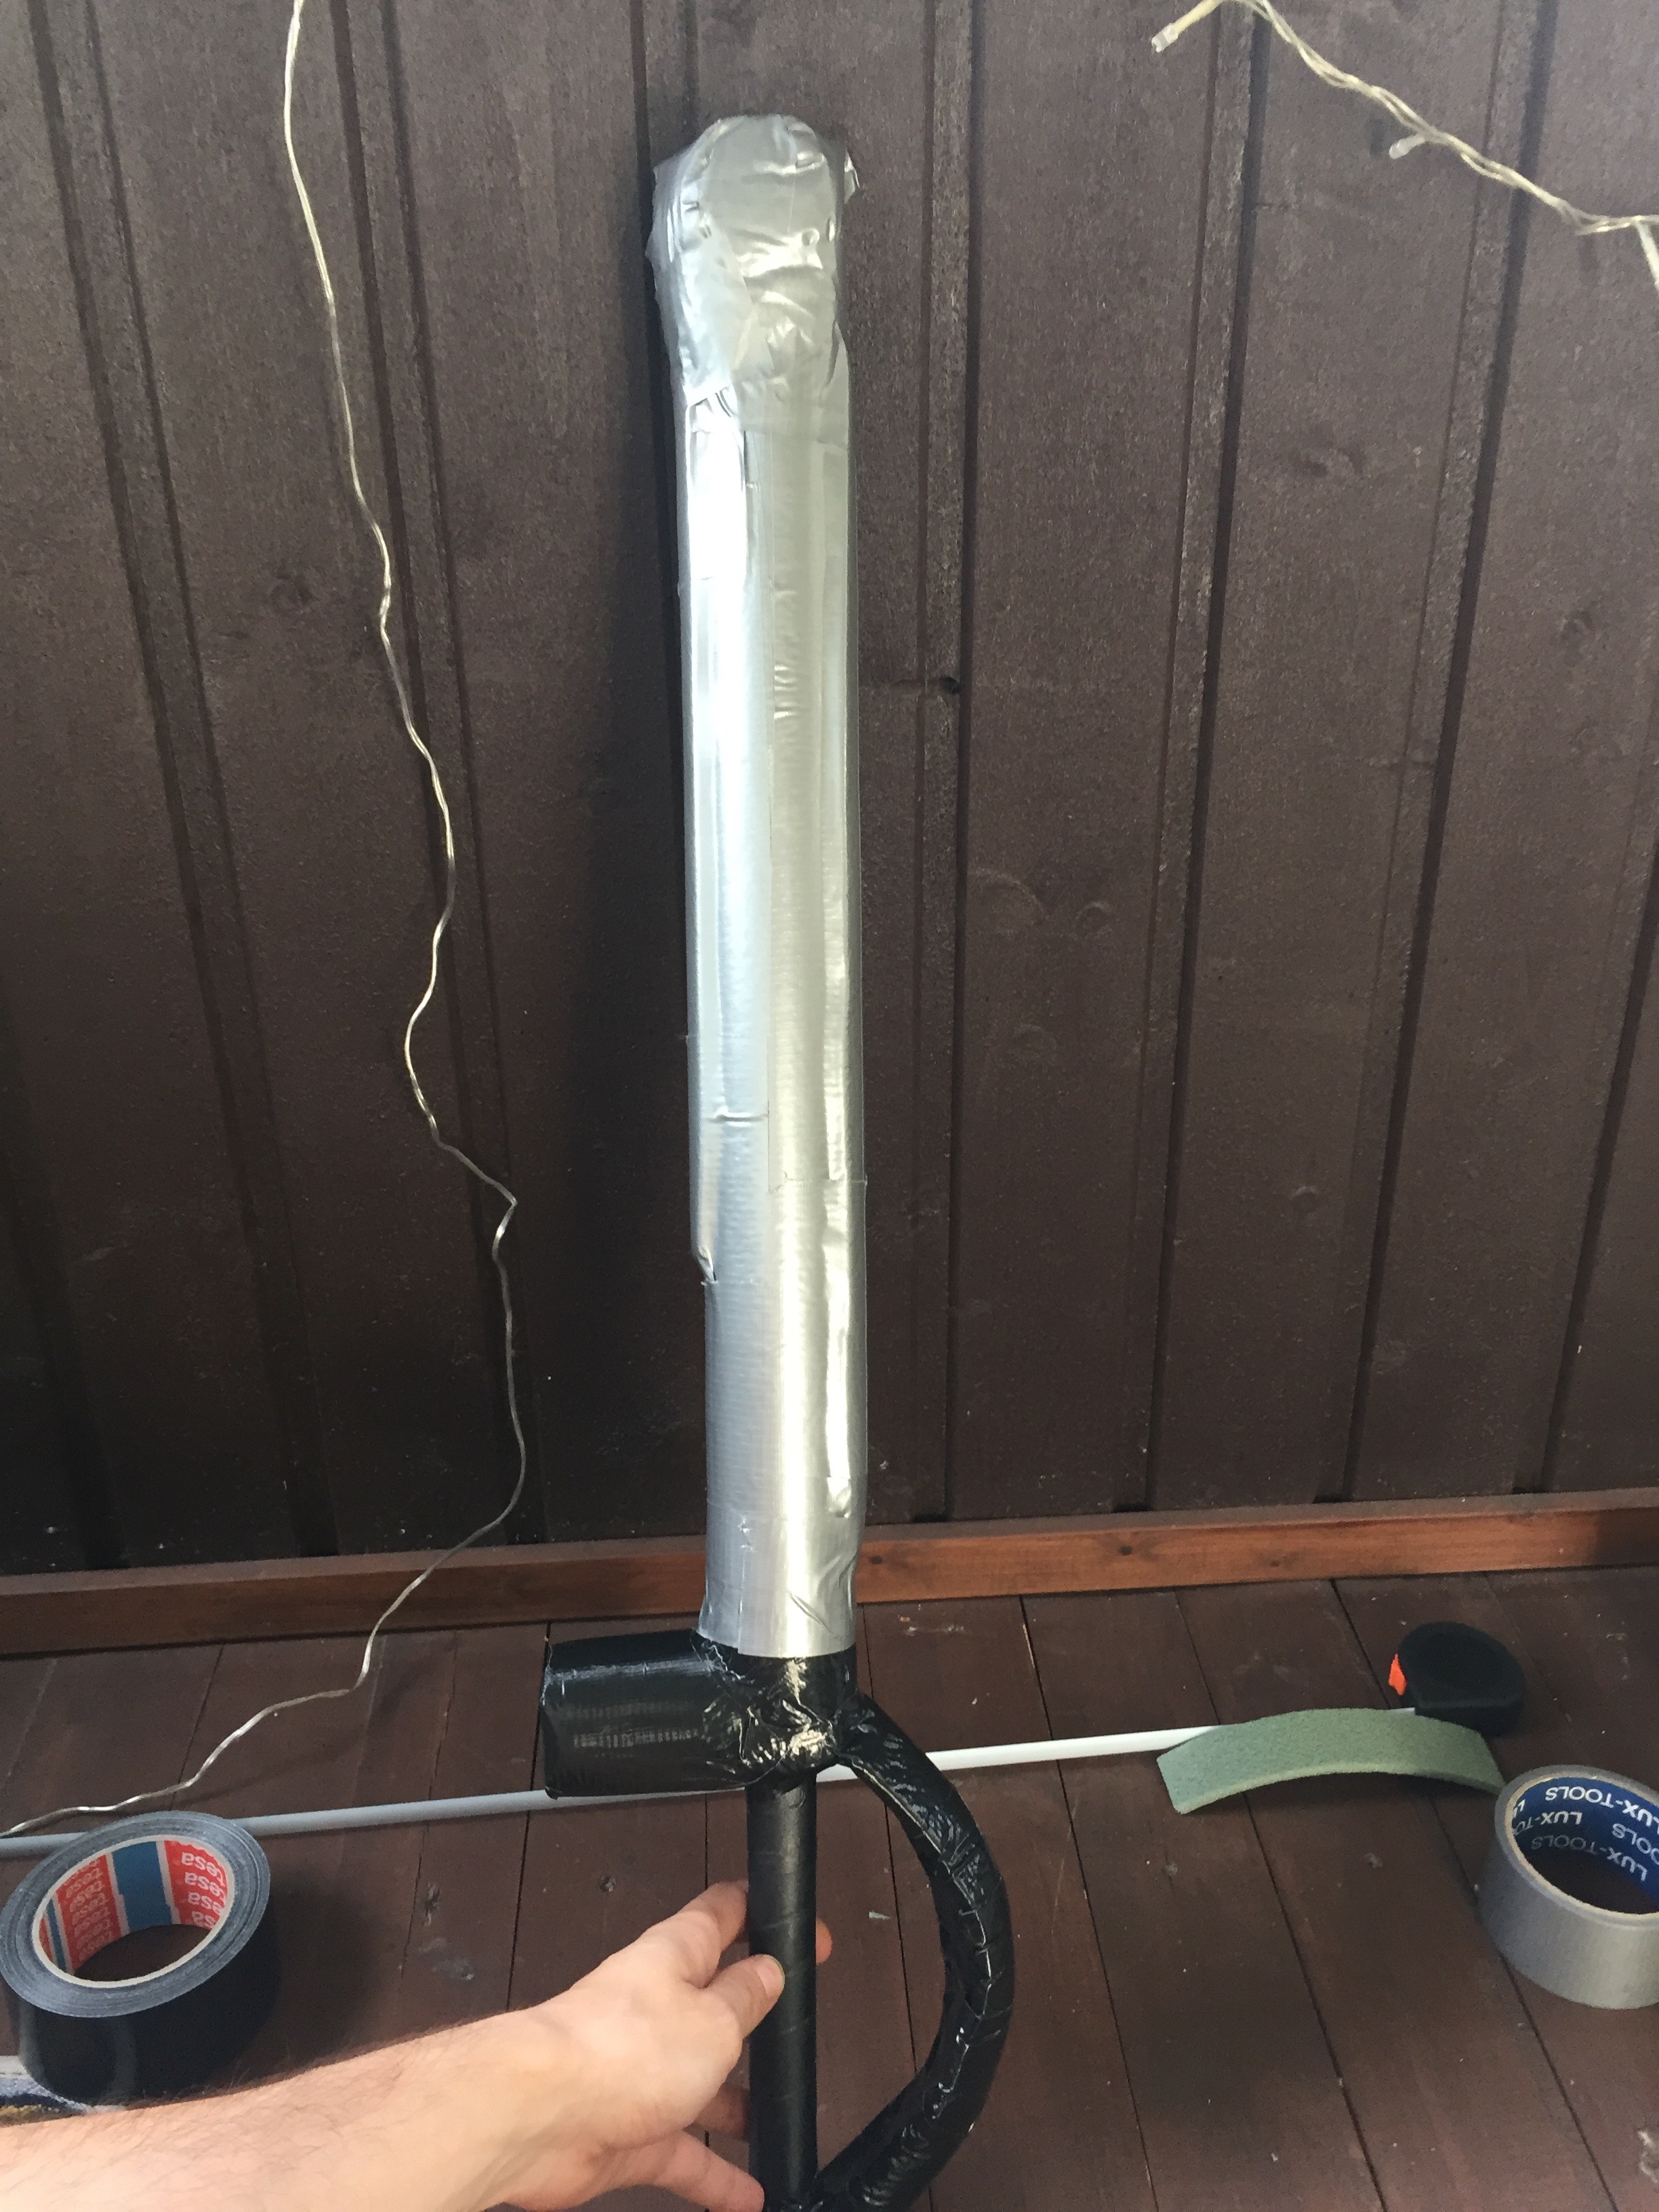
At this point, the sword is ready for use :)
Wrapping up
As a final touch I added some more tape + one side of hook and loop tape for my future shield (that will be explained in my next post).
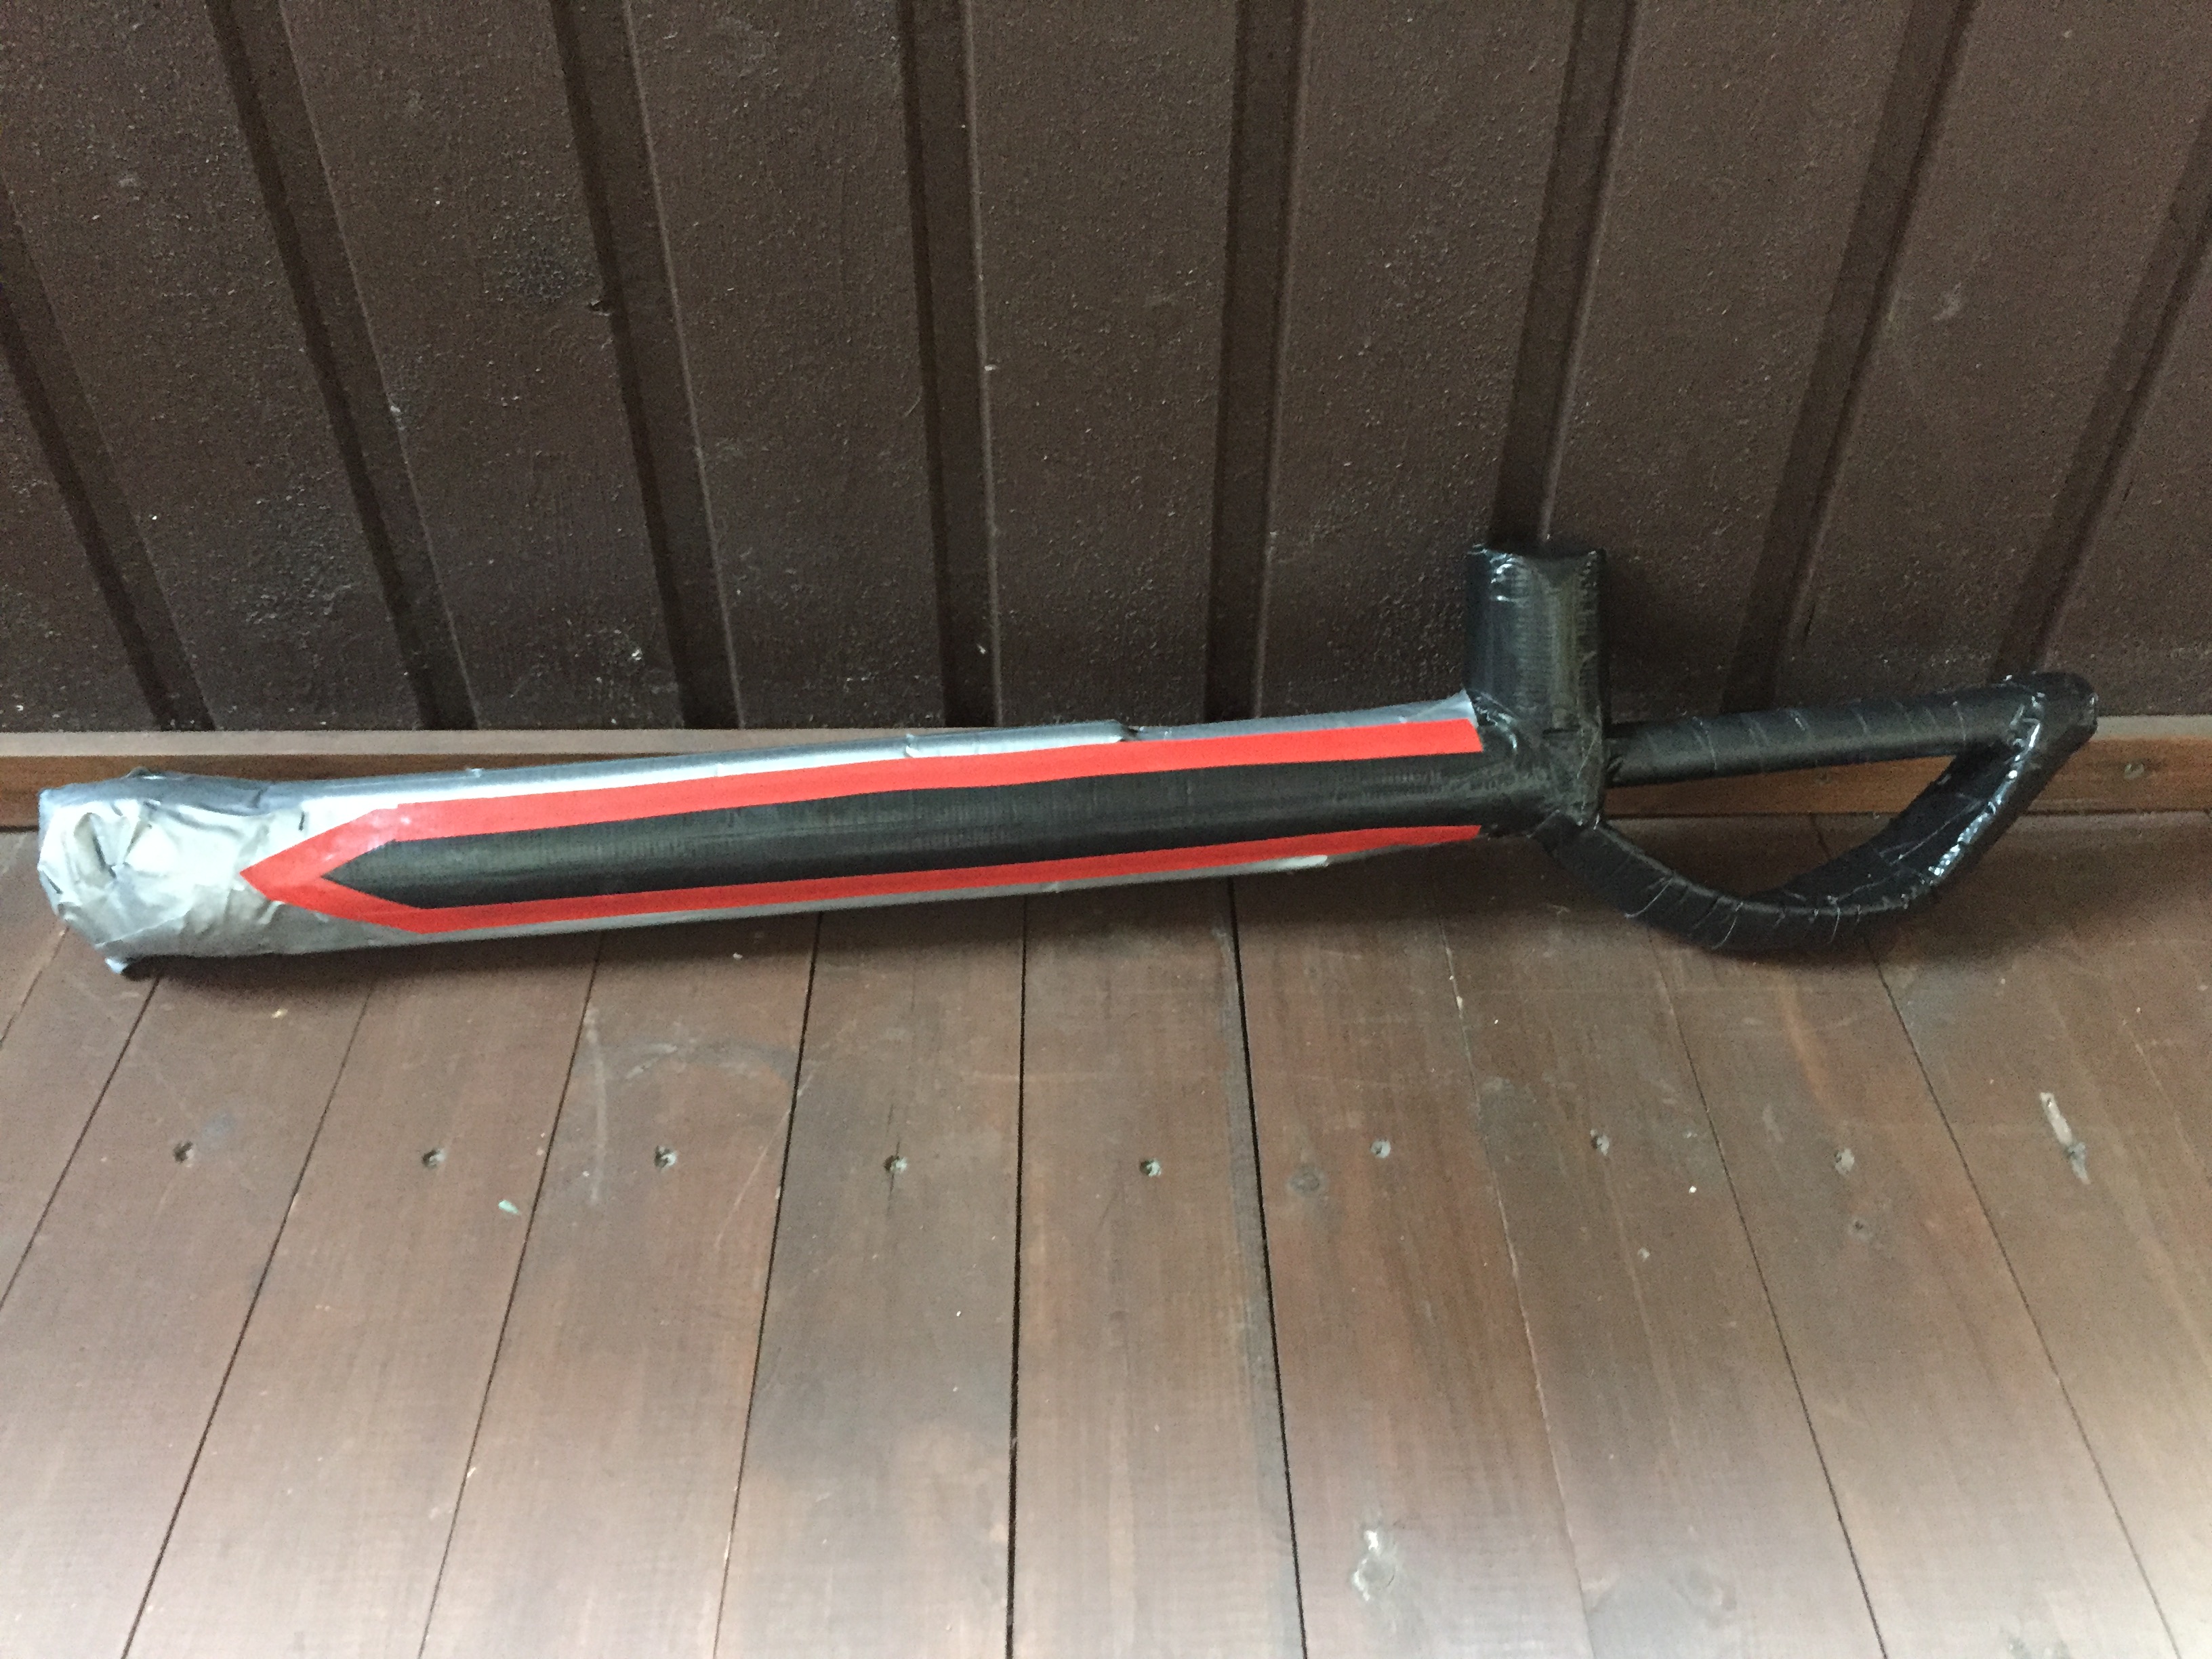
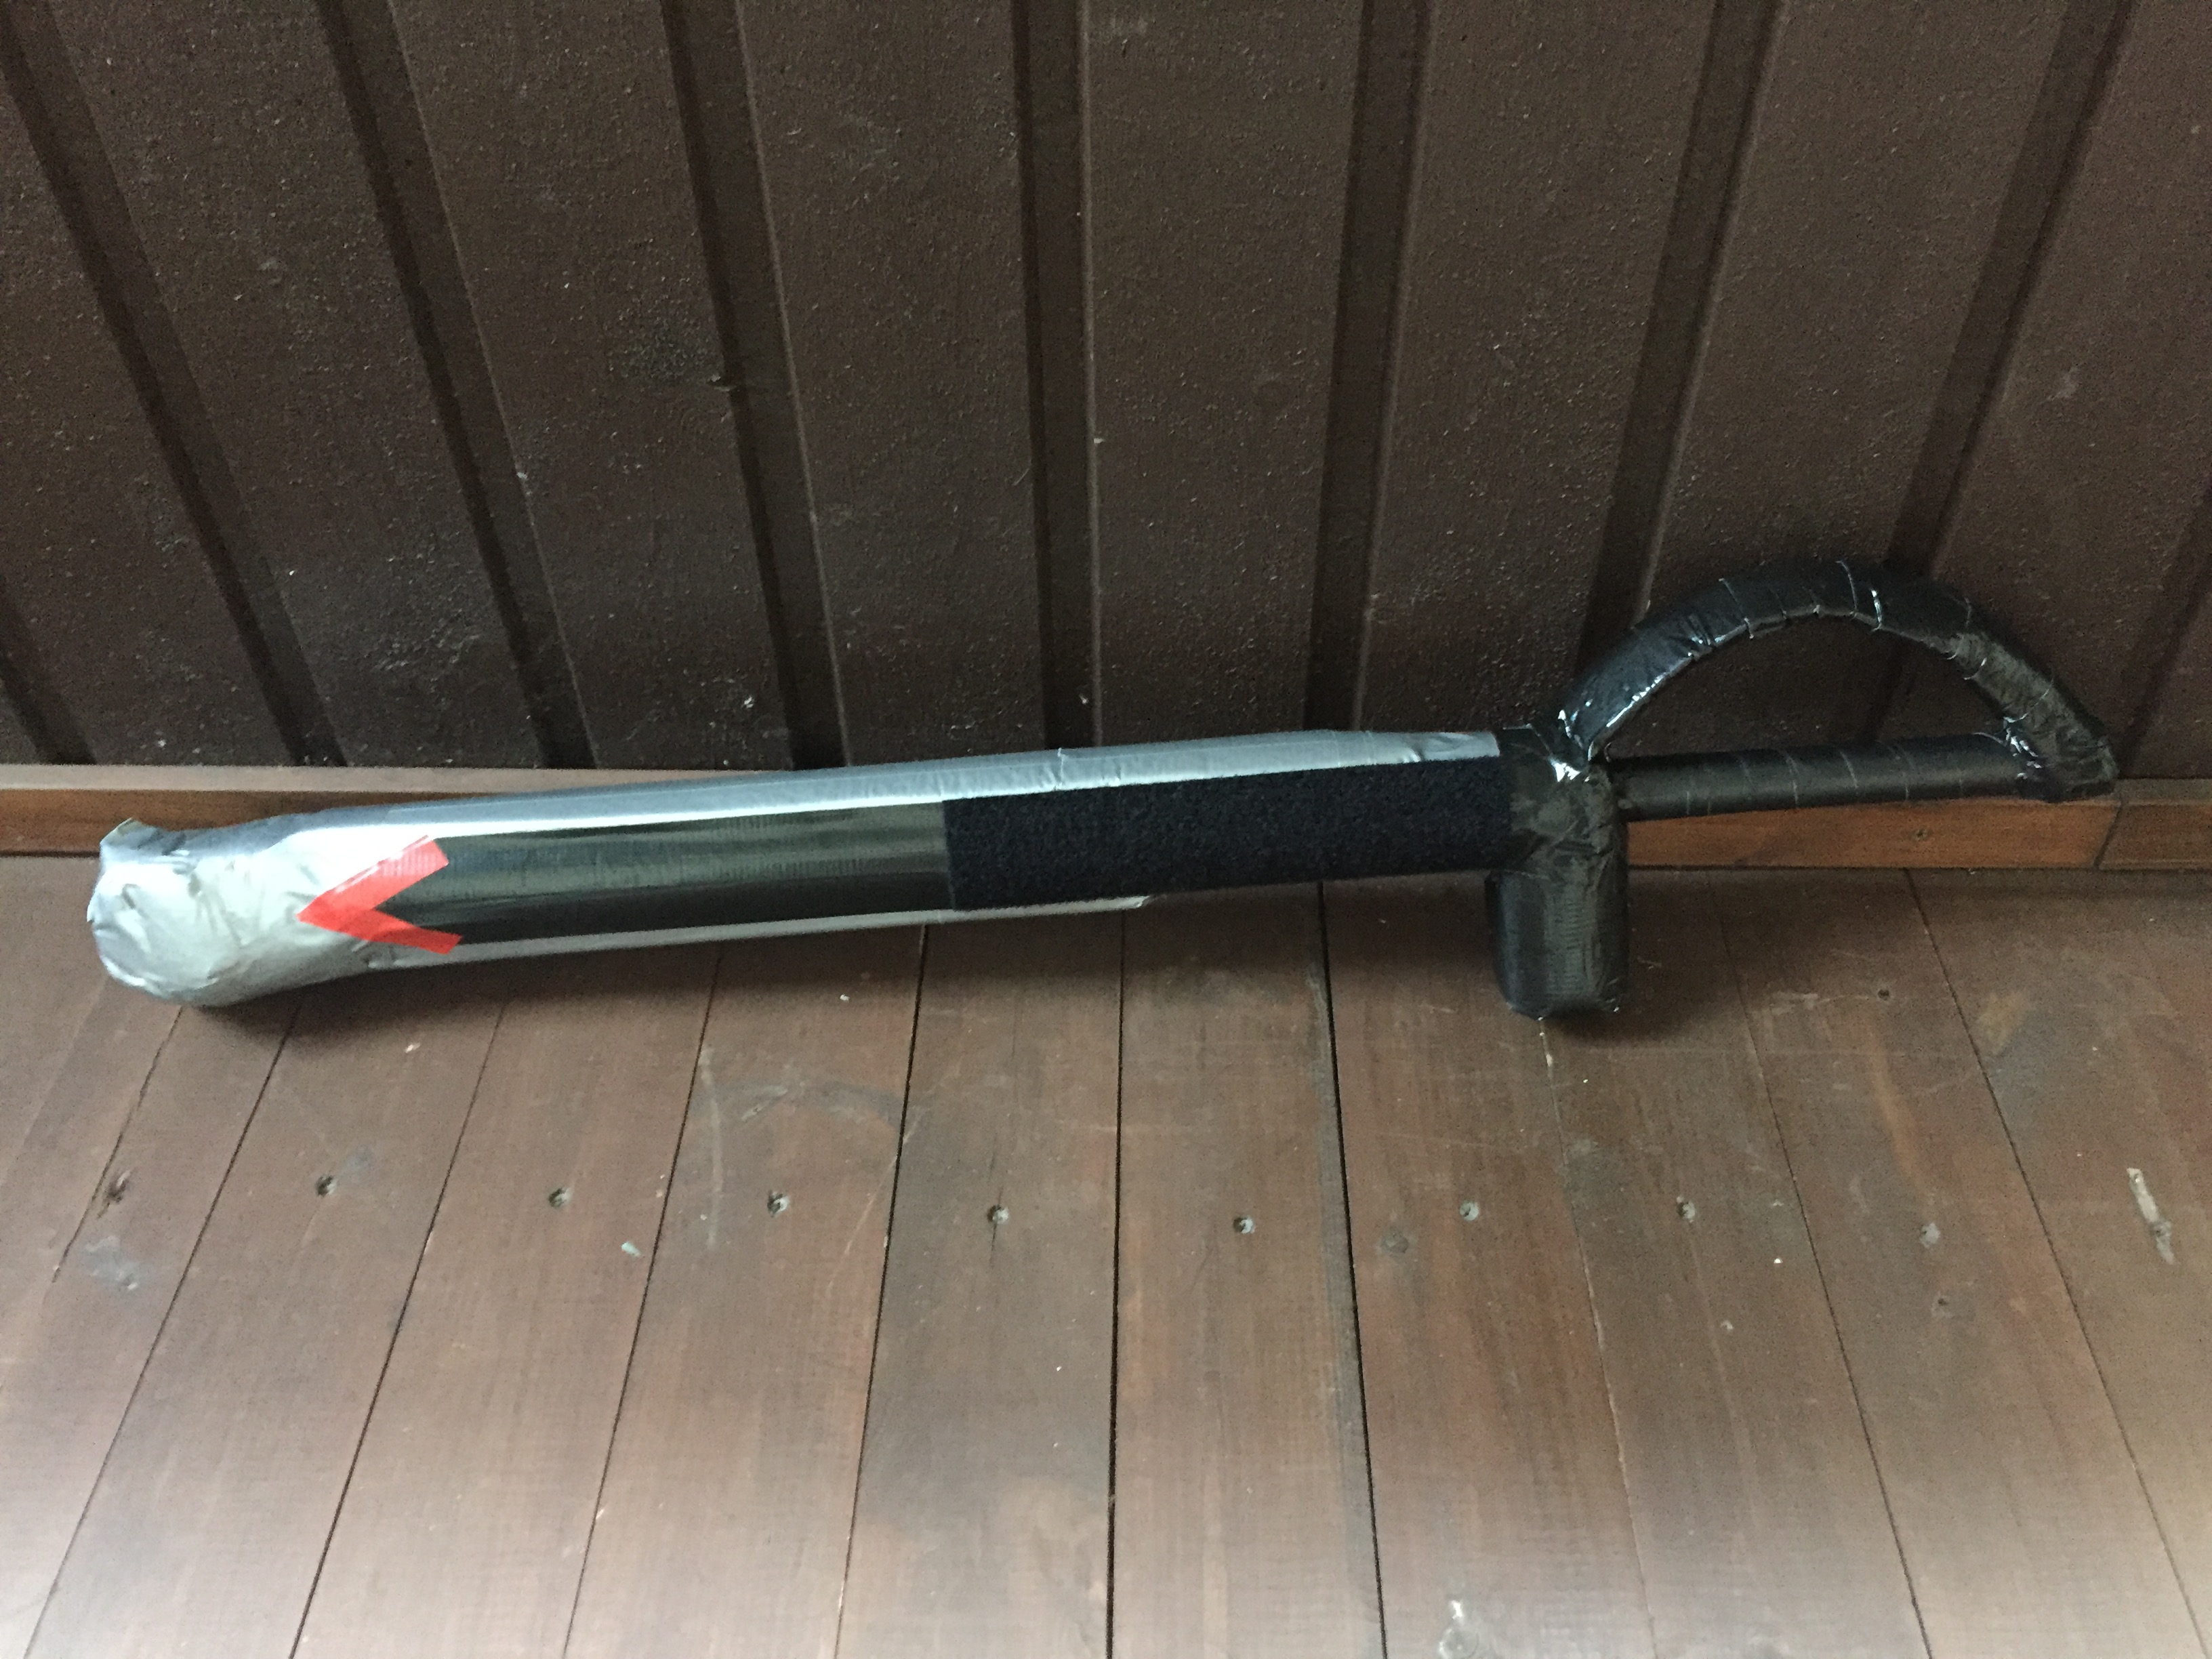
Conclusion
I now played boffering once with that sword and it was a lot of fun :)
However some people that knows Sotahuuto rules much better than I do pointed out a few things that I need to adjust on the sword. I’d recommand taking this into account if anyone read this post:
- The tip of the sword is ok, it needs to be at least 8cm long. However people usually tighten it less so that it’s a bit softer and hurts less. Also I should make holes (eg, with a fork) to let the air go out faster and feel softer when stabbing someone.
- The edges of the sword have to be thicker, the rules states that it should be 13mm thick, mine is around 10mm. (I honestly thought that the edges was only there for the aesthetics, but apparently not.. Even though people can hit with any part of the sword, the “edges” have to be padded specifically depending on the lenght of the sword)
- The pommel of the sword also is too small, it should be large enough so that it cannot get into anyone’s eyes.
- The guard of the sword needs to be rigid enough and mine can be crushed, I should either use stronger hose for it or give it a stronger arc
Then from my own experience, i’ve found the sword to feel really light, which is super cool. However while fighting I also noticed the tube on the handle is very soft and kinda crushes under my fingers, so i’m planning to try to put in something inside the tube, on the level of the handle, to try to make it a little bit heavier (but more balanced) and stronger.